The quick version
There’s no best grill, only the best match for how you actually cook. Gas is the weeknight pick — 10–15 minutes to temp, a 500–550°F sear ceiling, easiest cleanup; charcoal is the flavor ceiling with 600–700°F+ direct heat but a 20–30 minute chimney start; pellet covers both grilling and true smoking with set-and-forget control; electric is the flame-free answer for renters and HOA restrictions. Buy for the cooks you do most weeks, not your aspirational weekend self.
Every backyard debate eventually comes back to this one. Your neighbor swears by his rusty kettle, your brother-in-law won't shut up about his Traeger, and you're standing in the driveway wondering why a grill purchase feels like picking a political party.
Here's the truth: there is no universally "best" grill. There's only the best grill for how you actually cook, how much time you have on a Tuesday, and how much smoke flavor you're willing to work for.
I've cooked professionally on all four — gas, charcoal, pellet, and electric — and each one earns its spot in a well-run backyard. This is the no-nonsense breakdown: real temperatures, real times, real trade-offs, no brand worship.
People think this comparison is about taste. It's really about heat delivery — how fast you get hot, how hot you can get, and how much control you have once you're there. Flavor is downstream of that.
A gas grill delivers heat instantly and predictably because you're burning a clean-burning fuel through a valve. Charcoal delivers heat unevenly and slowly to start, but the combustion of wood and charcoal itself creates smoke compounds that land on the meat.
Pellet grills split the difference with a computer-controlled auger feeding wood pellets into a fire pot. Electric skips combustion entirely and just uses a heating element, like a giant toaster.
Once you understand that hierarchy, the rest of this decision gets easy.
Gas is the grill you reach for on a Tuesday at 6:15 pm when you've got hungry kids and 25 minutes before dinner has to be on the table. Turn the knob, hit the igniter, and you're at cooking temperature in 10 to 15 minutes. There's no chimney to load, no charcoal to light, no waiting around.
A solid three- or four-burner gas grill will hit a 500–550°F (260–288°C) sear ceiling on its hottest burners, which is plenty for steaks, chops, and burgers.
Where gas really shines is precision: turn one burner to high and leave another on low, and you've built a crude two-zone setup in about a minute, no shoveling coals required.
For a proper reverse sear on a thick steak, run the indirect side at 250°F until the interior hits about 10–15°F below your target, then finish on the hot side for 60–90 seconds per side to build the crust.
The catch: gas burns clean, meaning almost none of the smoky, charred flavor compounds that come from charcoal or wood combustion. You can bolt on a smoker box with wood chips to claw some of that back, but you're never getting charcoal-level flavor from a propane flame. That's the trade you're making for convenience.
This is gas's biggest quiet advantage. Burn off residue for 10 minutes with the lid closed after cooking, brush the grates, empty the grease tray every few cooks, and you're done. No ash to dispose of, no soot on your hands.
Long-term, though, gas grills have more moving parts — igniters, burner tubes, regulators — that eventually fail and need replacing, so budget for that over a 7–10 year lifespan. Check our full grill cleaning and maintenance schedule to keep burners and grates from clogging early.
Grab the free doneness + wood-pairing cheat sheet →CEO TIP: Always preheat with the lid closed for the full 10–15 minutes, even if the dial says you're at temp in five. The grates need to soak up radiant heat, not just ambient air temp, or your sear marks will look like a light suntan instead of a proper crust.
If gas is about speed, charcoal is about payoff. There's a reason competition pitmasters and backyard purists refuse to give it up: burning lump charcoal or briquettes throws off polycyclic compounds and a live-fire char that no gas valve or electric coil can replicate. This is the highest flavor ceiling of the four, full stop.
Skip the lighter fluid. Fill a chimney starter with charcoal, stuff newspaper or a couple of paraffin cubes underneath, and light it. In 20 to 30 minutes, the top coals will be ashed over gray and the whole chimney will be glowing orange at the bottom vents. That's your cue to dump it into the grill.
Rushing this step is the single most common mistake new charcoal cooks make — dumping in half-lit coals gives you inconsistent heat and a sooty, chemical taste if you used fluid instead.
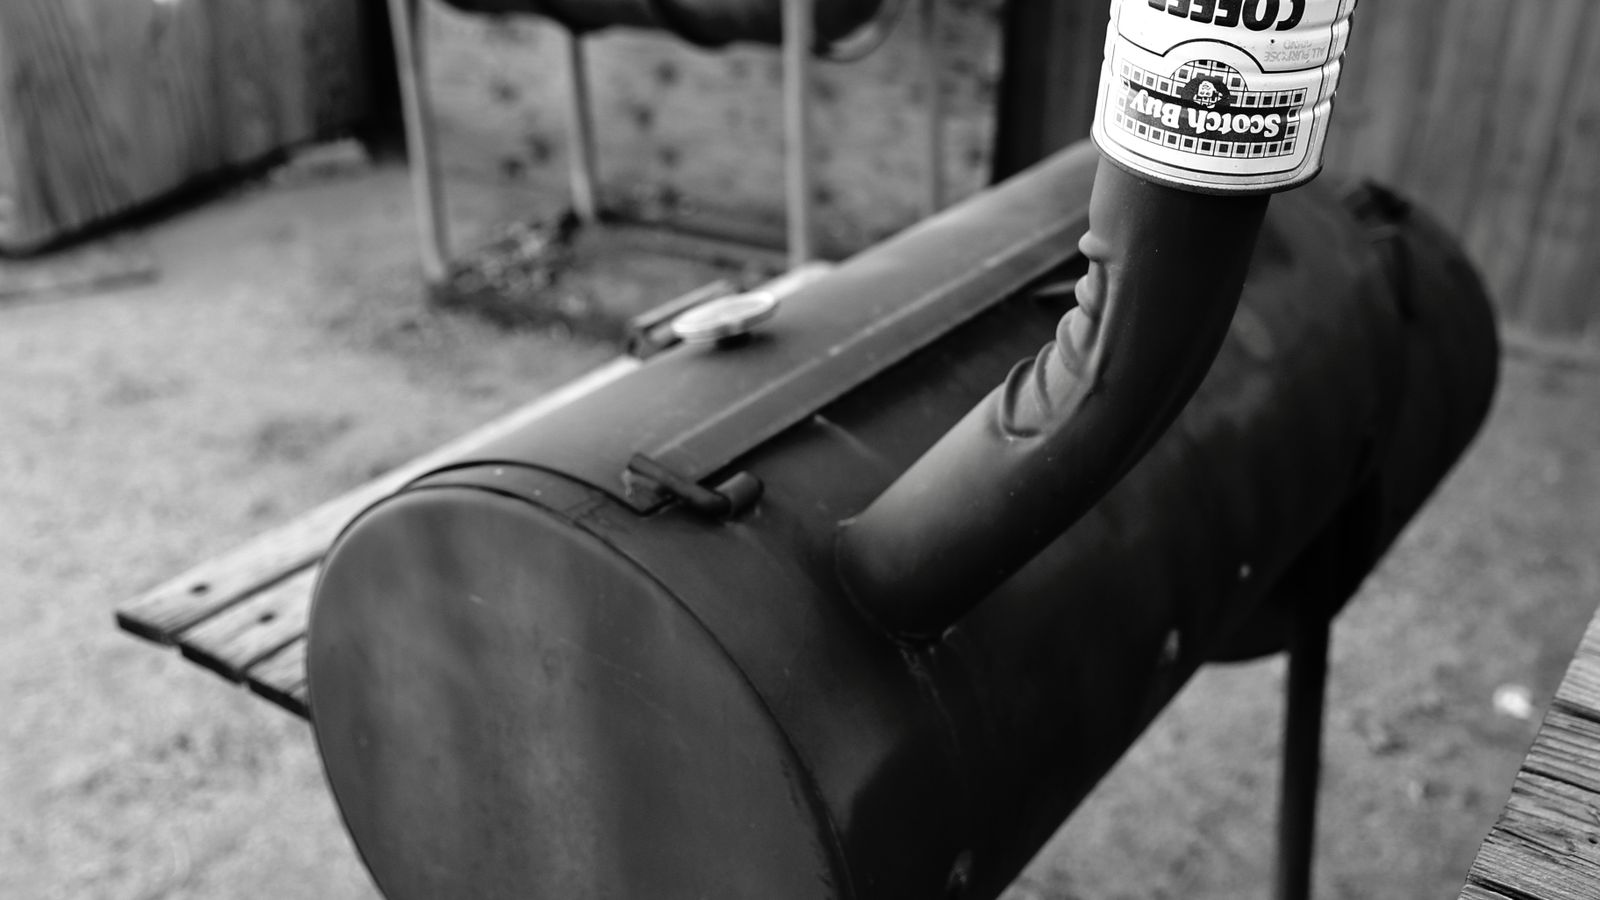
Once the coals are dumped, bank them to one side of the grill instead of spreading them evenly. That gives you a direct zone for searing (easily 600–700°F+ right over the coals) and an indirect zone on the empty side for gentler cooking or resting meat without flare-up risk.
This is the same principle behind every serious cook, from steaks to whole chickens — read our full two-zone fire setup guide if you've never built one. Control the overall dome temperature with the top and bottom vents: open both wide for max heat, choke them down to a crack for long, low cooks.
Our charcoal vent control guide covers exact vent positions for 225°F, 275°F, and 350°F ranges on a kettle or kamado.
Charcoal is also your gateway into real low-and-slow smoking — briskets, pork butts, ribs — territory gas and electric simply can't touch without added smoke sources. If that's where you're headed, start with low and slow smoking 101 before you commit a $60 brisket to the grate.
Pellet grills solved a real problem: people wanted charcoal-and-wood flavor without babysitting a fire all day. Load the hopper with hardwood pellets, set your target temp on a digital controller, and an auger automatically feeds pellets to maintain it — usually within 5–10°F of your setpoint the whole cook. That's why pellet grills are the choice for anyone who wants to smoke a brisket overnight and actually sleep.
The historical knock on pellet grills was a soft top end — many older and budget units cap out around 450–500°F, not hot enough for a proper steak crust. That's changed.
Current-generation "flame-broiler" or direct-flame models — where a slide-plate or trap door lets the fire pot expose the grates to open flame — now push 500–600°F, closing the gap with charcoal for searing.
Brands like Traeger and Pit Boss both offer models built specifically around this, and it's worth checking that spec sheet before you buy if searing matters to you.
Preheat is quick — around 10 to 15 minutes to stabilize at your target temp, similar to gas.
Where pellet grills lose time is on long cooks: a 12-hour brisket is still a 12-hour brisket regardless of fuel type, though the auger system means you're not manually feeding a fire every 45 minutes like you would on an offset smoker.
For a full rundown of how pellet rigs stack up against offsets, kamados, and drums, see our smoker types comparison.
Flavor sits solidly between gas and charcoal — real wood smoke, but a gentler, more consistent smoke ring than a live charcoal fire, since combustion is more controlled and complete. When you pull that brisket, always go by internal temperature and feel, not the clock — check the meat temperature chart for exact pull temps by cut.
Electric grills exist to solve a problem that has nothing to do with flavor: you're not allowed to have an open flame. Renters, apartment balconies, condos, and HOA-restricted communities routinely ban propane tanks and charcoal outright over fire liability — electric coil grills are usually the one exception, since there's no flame, no fuel canister, and no combustion byproducts to worry about.
Max temps run lower, typically 400–450°F on the higher-end coil models, which is enough for burgers, chicken, and vegetables but won't give you a screaming steakhouse crust. Preheat runs 15 to 20 minutes since you're heating a coil rather than igniting fuel.
Flavor is, honestly, the lowest of the four — no combustion means no smoke compounds at all, just radiant and conductive heat. You can offset some of that with a good dry rub and a hot enough final sear indoors, but don't expect backyard-charcoal flavor from an electric unit.
If you're limited to electric and still want that smoky depth, lean hard on technique elsewhere: a proper dry rub and a finishing sauce do a lot of the flavor work a fire would otherwise handle.
Numbers settle more arguments than opinions do. Here's how the four stack up on the two things that actually affect your weekly routine — how long you wait, and what it costs you.
| Grill Type | Preheat Time | Max Sear Temp | Fuel Cost per Cook (approx) | Fuel Cost per ~20 Cooks |
|---|---|---|---|---|
| Gas | 10–15 min | 500–550°F (260–288°C) | around $1–2 | around $20–25 (propane refill) |
| Charcoal | 20–30 min | 600–700°F+ direct | around $3–5 | around $60–100 (bags of lump/briquette) |
| Pellet | 10–15 min | 450–600°F (model-dependent) | around $2–4 | around $40–80 (pellet bags) |
| Electric | 15–20 min | 400–450°F | around $0.30–1 | around $6–20 (electricity) |
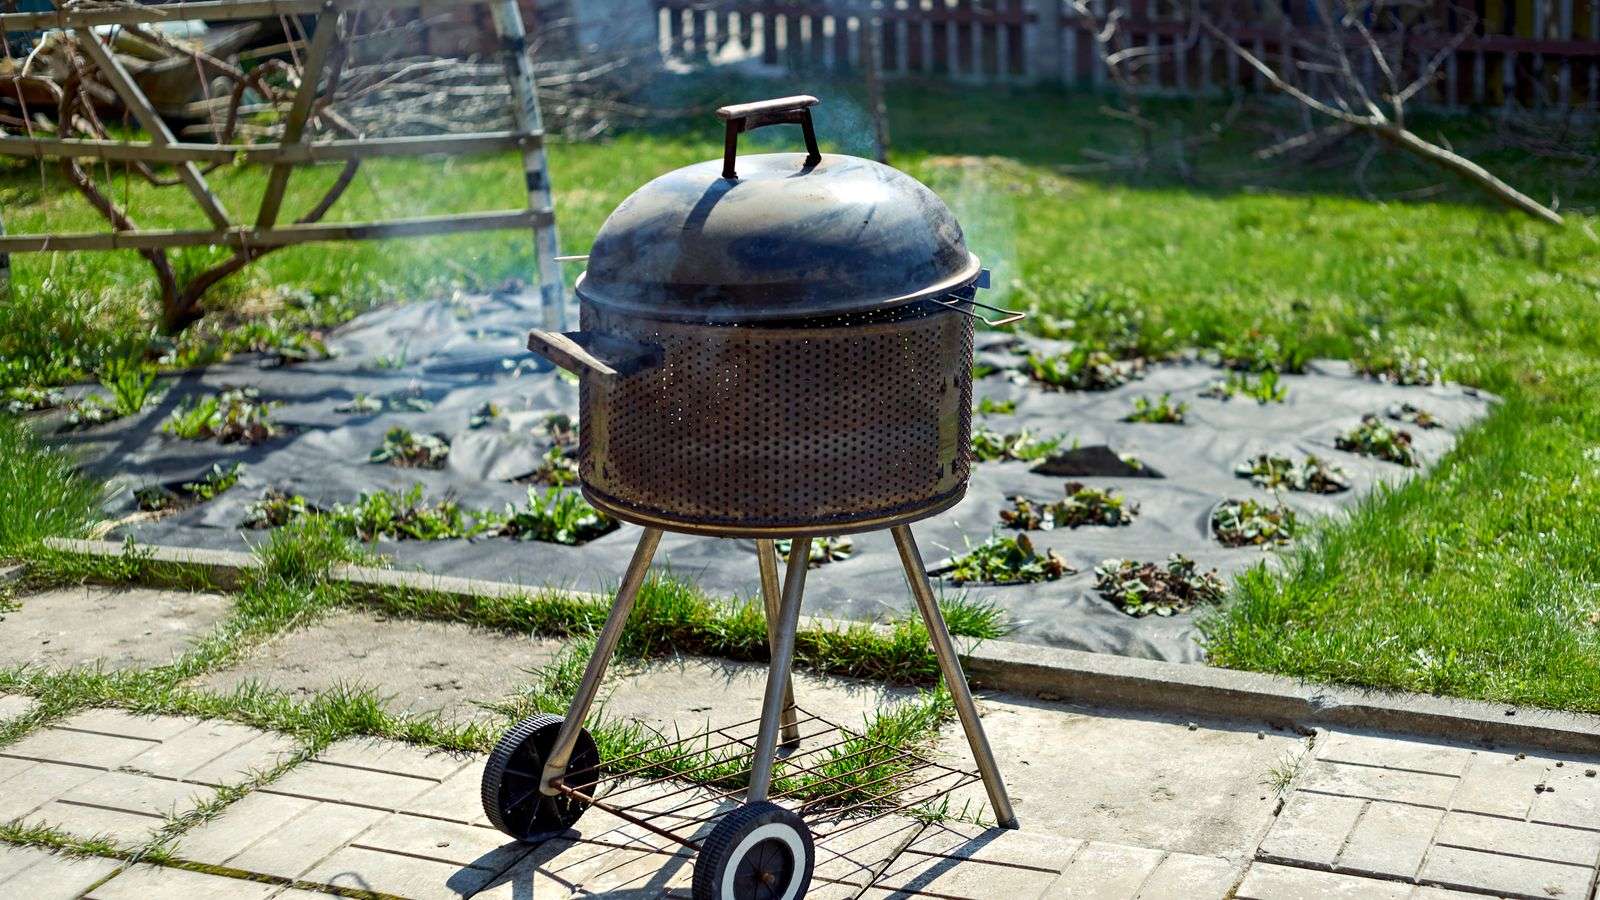
Gas and pellet grills split the "fast and predictable" lane, but pellet costs more per cook since hardwood pellets run pricier than propane per BTU. Charcoal is both the slowest to start and the most expensive per cook by fuel alone — you're paying for the flavor, not the convenience. Electric is far and away the cheapest to run, which matters if you're grilling four nights a week.
Nobody talks about this part enough, so here it is straight. Gas and electric require the least skill. You set a temperature, you cook to a target internal temp, you're done — genuinely close to foolproof, which is exactly why they're the right call for a first-time griller still learning the basics.
Pellet sits in the middle. The controller does the hard part of holding temperature, but you still need to understand smoke, bark formation, and when to wrap a brisket through the stall — read up on why the stall happens before your first long cook, because a pellet grill won't save you from panicking and cranking the temp too early.
Charcoal demands the most attention — vent management, fuel management, flare-up control — but it also rewards that attention more than any other method. If you want to actually learn fire, not just operate an appliance, charcoal is where that education happens. Start with something forgiving like a Weber kettle before stepping up to an offset.
Cut through the noise with this: match the grill to your actual week, not to the grill you wish you had time for.
| Your Cook Profile | Best Grill | Why |
|---|---|---|
| Weeknight dinners, limited time | Gas | 10–15 min to cooking temp, precise control, minimal cleanup |
| Flavor is the whole point | Charcoal | Highest flavor ceiling, real char and smoke compounds |
| Want to grill fast AND smoke low-and-slow | Pellet | One machine covers both jobs, set-and-forget control |
| Renter, apartment, or HOA restrictions | Electric | No open flame, no fuel canister, usually compliant everywhere |
If you're only ever going to own one grill, be honest about which of those four rows describes your actual life — not your aspirational weekend self.
Most serious backyard cooks eventually end up owning two: a gas grill for the Tuesday burger run, and a charcoal or pellet rig for the weekend project that turns into a 12-hour brisket or a pulled pork Saturday. That's not overkill.
That's just running your backyard like a real kitchen — different tools for different jobs.