The quick version
Split the grill into a hot direct side at 450–550°F and a cool indirect side at 250–350°F — banked coals on charcoal, one or two lit burners on gas with the lid down. Sear thin cuts over the fire, park thick cuts and whole birds on the cool side, and use both in sequence for thick steaks and chops. The cool zone is also your escape hatch: slide the food over, close the lid, and a flare-up dies in seconds. Read your fire with the hand test — 2–3 seconds at 5 inches is searing heat, 8–10 is indirect.
If you learn one thing from me, make it this: a grill with fire spread evenly across the whole bottom is a grill working against you. You get flare-ups you can't escape, chicken that's charred outside and raw at the bone, and steaks that stick and tear. The fix isn't a fancier cooker.
It's a two-zone fire — one side hot enough to sear, one side cool enough to cook through gently. That's it. That's the setup real pitmasters use for almost everything, and once you own it, half your grilling problems disappear.
Here at BBQ CEO the whole philosophy is "Taste the Meat, Not the Heat." A two-zone fire is how you deliver on that promise, because it gives you an escape hatch from the flames instead of leaving your dinner stranded over open fire. Let's build it.
You're creating two distinct temperature regions on the same grate. The names are simple:
The magic is the ability to move food between them. Sear on the hot side, slide to the cool side to finish. Or cook low on the cool side and finish with a quick blast of heat. You're the boss of the fire, not the other way around.
| Zone | Grate temp | Fire underneath? | Best for |
|---|---|---|---|
| Direct / hot | 450–550°F | Yes | Searing, thin cuts, veg, crust |
| Indirect / cool | 250–350°F | No | Thick cuts, whole birds, ribs, finishing |
Charcoal gives you the cleanest two-zone fire because you physically control where the coals sit. There are two reliable ways to do it.
Light a full chimney of briquettes or lump — around 80–100 briquettes for a standard 22-inch kettle. When they're ashed over and glowing, dump them so they cover one half to one third of the charcoal grate and leave the rest bare. Coals piled two layers deep on one side, nothing on the other.
Put the cooking grate on, drop the lid for 5–10 minutes to let the grate heat up, and you've got a screaming-hot direct side and a mild indirect side. This is your go-to for steaks, chops, wings, and anything you want seared then finished.
If you're cooking indirect for hours — ribs, pork butt, a whole chicken — you want a slow, self-feeding fire. Fill your charcoal basket or one side with unlit briquettes, then pour a small amount of lit coals (about 10–15) on top of or beside them.
The lit coals slowly ignite the unlit ones over time, giving you a steady 225–275°F for 4–6+ hours without constant refueling. Add a chunk or two of wood for smoke and you're in low-and-slow territory.
If that's where you're headed, my low and slow smoking guide covers the temps and timing in depth, and learning to control your charcoal vents is what actually holds the number steady.
Bottom vent controls the fire, top vent controls the airflow through it. For a two-zone grilling setup, open both wide so the hot side stays hot. For a long Minion cook, crack the bottom vent about a quarter open and adjust from there — small moves, then wait 10 minutes before touching it again.
Gas grills make two-zone almost effortless, and most people never use it. The rule: light only one or two burners, leave the rest off, and keep the lid down.
The lid is non-negotiable. With the lid up, a gas grill has no indirect zone — heat just escapes and the unlit side stays cold. Lid down, the whole chamber circulates like a convection oven.
Preheat with your lit burners on high for 10–15 minutes, then dial them to hold the hot side around 500°F and let the unlit side settle into the 300–350°F range. Not sure whether gas is even the right tool for how you cook? I break the fuels down in gas vs charcoal vs pellet vs electric.
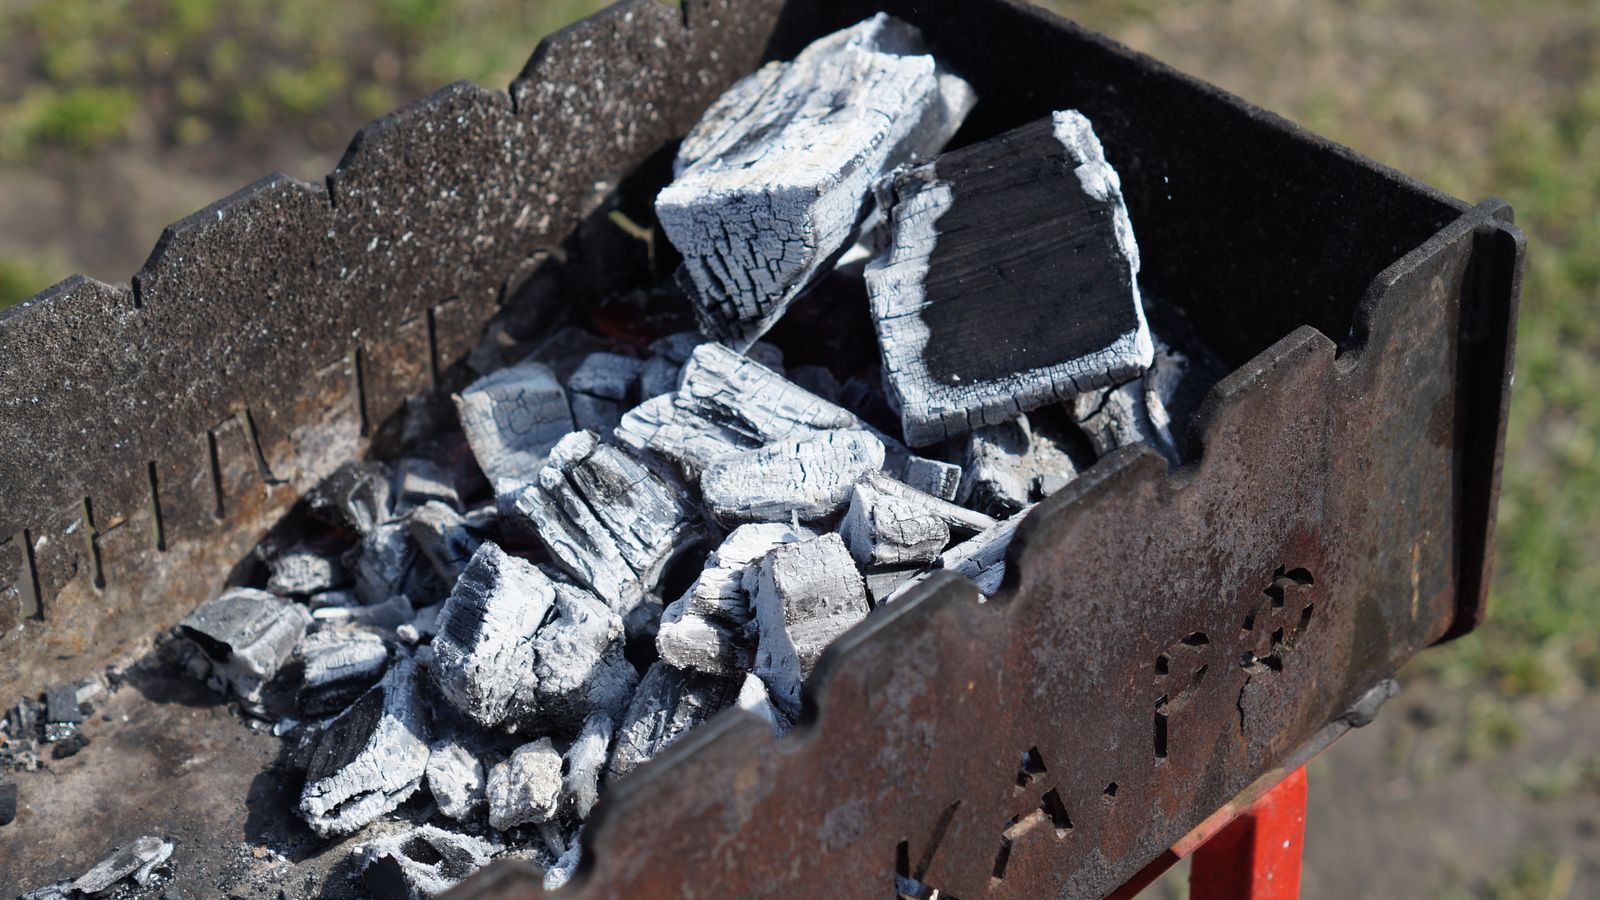
Grate thermometers lie, and lid thermometers really lie — they read the dome air, not the surface your food touches. The oldest trick in the pit works better. Hold your open palm about 5 inches (13 cm) above the grate and count how many seconds you can keep it there before you have to pull away:
| Seconds at 5 inches | Heat level | Approx. temp |
|---|---|---|
| 2–3 seconds | High / searing | 450–550°F |
| 4–5 seconds | Medium-high | 375–450°F |
| 6–7 seconds | Medium | 325–375°F |
| 8–10 seconds | Low / indirect | 250–325°F |
If you can only stand it for 2–3 seconds, that's your high-heat searing zone. Eight-plus seconds and you're over the cool side. Do this test on both zones before you cook — it takes ten seconds and it's the fastest way to confirm your fire is actually built the way you think it is.
Grab the free doneness + wood-pairing cheat sheet →
Now the payoff. Once you've got two zones, the question for every piece of food is simple: direct, indirect, or both?
Use straight direct heat for anything that cooks through before it burns: cuts under about ¾ inch thick, and vegetables. Burgers, thin pork chops, skirt and flank steak, shrimp, sausages you've pre-simmered, asparagus, sliced onions, corn. These are on and off in 6–10 minutes total, flipping once or twice. There's simply no time to bother moving them.
Use straight indirect heat for anything thick that needs time to cook through, where direct flame would scorch the outside first. Whole chickens, ribs, pork butt, turkey, and large roasts all live here.
A spatchcocked chicken cooks beautifully over indirect heat at 350–375°F until the breast hits the meat temperature chart target — 157°F carryover to 165°F — and the skin crisps without burning; my spatchcock chicken guide walks the whole cook.
Ribs go 4–6 hours over indirect heat in the 225–275°F range, no direct flame at all.
This is where two-zone earns its keep. For thick steaks, bone-in chops, and chicken pieces, you use both zones in order:
A thick ribeye seared then finished indirect to 130–135°F for medium-rare comes out with a dark crust and an edge-to-edge pink interior — no gray band. You can also run this in reverse: cook low on the cool side first, then sear at the end for a bigger, more even crust. That's the whole idea behind my reverse sear method, and it's the single best technique for steaks over 1½ inches thick.
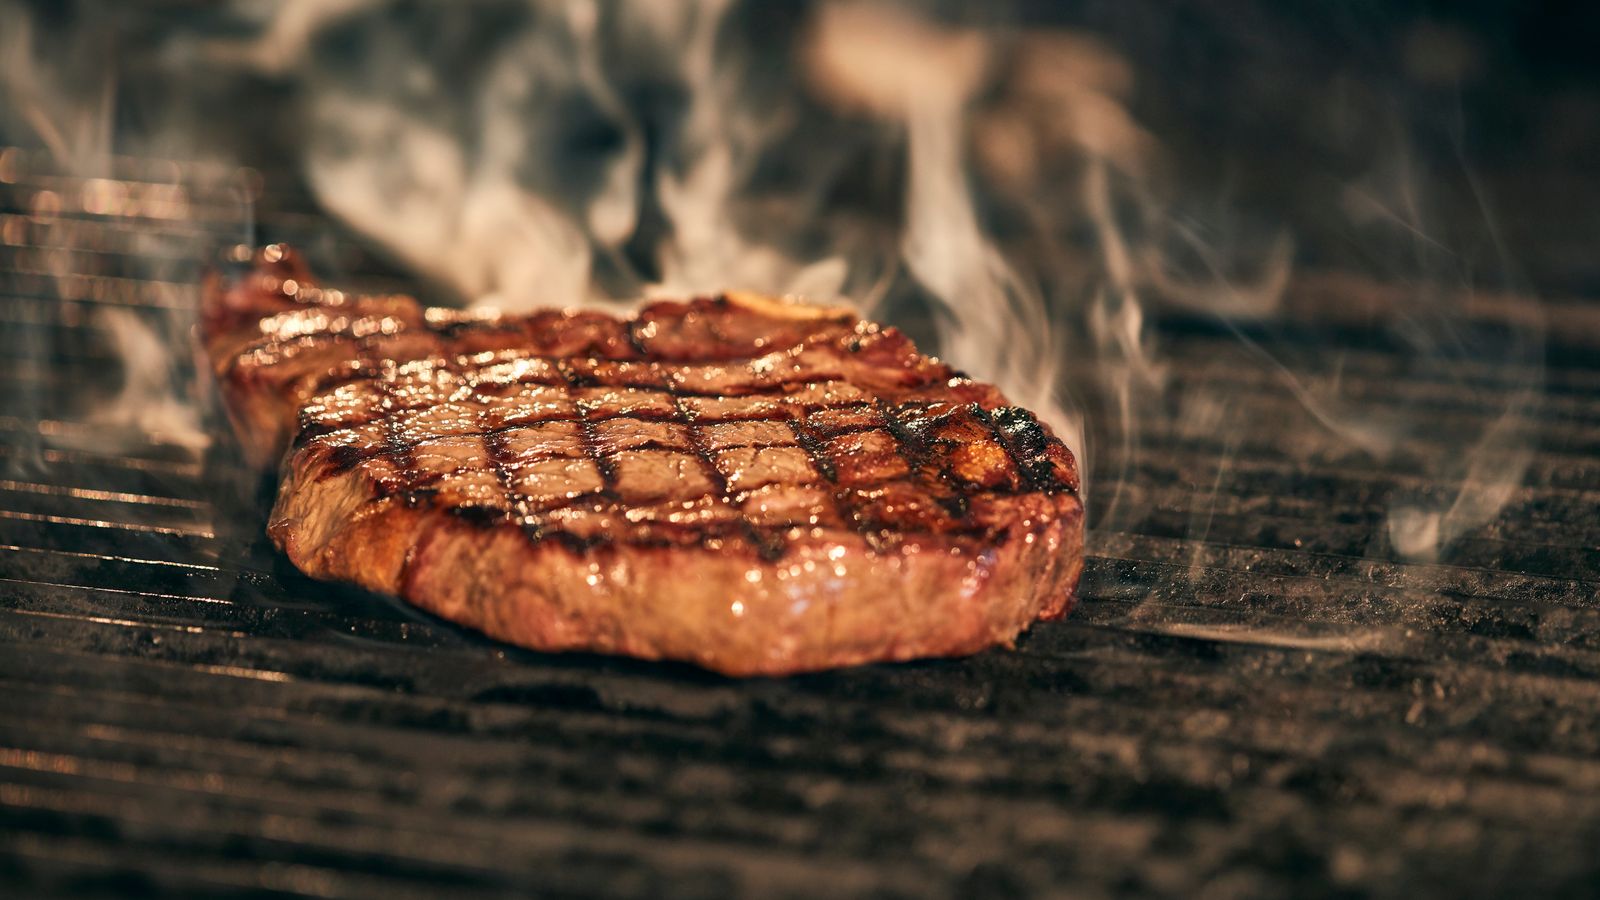
A flare-up is just fat hitting open flame.
On a single-zone fire, you're trapped — but with two zones, the fix is instant: move the food to the cool side and close the lid. The flames die within seconds because there's nothing feeding them, and your food keeps cooking on gentle indirect heat instead of getting coated in acrid soot.
Never dump water on a flare-up; it kicks up ash onto your food and can crack a hot grate. Just relocate and wait.
The cool zone is also your safety net for thick cuts that are browning too fast. If a bone-in chop is getting dark before it's cooked through, don't fight it — park it over indirect heat and let the ambient temperature bring the center up to spec. A good instant-read thermometer takes all the guesswork out of knowing when it's done.
Here's the mistake that ruins more sears than anything else: putting food on a grate that isn't fully hot yet. A cool grate is a sticky grate. Protein bonds to cold metal, then tears when you try to flip it, and you never build a real crust because searing needs surface temperature you just don't have yet.
Preheat the direct zone with the lid down for a solid 10–15 minutes before anything touches it. You want that grate ripping hot — pass the hand test at 2–3 seconds.
Then, right before the food goes on, scrape the grate clean and give it a light wipe of high-smoke-point oil on a folded paper towel held with tongs. Hot, clean, lightly oiled grate + dry food surface = a crust that releases on its own when it's ready. If the food is stuck, it's not done searing yet.
Leave it. It'll let go.
Pat your food bone-dry with paper towels before it hits the grate. Surface moisture has to boil off before browning can start, so a wet steak steams instead of sears. Dry meat, hot grate — that's 90% of a great crust right there.