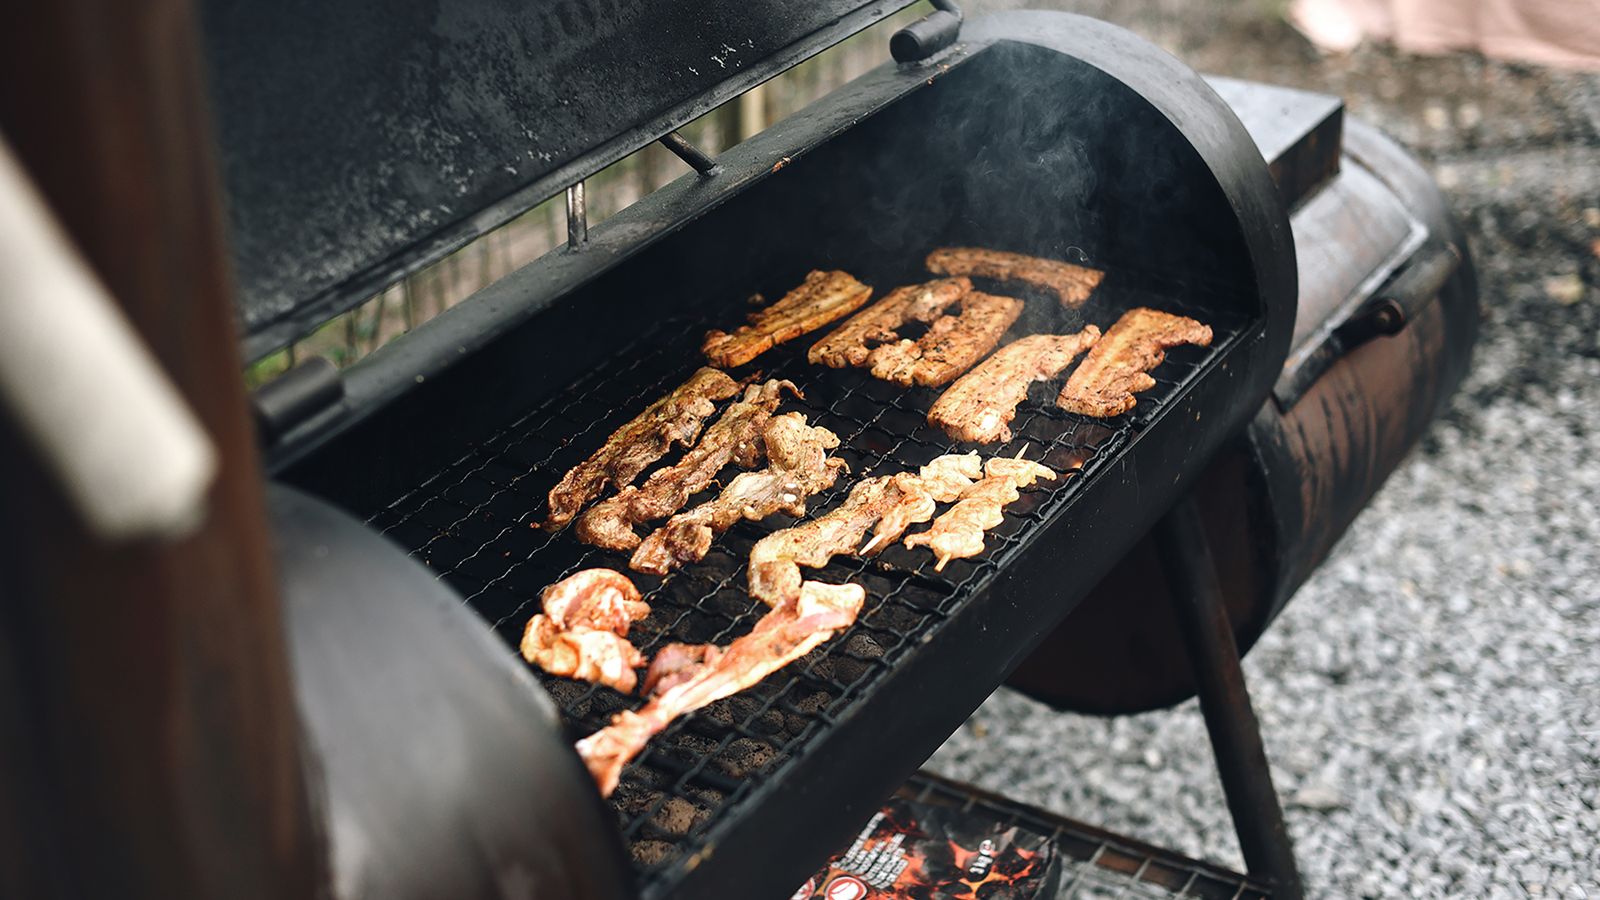
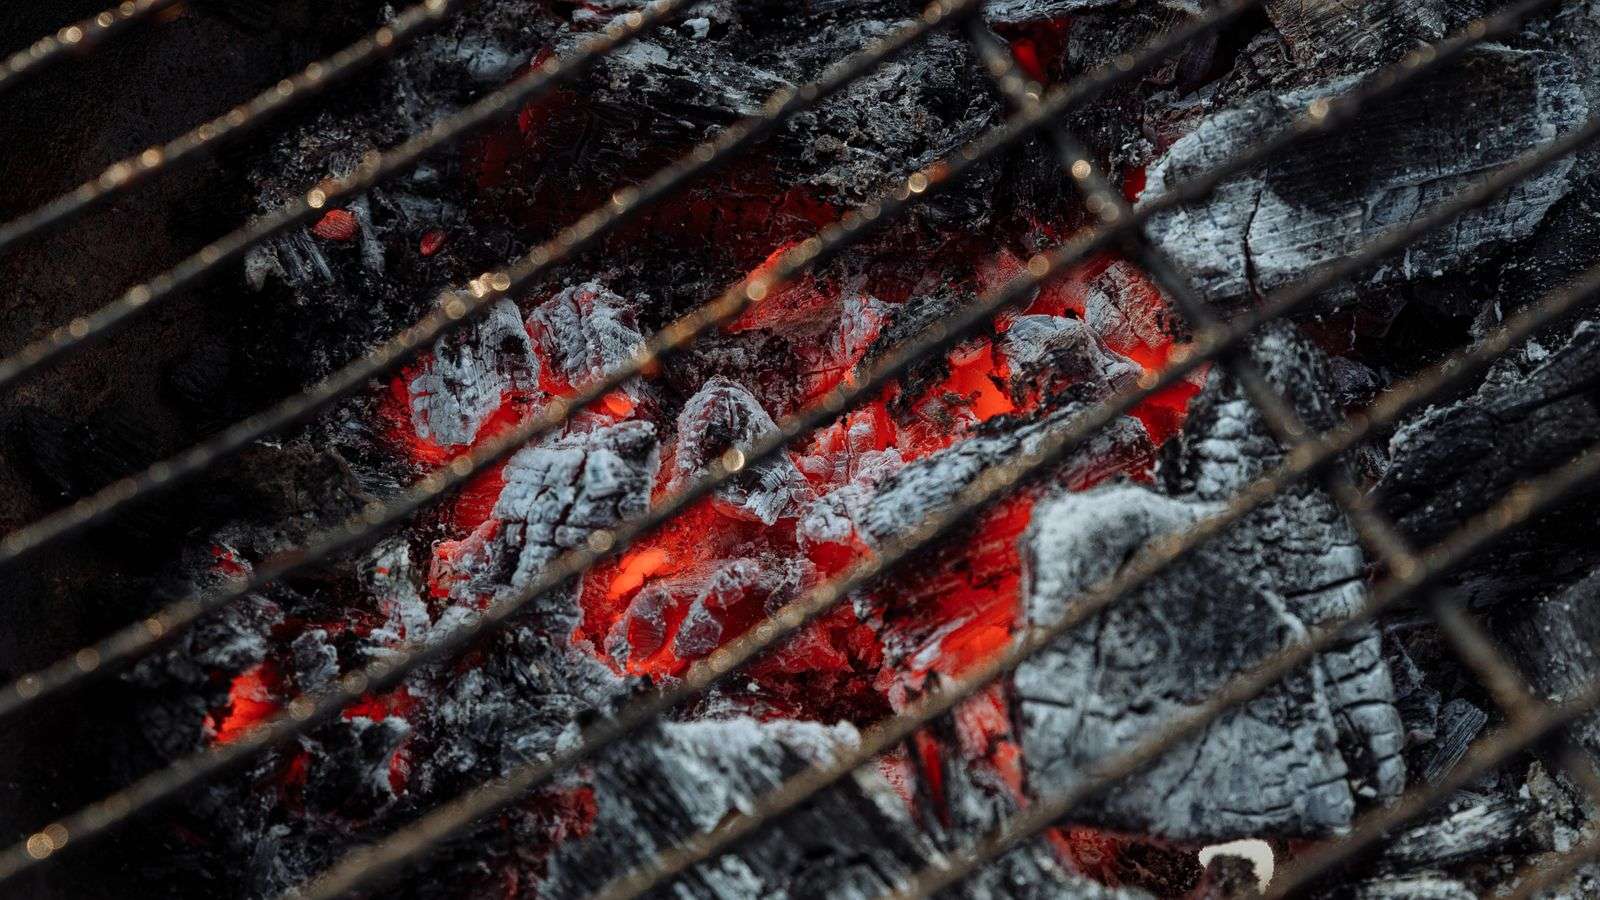
The bottom intake feeds the fire and is your main temperature control; the top exhaust controls draw — and you never fully close both at once. Start a kettle with the intake 1/4 to 1/3 open and the exhaust half open for a 250–275°F baseline, move in small steps, and wait 10–15 minutes before touching anything again. Trust a grate-level probe over the dome gauge, which reads 20–40°F hotter than where the meat sits, and tame a runaway fire by closing both vents about halfway together — never slamming them shut.
Every charcoal grill and kamado on the planet is temperature-controlled the same way: two holes and the air moving through them. No dial, no digital readout, no app — just physics. The grill you're cooking on has a bottom vent and a top vent, and once you understand what each one actually does, you can hold 225°F for twelve hours or rip a fire up to 600°F for steaks, on the same piece of equipment, in the same afternoon.
Most people fight their grill because they're chasing temperature with the wrong vent, moving in jumps that are too big, or judging heat off a lid thermometer that's lying to them by 30 degrees. Fix those three things and vent control stops being a mystery. Here's how it actually works.
The Two Vents, Two Different Jobs
Think of your fire as an engine. The intake vent (bottom, near the coals) is the fuel line — it controls how much oxygen reaches the burning charcoal, which controls burn rate and ultimately fire size. Open it wide and you're feeding the fire; choke it down and you're starving it. This is your primary temperature control.
The exhaust vent (top, on the lid) doesn't feed the fire directly — it controls draw, the speed at which air and smoke pull through the cooking chamber and out the top. A wide-open exhaust pulls harder, which drags more air in through the intake even if the intake itself hasn't moved.
A nearly-closed exhaust slows that draw to a crawl. On kettles and kamados alike, the exhaust also acts as your smoke-flavor valve — more draw means faster, thinner smoke; less draw means smoke lingers longer around the meat.
The rule that trips up almost every beginner: never fully close both vents at the same time. Do that and you'll suffocate the fire into a smoldering, creosote-heavy mess that puts out bitter, dirty smoke — and on some grills, a fire starved of all oxygen can smolder for hours before dying, filling your yard with acrid smoke the whole time.
If you want the fire out, close the intake fully and leave the exhaust cracked, or use both vents partly closed together (more on that below). One vent stays open, always.
Your Starting Point: Dial In 250-275°F
Forget guessing. On the vast majority of 22-inch kettles and mid-size kamados, this setting gets you into the 250-275°F (121-135°C) window almost every time, assuming a full or half-full charcoal load and reasonably calm wind:
Intake vent: open 1/4 to 1/3 of the way
Exhaust vent: open about half way
That's it. That's the setting you dial in before you even light the chimney, so the grill is already trending toward your target by the time the coals are ready and the lid goes on. It's the same starting point whether you're running a long low-and-slow cook or setting up a kettle for a weekend rib session.
Target Grate Temp
Intake Vent
Exhaust Vent
Best For
225-250°F (107-121°C)
1/8 to 1/4 open
1/3 to 1/2 open
Brisket, pork butt, ribs
250-275°F (121-135°C)
1/4 to 1/3 open
1/2 open
All-purpose smoking baseline
300-325°F (149-163°C)
1/2 open
2/3 to fully open
Spatchcock chicken, wings
400°F+ (204°C+)
3/4 to fully open
Fully open
Searing, direct-heat grilling
These numbers assume good charcoal, a clean ash catcher, and no gale-force wind hitting your intake side. Adjust from there in the small steps described below rather than throwing the chart out the window.
And if you're still deciding what kind of rig to build this habit on, the vent behavior described here applies whether you're running a basic kettle or one of the offset, drum, or kamado smoker styles — the mechanics are universal even when the hardware isn't.
The single biggest mistake in vent management is treating it like an oven dial — crank it and expect an instant response. Charcoal doesn't work that way.
Airflow changes take 10 to 15 minutes to fully show up in your grate temperature, because you're not just changing the burn rate of the coals lit right now, you're changing how fast the fire spreads to unlit charcoal around it.
Move too fast and you'll overshoot every single time, then overcorrect in the other direction, and spend your whole cook chasing a temperature that keeps swinging past you.
Raising the Temp
Open the intake vent first, in small increments — a quarter-turn or about 1/8 of its total travel at a time.
Leave the exhaust where it is, or open it slightly if you need a bigger jump.
Wait a full 10-15 minutes and read your grate temp again before touching anything else.
If you're still short of target, repeat with another small intake bump. Resist the urge to jump straight from 1/4 to fully open — that's how you end up at 400°F when you wanted 275°F.
Lowering the Temp
Close the intake first — that's your fuel control, and it's the fastest way to slow the burn without choking the fire out.
Keep the exhaust open. This is the part people get backwards. Closing the exhaust first cuts draw, which lets smoke and heat stagnate and can actually make your fire burn dirtier and hotter in the short term as it struggles for air. Let the exhaust keep pulling clean air through while the intake throttles supply.
Give it 10-15 minutes before deciding whether you need another small close on the intake.
Only bring the exhaust down as a secondary move, and only partway — it's a fine-tuning vent, not your main brake.
CEO TIP: Set a timer for every vent adjustment. If you touch a vent and then check the thermometer two minutes later, you have no idea what that adjustment actually did yet — you're just adding noise. Move, wait 10-15 minutes, then decide your next move.
Kamado Grills Play by Different Rules
A ceramic kamado is a different animal from a steel kettle, and it catches a lot of first-time kamado owners off guard.
The thick ceramic walls retain heat far better than steel — which is a huge advantage for fuel efficiency and long overnight cooks, but it means the vent openings you'd use on a kettle will run a kamado hot.
A kamado intake that's open a third of the way is often doing the work of a kettle's intake at half-open, because the ceramic holds and radiates heat back into the fire instead of losing it to the outside air.
Two practical consequences:
Use smaller openings. Start with the intake barely cracked — often just 1/4 inch to 1/2 inch of daylight — and the exhaust similarly restrained, well short of the half-open setting that works on a kettle.
Expect — and plan for — overshoot. Kamados are notorious for climbing past your target and then coasting there due to thermal mass. If you're chasing 250°F and you hit 260-270°F on the way up, don't panic-close the vents; a kamado often needs less correction than it looks like, because it will settle once the ceramic and the fire reach equilibrium. Make your correction, then wait longer than you would on a kettle — 15-20 minutes — before judging whether it worked.
If you're shopping and trying to decide whether a kamado's heat retention is worth the learning curve versus a Weber-style kettle or a Smokey Mountain, that's worth working through before you buy — see our comparison of kettle, Smokey Mountain, and kamado styles for the tradeoffs.
And regardless of which rig you land on, the fundamentals of building a proper hot side and cool side carry over directly — see our guide to setting up a two-zone fire for direct and indirect heat.
Where to Put Your Thermometer — Grate vs. Dome
Vent settings only matter if you're reading the right number, and this is where a lot of "my grill won't hold temp" complaints actually come from a bad thermometer placement, not a bad vent setting.
Thermometer Location
What It Reads
Typical Offset
Built-in dome/lid gauge
Hot air rising near the top of the dome
Runs 20-40°F hotter than grate level
Leave-in probe at grate level
Actual air temperature surrounding the meat
Accurate — this is your real cook temp
That factory dome thermometer is measuring air near the very top of the lid — hot air rises, so it's reading meaningfully hotter than what's happening down at the grate where your meat actually sits. A dome reading of 300°F might mean your meat is only seeing 260-270°F, which matters enormously on a long brisket or pork butt cook where a 30-degree gap changes your finish time by hours.
Run a leave-in grate probe instead — clipped to the cooking grate, not stuck through the meat — and use that as your vent-adjustment reference, not the dome. Reserve the dome gauge as a rough sanity check, not a control instrument.
If you don't already have a reliable leave-in setup, our meat thermometer guide breaks down which probe style fits which job, and pairing that grate reading with an instant-read check on the meat itself is how you nail both the pit temperature and the correct internal pull temperature for whatever you're cooking.
Every pitmaster has walked back outside to find the grill reading 400°F when it should be sitting at 250°F. It happens — a gust of wind hit the intake, a vent got bumped, or the fire caught harder than expected. Here's the fix, and it's not what your instinct tells you to do.
Do not slam both vents shut. That's the panic move, and it backfires two ways: it can choke the fire into billowing dirty smoke that ruins whatever's on the grate, and because charcoal fires have momentum, a fully-shut grill can still coast upward for several minutes before it responds at all — so you get the worst of both, a dirty fire that's still too hot.
Close both vents about halfway, together — not to zero, just a meaningful step down from wherever they were.
Step back and give it a genuine 10-15 minutes. A runaway fire took time to build that momentum and it will take a few minutes to bleed it back off.
Check your grate-level reading, not the dome. If you're still climbing or holding too hot, close both vents another increment, keeping the same ratio between intake and exhaust rather than shutting one all the way.
Once you're back in range, stop adjusting. Let it stabilize for another 15 minutes before making any further fine-tuning move.
CEO TIP: A runaway fire is almost always a vent problem, not a charcoal problem. Before you start second-guessing your fuel or your grill, walk around and check whether wind is hitting the intake side directly — that alone can double your airflow without you touching a single vent.
Get comfortable with this two-vent relationship and you can run any cook on any charcoal grill — whether you're holding steady for a low-and-slow brisket, ripping the heat up for wings, or building a two-zone setup for a mixed direct-and-indirect cook. The vents are the only controls you've got. Learn to trust small moves and patient waits, and they'll do exactly what you tell them.
The CEO's Bottom Line
Intake controls fire size and burn rate; exhaust controls draw — never fully close both at once.
Start most kettle cooks with intake 1/4-1/3 open and exhaust half open for a 250-275°F baseline.
Raise temp by opening the intake in small steps; lower it by closing the intake first while keeping the exhaust open — and always wait 10-15 minutes before judging the result.
Kamados hold heat far better than steel kettles: use smaller vent openings and expect some overshoot before it settles.
Trust a leave-in grate probe over the dome thermometer, which typically reads 20-40°F hotter than what's happening at the meat.
Fix a runaway fire by closing both vents about halfway together, never by slamming them shut.
About the Author
Grillmaster John learned live fire the long way — kitchens, backyards and smoke pits around the world — and settled on one rule: taste the meat, not the heat. Every guide on this site gets cooked, temped and tasted before it gets published. Got a cook that beat you? Send it through the contact page and we'll sort it out together. — GJ