Your first cook is a sequence, not a talent test. Build a two-zone fire so you’ve always got a cool side to dodge flare-ups, preheat to a real target — gas to 450–500°F in 10–15 minutes, charcoal 20–30 minutes until the coals ash over gray — and oil the grate, not the food. Cook something forgiving: 80/20 burgers pulled at 160°F or bone-in thighs at 175–185°F, by thermometer, never by color or the clock. Keep the lid closed except when your hands are busy, then brush the grate while it’s still warm.
Nobody is born knowing how to grill. The difference between a nervous first-timer and a confident backyard cook isn't talent — it's a handful of decisions made in the right order. Get those right and your first cook comes off clean: no scorched hockey pucks, no raw centers, no standing over the fire wondering what went wrong.
This is that order. We'll pick your fuel, build a fire with a built-in escape route, hit real preheat targets, and cook something forgiving enough to survive a beginner. Follow it start to finish and you'll eat well tonight — and you'll understand why every step matters, which is what turns one good cook into a hundred.
Step 1: Pick Your Fuel First — It Changes Everything
Before you touch a single burger, understand what your grill actually does. The fuel you cook on decides how much you have to babysit the fire, and that's the single biggest variable for a beginner. Each type sits at a different point on the control-versus-convenience curve.
Charcoal: maximum control, maximum involvement
Charcoal is a live fire you shape by hand. You control heat with the amount of coals and the air vents — open vents feed oxygen and push temps up, closed vents choke it down. That's real power: a charcoal kettle can rip at 600°F (315°C) for a sear or idle at 250°F (120°C) for low-and-slow.
The tradeoff is that you are the thermostat. Expect a 20-to-30-minute startup and a heat curve that drifts as coals burn down. If you want to genuinely learn to grill, charcoal teaches you the most — and a chimney starter (around $20) makes lighting it foolproof, no lighter fluid, no chemical taste.
Gas: turn a knob, cook now
Gas trades some flavor and top-end heat for pure convenience. You get a dial, near-instant heat, and a preheat measured in minutes, not half an hour. For a weeknight or a first-ever cook, that predictability is a gift — one less thing to manage while you learn everything else. You lose a little of the smoky character charcoal gives, but for burgers and thighs nobody at your table will file a complaint.
Pellet: set a number, walk away
A pellet grill is the "set-it" option. You dial in a temperature, an auger feeds hardwood pellets to a fire pot, and a controller holds that number like an oven — often within 10 to 15 degrees.
It runs on electricity to drive the auger and fan, gives you real wood smoke, and asks almost nothing of you once it's running. The catch: most pellet grills top out around 450–500°F, so screaming-hot steakhouse sears are harder. For your first cook, that ceiling won't matter at all.
If you're still choosing a grill entirely, it's worth reading the full gas vs charcoal vs pellet vs electric breakdown before you spend money. But whatever you've got in the yard right now will cook a great first meal — so let's use it.
Step 2: Build a Two-Zone Fire — Your Flare-Up Escape Route
This is the technique that saves more first cooks than any other, and almost no beginner does it. A two-zone fire means one side of the grill is hot (direct heat) and the other side has little or no heat under it (indirect). You're not just building a fire — you're building an exit.
Here's why it matters on day one: fat drips, hits the flame, and flares. A wall of fire licks up and blackens the outside of your food while the inside is still cold. With a single-zone setup, you have nowhere to go and you panic. With two zones, you simply slide the food to the cool side, let the flare die, and move back. Crisis over in ten seconds.
Charcoal: dump your lit coals onto one half of the charcoal grate and leave the other half bare. That's it — a hot side and a safe side.
Gas: light the burners on one side and leave the burners on the other side off (or on their lowest setting).
Pellet: the grate already has a hotter zone (over the fire pot) and cooler edges — position food accordingly, and use the indirect area for anything thick.
The two-zone setup isn't just a beginner crutch, either — it's the foundation for nearly everything you'll cook later, from thick steaks to whole chickens. It's worth learning it properly with our full two-zone fire setup guide once you've got a cook or two under your belt.
Sear on the hot side, finish on the cool side. This one habit — hot to build crust, cool to bring the center up to temp without burning — is the backbone of good grilling. Learn it on your first cook and you'll use it forever.
Step 3: Preheat Properly — Real Targets, Not Guesses
A cold or half-heated grill is the fast track to sticking, tearing, and gray, sad food. Preheating does two jobs: it brings the grate up to searing temperature so food releases cleanly, and it burns off yesterday's residue. Give it the full time. Each fuel has its own target.
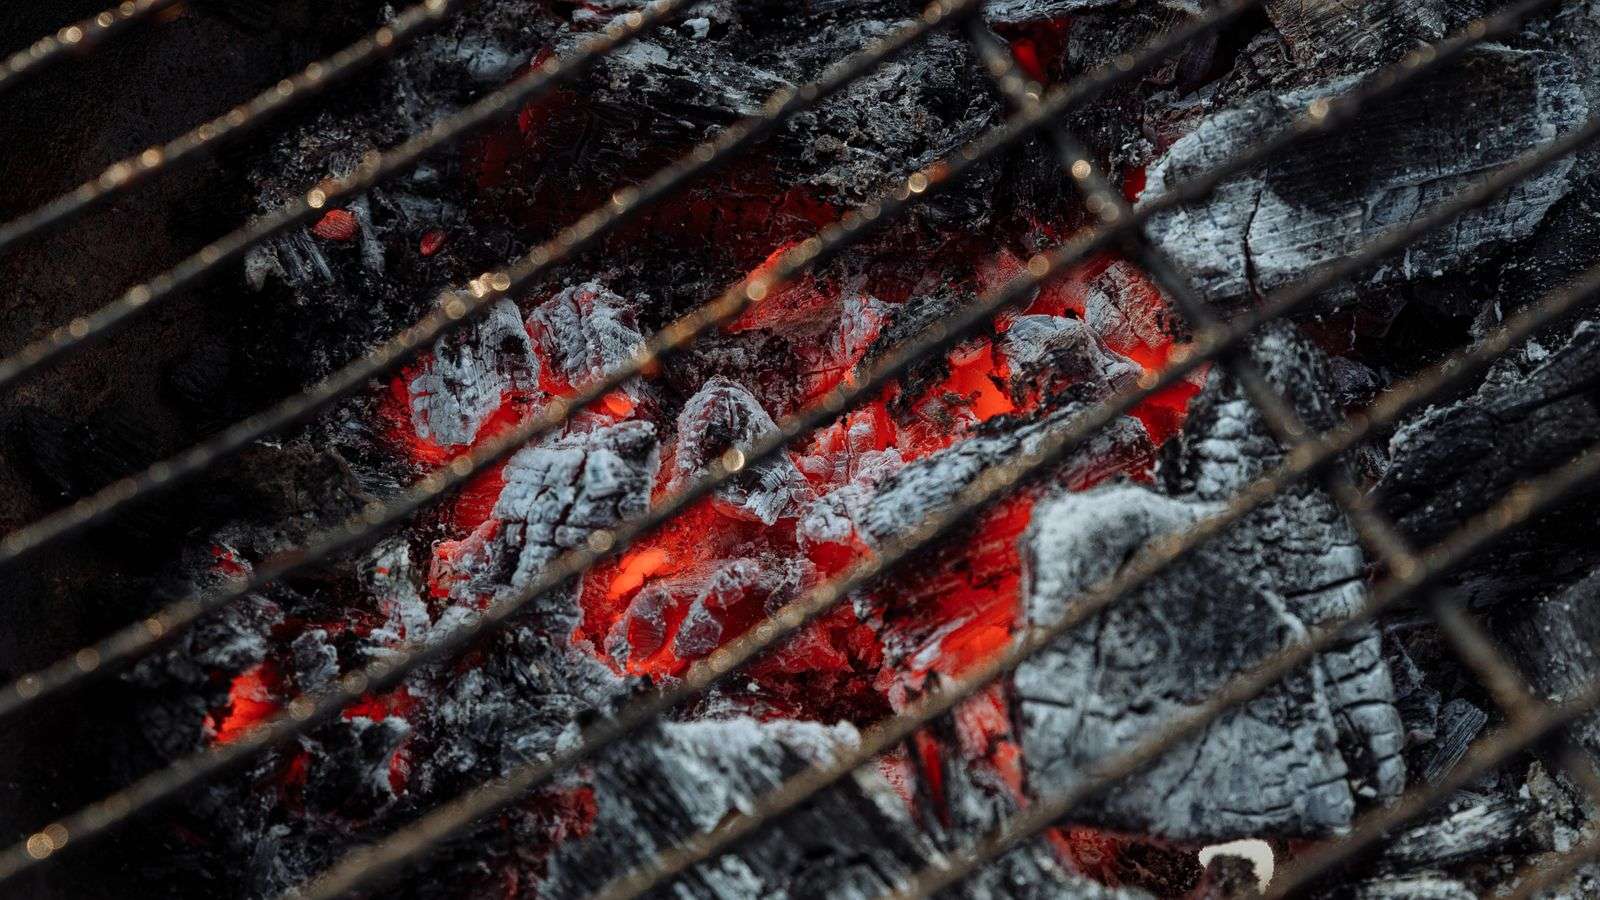
For gas, close the lid and let it climb — an open lid bleeds heat and you'll never build grate temperature. For charcoal, the visual cue is everything: wait until the coals stop looking black and their edges are cloaked in gray ash.
Ashed-over coals mean the coals are fully lit and putting out clean, even heat; black coals mean off-flavors and unpredictable hot spots.
For pellet, run the complete startup cycle so the fire pot establishes a stable flame before you set your cook temperature — rushing it causes temperature swings and dirty smoke.
Step 4: Oil the Grate, Not the Food — and Buy a Thermometer
Two habits here separate people who grill from people who guess.
Oil the grate
Oiling the food drips fat into the fire and feeds flare-ups. Oil the grate instead. Once it's fully preheated, fold a paper towel into a tight pad, grip it with tongs, dip it in a high-smoke-point oil (canola, grapeseed, or avocado — not olive oil, which burns low), and wipe the hot bars.
You want a thin, glossy film, not a puddle. This creates a slick, seasoned surface so proteins release cleanly instead of welding themselves to the metal.
Use an instant-read from cook number one
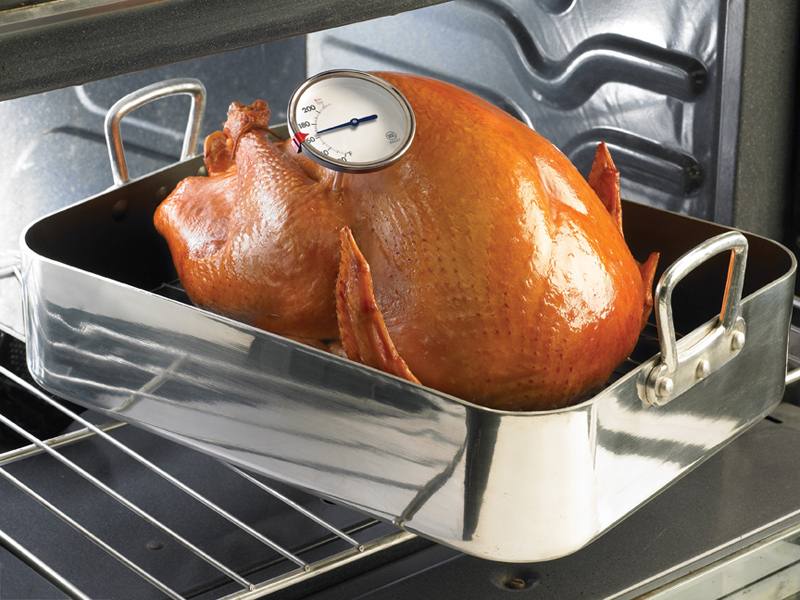
Here's the truth that separates good cooks from lucky ones: you cannot judge doneness by color, time, or poking it. Char on the outside tells you nothing about the inside. Grill time is a suggestion that shifts with the weather, the wind, the thickness of the meat, and how cold it started. The only thing that tells you the truth is internal temperature.
Buy an instant-read thermometer (a decent one runs around $15–35) and use it from your very first cook. Probe the thickest part, away from bone.
Pull your food based on the number, not the clock — and always account for carryover cooking, where the internal temp keeps climbing 3–5°F after you pull it off the heat. Pin every target to the meat temperature chart and you will never serve raw chicken or shoe-leather burgers again.
Step 5: Cook Something Forgiving — Burgers or Bone-In Thighs
Your first cook is not the day to attempt a 14-hour brisket. Brisket and pork shoulder are graduate-level projects with stalls, trimming, and hours of fire management — save the brisket packer guide and the pulled pork walkthrough for when you've got the basics locked in. For today, cook something that's genuinely hard to ruin.
Burgers — the classic, done right
Use 80/20 ground beef (80% lean, 20% fat) — the fat is flavor and insurance against dryness. Form patties about ¾-inch thick and, this matters, press a shallow dimple into the center of each with your thumb. Burgers puff up in the middle as they cook; the dimple keeps them flat instead of turning into meatballs. Salt the outside just before they hit the grate.
Lay them on the hot side, lid closed.
Flip once, at about 3–4 minutes, when the top sweats juice and the edges look set. Flipping repeatedly stops a crust from forming.
Pull ground beef at 160°F (71°C) — the USDA safe minimum for ground meat, because grinding spreads surface bacteria throughout. This is not the cut to serve pink.
Add cheese in the last minute, close the lid, let it melt.
Bone-in, skin-on chicken thighs — the beginner's secret weapon
If burgers are the classic, thighs are the smart pick. Dark meat is far more forgiving than breast — its higher fat and connective tissue mean it stays juicy even if you overshoot the target by a few degrees. Breast dries out the moment it passes done; thighs shrug it off.
Pat the skin bone-dry, season simply — salt, pepper, maybe a simple dry rub.
Start them skin-side up on the cool side, lid closed, and let them cook through gently for 15–20 minutes.
Finish skin-side down on the hot side for a few minutes to crisp the skin — watch it, because rendering fat flares. This is exactly where your two-zone escape route earns its keep.
Pull thighs at 175–185°F (79–85°C), not 165°F. Dark meat is at its best hotter, where the connective tissue melts and the texture turns silky instead of rubbery.
Once you're comfortable, thighs are your on-ramp to bigger poultry cooks — a whole spatchcocked chicken or crispy smoked wings use the exact same skin-crisping logic.
Season, then leave it alone. The urge to flip, poke, and press is the beginner's biggest enemy — pressing a burger with a spatula squeezes out the juice you're trying to keep in. Set it down, close the lid, and trust the temp probe.
Step 6: Keep the Lid Closed, Then Clean While It's Warm
Lid-closed discipline
Every time you lift the lid, you dump heat and reset your cook. An open lid turns your grill into an open campfire — it only heats the food from the bottom, cooking slowly and unevenly. A closed lid traps convective heat and surrounds the food like an oven, cooking it through from all sides while the grate sears the bottom. It also starves flare-ups of the oxygen they need to rage.
The rule: lid open only when you're actively doing something — placing food, flipping, probing, pulling. The rest of the time, keep it shut. On charcoal and pellet, the lid is also how you regulate temperature; on charcoal specifically, learning to work the vents with the lid closed is the next skill worth mastering.
Burn it off, brush it warm
Don't walk away the second the food comes off. With the grill still hot, close the lid and let it run for 5–10 minutes on high — this burns off stuck-on residue and turns it to loose ash. Then, while the grate is still warm, hit it with a grill brush (or a bristle-free scraper).
Warm grates release gunk easily; cold ones cement it on. Thirty seconds of brushing now saves you a scrubbing session next time and gives you a clean, non-stick surface for your next cook. Build it into a real cleaning and maintenance routine and your grill will outlast the neighbor's.
Putting It All Together
That's the whole arc of a first cook: choose your fuel and know what it asks of you, build two zones so you always have somewhere to run, preheat to a real number, oil the grate and trust a thermometer, cook something forgiving, and keep that lid down. None of it is hard. It's just a sequence — and now you have it.
Do this once and the fear evaporates. Do it three times and you'll be eyeing a rack of ribs, a pork shoulder, maybe that low-and-slow rabbit hole that swallows the rest of us whole. Everybody starts with a first cook. Yours starts now.
The CEO's Bottom Line
Two zones, every time. A hot side and a cool side gives you a flare-up escape route and the sear-then-finish move that underpins all good grilling.
Preheat to a target, not a feeling: gas to 450–500°F in 10–15 min, charcoal until coals are gray-ashed (20–30 min), pellet through a full startup cycle.
Oil the grate, never the food — and cook by internal temperature from your very first burger, allowing 3–5°F of carryover.
Start forgiving: 80/20 burgers to 160°F or bone-in thighs to 175–185°F. Skip brisket until the basics are automatic.
Lid closed, then clean warm. Trapped heat cooks evenly and tames flare-ups; a warm grate brushes clean in seconds.
About the Author
Grillmaster John learned live fire the long way — kitchens, backyards and smoke pits around the world — and settled on one rule: taste the meat, not the heat. Every guide on this site gets cooked, temped and tasted before it gets published. Got a cook that beat you? Send it through the contact page and we'll sort it out together. — GJ