The quick version
The schedule is simple: a 10-minute habit after every cook — brush the grates while they’re still warm, run a 10-15 minute high-heat burn-off, empty the grease tray — then monthly burner and venturi-tube checks, a vinegar-and-baking-soda deep clean every 4-6 months, and a soapy-water leak test on the hose once a year. Empty charcoal ash after every cooled cook and keep a breathable cover on the grill between them. Do that and a maintained grill outlasts a neglected one by five to ten years.
Most people treat grill cleaning like flossing — they know they should do it more, they don't, and then they're surprised when something goes wrong. A neglected grill doesn't just look bad.
It flares up on you mid-cook, throws bitter carbon flavor onto every piece of meat, rusts from the inside out, and in the worst cases, becomes a genuine fire or gas-leak hazard. None of that is dramatic to prevent.
It's a 10-minute habit after every cook, a slightly longer job once a month, and two deeper sessions a year.
This is the schedule I run on my own rigs and the one I'd hand any new pitmaster on day one. No guesswork, no "clean it when it looks dirty" — just a system with real temperatures, real timeframes, and the reason each step exists.
Grease is the enemy on every front. Left on the grates, it turns into a sticky black lacquer called carbon buildup that flakes into your food and tastes acrid. Left in the tray or the bottom of a kettle, it's fuel for a grease fire that can hit 700°F (370°C) or higher in seconds. Left to sit wet, it mixes with condensation and starts rusting your grates, burners, and firebox from surfaces you can't even see.
A schedule turns all of that into small, predictable jobs instead of one dreaded once-a-year excavation. It also protects the investment — a $400 gas grill or a $900 kamado that's maintained on schedule will comfortably outlast one that isn't by five to ten years.
This is the single most important line item on the whole schedule, and it takes less time than plating the food.
Do this within 15 minutes of pulling your food, while the grates are still around 300-400°F (150-205°C). Warm grease wipes off; cooled grease sets like glue. Use a sturdy grill brush — stainless bristle, bristle-free coil, or a wooden scraper if you're avoiding loose bristles — and knock loose debris straight down into the firebox or drip tray.
On a gas grill, close the lid and run all burners on high for 10-15 minutes right after cooking. This carbonizes leftover grease and food residue into ash that brushes away easily next time, and it's the same principle behind the self-cleaning cycle on an oven.
On a charcoal grill or offset, you get this for free from the residual heat — just leave the lid cracked open until the fire dies down naturally rather than choking it out, which lets more of that residue burn off instead of turning greasy and stale.
Every single time, once it's cooled. A tray that's more than half full is a fire risk and it's also where rancid grease smell comes from — that sour note you sometimes catch when you fire up a grill that's been closed up for a week. Scrape it into the trash, never down a drain, and wipe the tray itself if it's getting a sticky film.
CEO TIP: Keep a dedicated grill brush and a putty knife in a bucket right next to the grill. If the tools aren't within arm's reach, the 10-minute habit turns into a 10-minute excuse.
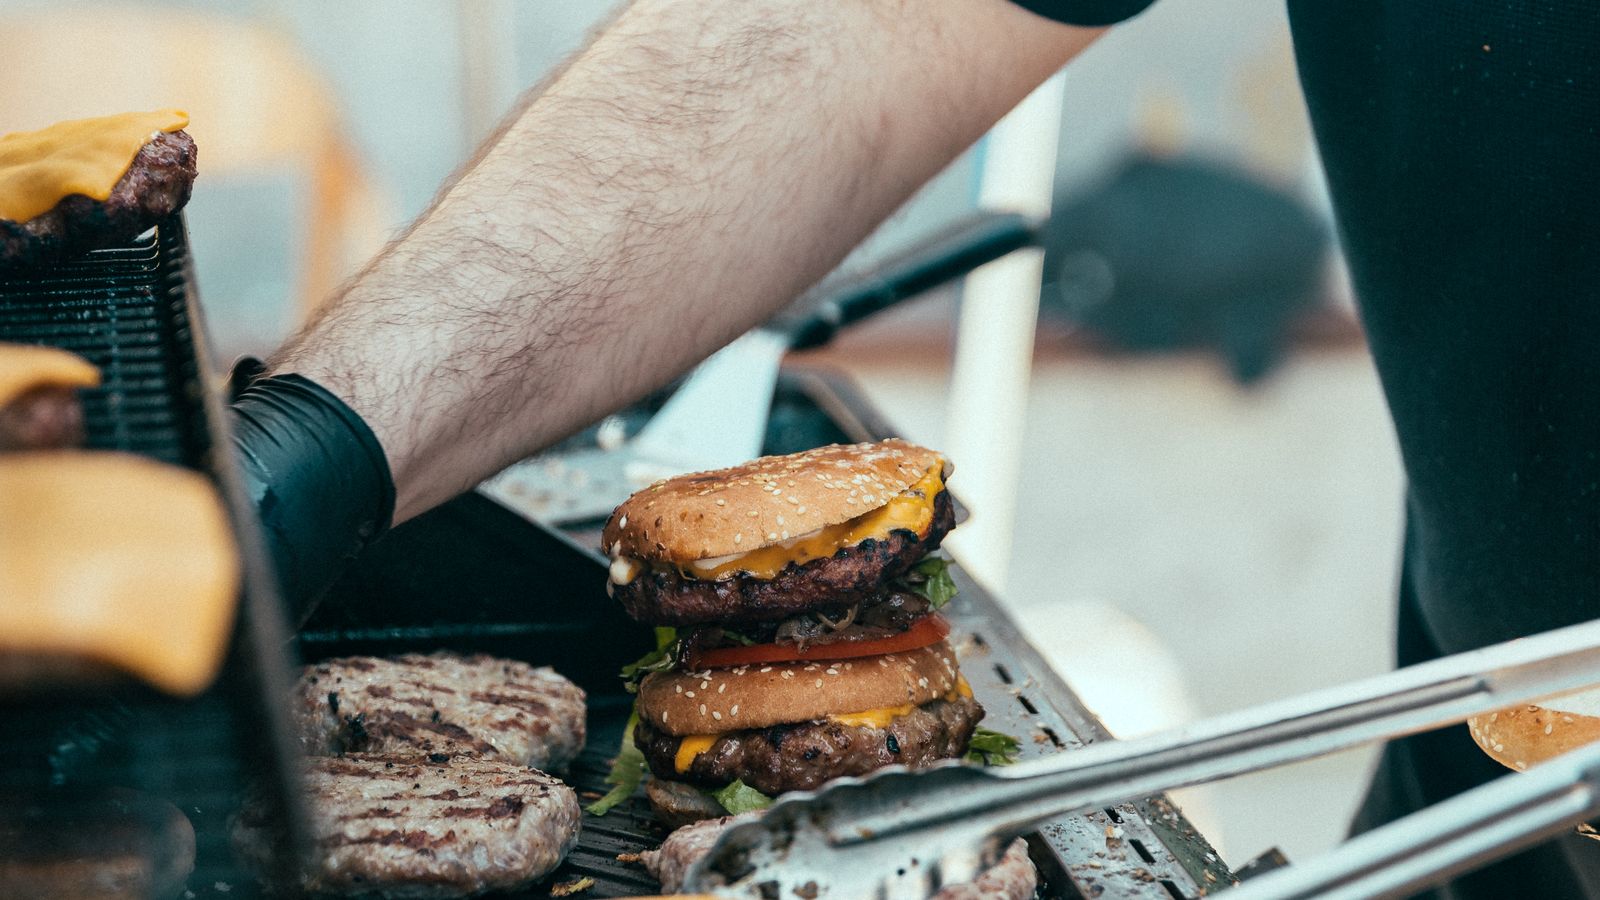
If you're running a kettle, a kamado, or an offset, ash management is its own must-do, separate from the grease routine above.
Empty the ash catcher or firebox after every cooled cook — not weekly, not "when it's full." Ash left sitting absorbs moisture from the air, and that damp ash sits directly against your metal firebox, grate supports, and vent hardware, which is exactly how rust holes start eating through an otherwise solid kettle.
It also chokes airflow through your bottom vents, which makes your next fire harder to light and impossible to control precisely.
Wait until the ash is fully cold — ideally the next morning, never the same night — then sweep it into a metal container, not a plastic trash bag, since coals can hold heat for 24+ hours even when they look dead.
Once a month, or every 8-10 cooks if you grill several times a week, go a level deeper than the daily brush-off.
CEO TIP: Do the venturi check before every first cook of a new season, no exceptions. It's a 90-second job that prevents the one grill failure that can actually hurt you.
| Frequency | Task | Why It Matters |
|---|---|---|
| After every cook | Brush grates warm, 10-min high-heat burn-off, empty grease tray | Prevents carbon buildup and grease fires |
| After every cooled charcoal cook | Empty ash catcher/firebox | Trapped ash holds moisture and rusts steel |
| Monthly | Clean burners/heat plates, check venturi tubes for nests | Prevents flashback and uneven flame |
| Every 4-6 months | Deep clean grates, bars, and interior with vinegar + baking soda | Removes baked-on carbon that brushing can't touch |
| Annually | Soapy-water bubble test on hose and regulator | Catches gas leaks before they become dangerous |
| Always | Breathable cover between cooks | Cuts moisture, rust, and cleaning frequency |
Getting this rhythm right matters just as much as nailing your internal temps — and speaking of which, if you haven't already bookmarked the meat temperature chart, do it now, because a clean, well-running grill is only half the battle if you're pulling meat at the wrong pull temp.
Grab the free doneness + wood-pairing cheat sheet →
Twice a year — I do mine at the start of grilling season in spring and again before winter storage — the grill needs a full teardown. This is the job that gets baked-on carbon that daily brushing and monthly scraping never fully remove.
This is also the right time to check hinges, casters, and any electronic ignition components if you're running a gas or pellet unit, since these tend to get gunked up right alongside the cooking surfaces.
Once a year — I do it every spring before the first real cookout — every gas grill owner needs to run a leak check on the hose and regulator. This one takes five minutes and it's the single most important safety task on this entire list.
Do this any time you reconnect a tank, replace a hose, or the grill has sat unused for a full season — not just once and forget it.
A breathable, grill-specific cover is the cheapest maintenance tool you'll ever buy, usually somewhere around $20-50 depending on size. The key word is breathable — a cheap tarp or plastic sheet traps condensation underneath it, which accelerates rust rather than preventing it. A proper vented or fabric grill cover sheds rain while still letting trapped moisture escape.
Covering the grill between cooks cuts your monthly and deep-clean workload noticeably, because it's blocking pollen, dust, rain, and the UV exposure that dries out gaskets and hoses over time. If you store the grill outdoors year-round, this single habit is the difference between a grill that looks new after three years and one that's rusting through its lid.
The core schedule above applies across the board, but where the grime accumulates changes by grill type. Pellet grills need their firepot and auger area vacuumed of ash monthly, since compacted ash there can smother the fire or trip an error code.
Kamados hold heat retention so well that ash and grease can bake rock-hard against the ceramic if you skip the after-cook clean, so don't let that one slide just because the exterior looks fine.
If you're still deciding between platforms, it's worth reading how gas, charcoal, pellet, and electric grills differ on upkeep before you buy, since maintenance load is a real part of the ownership cost.
And if you're brand new to all of this, our beginner's grilling walkthrough covers the basics of getting a first fire going cleanly from the start.