The quick version
Cook it in two stages: hold the pit at 225–250°F and bring the steak to 110–115°F internal, then sear it 60 to 90 seconds a side over 500°F-plus heat. Pull about 5°F shy of your target — 125–130°F gets you a medium-rare that lands at 130–135°F after a 5 to 10 minute rest. Only bother on steaks 1.5 inches or thicker, dry-brine with kosher salt at least 40 minutes ahead, and don’t try it without an instant-read thermometer.
The reverse sear is the single biggest upgrade you can make to how you cook a thick steak, and it flips the old rulebook on its head.
Instead of blasting the meat with heat first and hoping the middle catches up, you cook it low and gentle until it's almost done, then sear it hard for a crust at the very end.
The payoff is a steak that's rosy and evenly cooked from edge to edge, with a deep brown bark and none of that grey, overcooked ring.
It sounds fussy. It isn't. Once you've done it once with a thermometer in hand, you'll never grill a good steak any other way. Here's exactly how I do it.
When you sear a cold steak first, the outside races ahead of the inside. By the time the center hits medium-rare, you've got a thick band of overcooked grey meat wrapped around it. That's the classic bullseye steak, and it's the mark of a hot pan doing too much work too fast.
The reverse sear solves this by separating the two jobs a steak needs. Job one is cooking the interior evenly. Low, indirect heat brings the whole steak up to temperature almost uniformly, so the meat is the same doneness a quarter-inch under the crust as it is dead center.
Job two is building the crust. A short, screaming-hot sear at the end triggers the Maillard reaction on the surface without having time to cook the inside any further. Two jobs, two stages, no compromise.
This is the part people skip, and it's the part that decides everything. The reverse sear only pays off on a thick steak — 1.5 inches minimum, and 1.75 to 2 inches is even better. Thin steaks (anything under an inch) will blow past medium-rare during the gentle phase and give you nothing to work with at the sear. For a thin cut, just do a fast hot sear the old-fashioned way.
My go-to cuts for reverse searing:
Buy one thick steak instead of two thin ones and split it at the table. A 1.75-inch ribeye feeds two people better than two 3/4-inch steaks ever will — and it's the only way to get a proper reverse sear.
Before any heat touches the meat, salt it. Salt the steak generously on all sides with coarse kosher salt — roughly 3/4 teaspoon per pound — and let it sit uncovered on a rack in the fridge for at least 40 minutes, or up to overnight. This is a dry brine, and it does two things.
First, the salt pulls moisture out, dissolves into it, and gets reabsorbed, seasoning the meat all the way through rather than just the surface. Second, that uncovered fridge time dries out the exterior, and a dry surface is what browns fast and hard at the sear. A wet steak steams; a dry steak crusts. If you want the full breakdown of why this works, I get into the osmosis science in the wet vs. dry brine guide.
Overnight is best if you can plan ahead. Salt at least 40 minutes ahead or right before the heat — the dead zone is in between (5-30 minutes), when moisture has been pulled to the surface but hasn't been reabsorbed. Hold off on pepper until after the sear, since it can scorch and turn bitter over high heat.
Set up your grill for two-zone indirect cooking — coals or burners on one side, nothing on the other — and hold the pit at 225 to 250°F (107–121°C). A pellet grill, kamado, or any smoker does this beautifully, and you can add a chunk of wood for a whisper of smoke if you like.
Put the steak on the cool side, away from the heat, and close the lid. Now cook it slowly until the internal temperature reads 110 to 115°F (43–46°C) for a medium-rare finish. Depending on thickness and pit temp, that's usually 35 to 50 minutes — but ignore the clock and trust the thermometer. Pull it 10°F lower on the low phase if you want it rarer, a touch higher if you're chasing medium.
Grab the free doneness + wood-pairing cheat sheet →
Pull the steak off and let it sit for a few minutes while you crank the heat. Get your grill's direct-heat zone as hot as it will go — 500°F or higher (260°C+), ripping hot. Cast iron over a chimney of coals, a scorching gas burner, or a searing station all work. You want to hear it when the steak lands.
Sear 60 to 90 seconds per side, then flip. If your steak has a fat cap, render the edges too — hold it on its side with tongs for 20 to 30 seconds a face. The whole sear takes 2 to 4 minutes total. Because the interior is already near your target, the sear only browns the outside; it doesn't have time to overcook the middle. That's the entire trick.
Here's the number that matters most: a steak keeps cooking after it leaves the heat. That's carryover — residual heat driving the internal temp up another 3 to 5°F as it rests. So you always pull about 5°F below your target. The temps below are pull temps for the reverse sear; the steak climbs to its final doneness while it rests.
| Doneness | Pull off the sear at | Final temp after rest | Center color |
|---|---|---|---|
| Rare | 120°F (49°C) | ~125°F (52°C) | Cool red |
| Medium-rare | 125–130°F (52–54°C) | 130–135°F (54–57°C) | Warm red-pink |
| Medium | 135–140°F (57–60°C) | 140–145°F (60–63°C) | Warm pink |
| Medium-well | 145°F (63°C) | 150°F (66°C) | Faint pink |
Medium-rare — a final 130 to 135°F — is where a good steak lives, and it's where I cook mine every time. For the full breakdown across every cut, from steak to poultry to whole roasts, see the meat temperature chart.
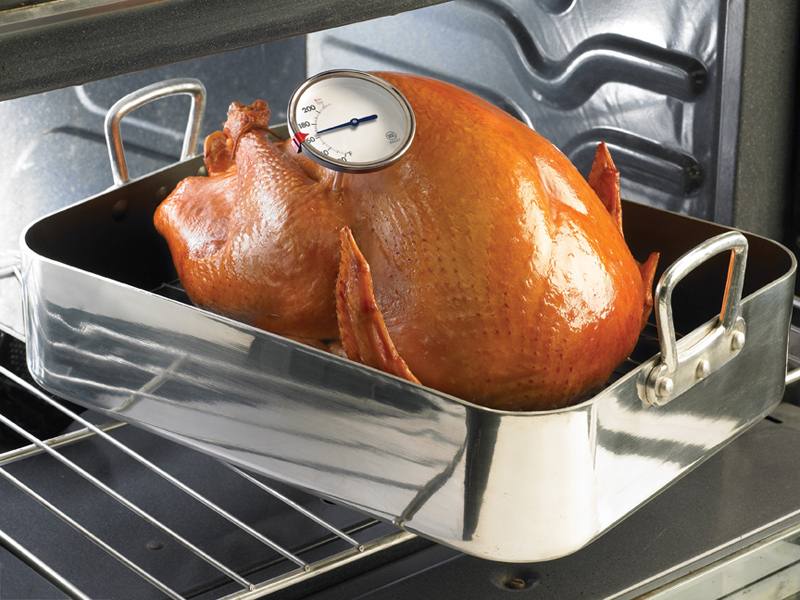
You cannot reverse sear by feel or by clock. An instant-read thermometer is the one tool this method absolutely requires — the finger-poke test is a coin flip, and a $15 dial thermometer lags too much to trust. Probe the thickest part of the steak, dead center, avoiding fat and bone. On a two-muscle porterhouse, check both sides. If you're deciding what to buy, I break down the options in the meat thermometer guide.
Calibrate your thermometer in ice water — it should read 32°F (0°C). If it's off by a few degrees, that's the difference between perfect medium-rare and a grey letdown.
Here's the good news about the reverse sear — it needs far less resting than a traditionally cooked steak. Because the interior temperature is already even, the juices aren't pooled in a hot center under pressure. A 5 to 10 minute rest is plenty; a huge porterhouse can take the full 10, a filet just 5. Rest it on a warm plate, loosely tented, not sealed under foil (which steams your hard-won crust soft).
Then slice against the grain, hit it with flaky salt and cracked pepper, and serve. Pair it with something worthy from the BBQ side dish guide and you've got a steakhouse plate for a fraction of the price.