The quick version
Wet brine is 1 cup of kosher salt per gallon of water, kept under 40°F — the juiciest option, adding roughly 6 to 10 percent water weight; chicken breast takes 1–2 hours, a whole turkey 12–24. Dry brine is about 1 teaspoon of kosher salt per pound, uncovered in the fridge, and it wins whenever you want crisp skin or a hard sear, because a dry surface browns while a wet one steams. Never brine “enhanced” supermarket meat — it’s already brined at the factory — and dry the surface before it meets the fire.
Dry meat is almost never a heat problem. It's a salt-and-time problem you could have solved before the fire was ever lit. Brining is the single highest-leverage thing you can do to a lean bird, a thick steak, or a holiday turkey — and it costs pennies. The trouble is that most people either skip it, do it wrong, or pick the wrong method for the cut in front of them.
So let's settle it. Here's exactly how wet and dry brining work, the ratios and times that actually deliver, and the osmosis science underneath so you can adjust on the fly instead of following a recipe blind.
Both brines do the same core job through salt: they season the meat all the way through, not just on the surface, and they help it hold onto moisture during cooking. The difference is in how the water behaves.
Salt does three things once it makes contact with muscle. First, osmosis and diffusion pull salt ions into the meat, seasoning it deep.
Second, salt denatures the proteins — it partially unravels the tight protein structures (mainly myosin) so they can no longer squeeze out as much liquid when heat hits them. Third, that same denaturing lets the muscle fibers hold more water than they otherwise would.
The payoff: a cut that stays juicy even if you overshoot your pull temperature by a few degrees.
That last point matters. A brined chicken breast forgives you. An unbrined one goes from perfect to chalky in the space of about 5°F.
A wet brine is salt dissolved in water, and the meat swims in it. This is the juiciest option because the meat actually gains water weight — roughly 6 to 10 percent — and holds a lot of it through cooking.
1 cup of kosher salt per 1 gallon of water. That's the workhorse. It comes out to about a 5 to 6 percent salt solution, which seasons well without turning the meat into a salt lick.
Dissolve the salt fully — warm a quart of the water to help it dissolve, then add the rest cold so the whole thing chills back down before the meat goes in. Never put meat into warm brine; keep everything below 40°F (4°C) the entire time to stay out of the bacterial danger zone.
One giant caveat that trips up beginners: the salt brand changes the volume dramatically. A cup of Diamond Crystal kosher salt weighs far less than a cup of Morton kosher, which weighs less than a cup of table salt. Table salt is so dense that a cup of it in a gallon of water will oversalt badly.
If you only have table salt, use about half the volume — closer to 1/2 cup per gallon. When in doubt, weigh it: aim for roughly 50 to 60 grams of salt per liter of water and the brand stops mattering.
| Cut | Wet brine time | Notes |
|---|---|---|
| Chicken breast (boneless) | 1–2 hours | Thin and fast; do not exceed 2 hrs |
| Chicken thighs / bone-in pieces | 2–4 hours | More forgiving than breast |
| Whole chicken (4–5 lb) | 4–8 hours | Overnight is fine at this concentration |
| Pork chops (1–1.5 in) | 2–4 hours | Great insurance for lean loin chops |
| Shrimp | 15–30 minutes | Tiny; oversalts in a flash |
| Whole turkey (12–16 lb) | 12–24 hours | The classic use case |
Bigger and denser means longer. A turkey needs the full 12 to 24 hours to get salt to the center of the breast; a boneless chicken breast is done in 1 to 2 hours because it's thin. Go too long and you cross into over-brining, which I'll cover below.
Grab the free doneness + wood-pairing cheat sheet →Add sugar and aromatics to a wet brine, but treat them as flavor, not function. About 1/2 cup sugar per gallon balances the salt and helps browning. Garlic, peppercorns, bay, and citrus peel steep in nicely — but the salt is what's doing the real work.
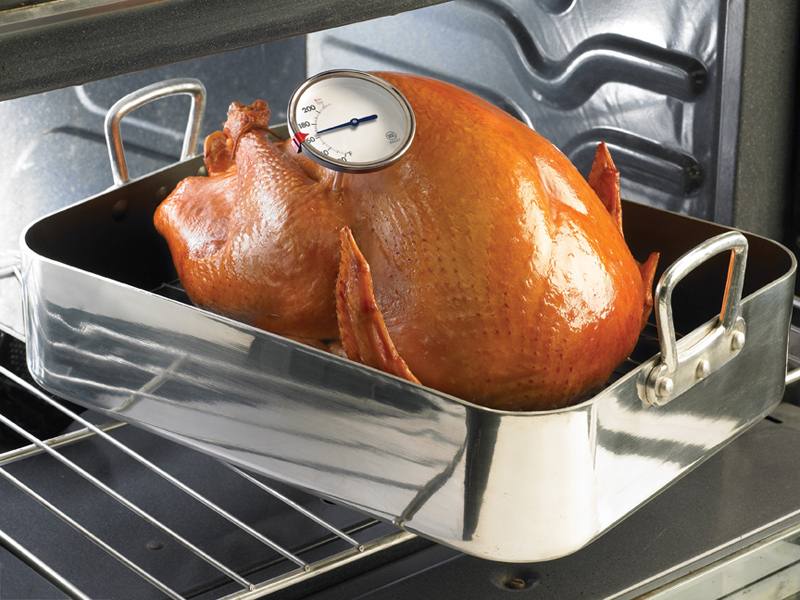
A dry brine is just salt rubbed directly onto the meat, then left uncovered in the fridge. No water. It sounds like it would dry the meat out — it does the opposite.
When you salt the surface, osmosis first pulls moisture out of the meat. That liquid sits on the surface, the salt dissolves into it, and now you've got a concentrated natural brine right on the skin.
Over the next few hours the meat reabsorbs that salty liquid back inward, seasoning deep — the "draw and reabsorb." Because you never added outside water, the meat doesn't get waterlogged, and the surface dries beautifully in the fridge air.
That dry surface is the whole reason serious cooks prefer dry brining for anything with skin or a crust. A wet surface steams before it browns. A dry one browns fast and deep.
About 1 teaspoon of kosher salt per pound of meat, applied evenly on all sides (or roughly 1/2 to 3/4 teaspoon per pound of Morton, since it's denser). Set the meat on a rack over a sheet pan and leave it uncovered in the fridge. Uncovered is not optional — that's what dries the surface. Do not rinse a dry brine off; there's no excess to remove.
| Cut | Dry brine time (uncovered, fridge) |
|---|---|
| Steak (1–1.5 in) | 2–4 hours minimum; up to 24–48 hrs for deep effect |
| Thick steak / roast (2 in+) | 24–48 hours |
| Chicken pieces / wings | 2–24 hours |
| Whole chicken | 12–24 hours |
| Pork shoulder / butt | 12–24 hours |
| Whole turkey (12–16 lb) | 24–48 hours |
For a steak in a hurry, even 45 minutes to 1 hour of salt beats going straight to the grill — but the sweet spot is longer. An overnight dry brine on a ribeye, then a hard sear, is the shortcut to steakhouse crust. This pairs perfectly with a reverse sear: dry-brine, cook low, then blast the dry surface for a crust that a wet steak simply can't match.
Dry brine and dry rub are not the same thing. A dry brine is salt with time. A rub is a flavor blend you apply closer to cook time. You can absolutely do both — salt early for penetration, then hit it with your dry rub before it goes on the heat.
Neither is "better." They solve different problems.
Dry brining has quietly taken over competition and pro kitchens for exactly this reason — same seasoning depth, better surface, less hassle. But for a first-timer nervous about a dry bird, a wet brine is the more forgiving safety net.
| Factor | Wet brine | Dry brine |
|---|---|---|
| Juiciness | Highest (adds water weight) | High (retains own moisture) |
| Crust / crisp skin | Weaker — surface is wet | Best — surface dries out |
| Effort / space | Bulky container, fridge space | Just a rack and a sheet pan |
| Best for | Turkey, chicken breast, lean pork | Steak, whole chicken, wings, roasts |
| Flavor concentration | Slightly diluted "boiled" note possible | More concentrated meat flavor |
This is the number-one blunder. Most supermarket poultry and a lot of pork is sold "enhanced," "self-basting," or injected with a salt solution — read the fine print for wording like "contains up to 12% retained water" or "sodium solution." That meat is already brined at the factory.
Brine it again and you'll produce something salty and spongy that eats like ham. Never brine enhanced or kosher-labeled meat. Brining is for plain, un-enhanced, "natural" cuts. If the ingredient list says anything beyond the meat itself, skip the salt bath.
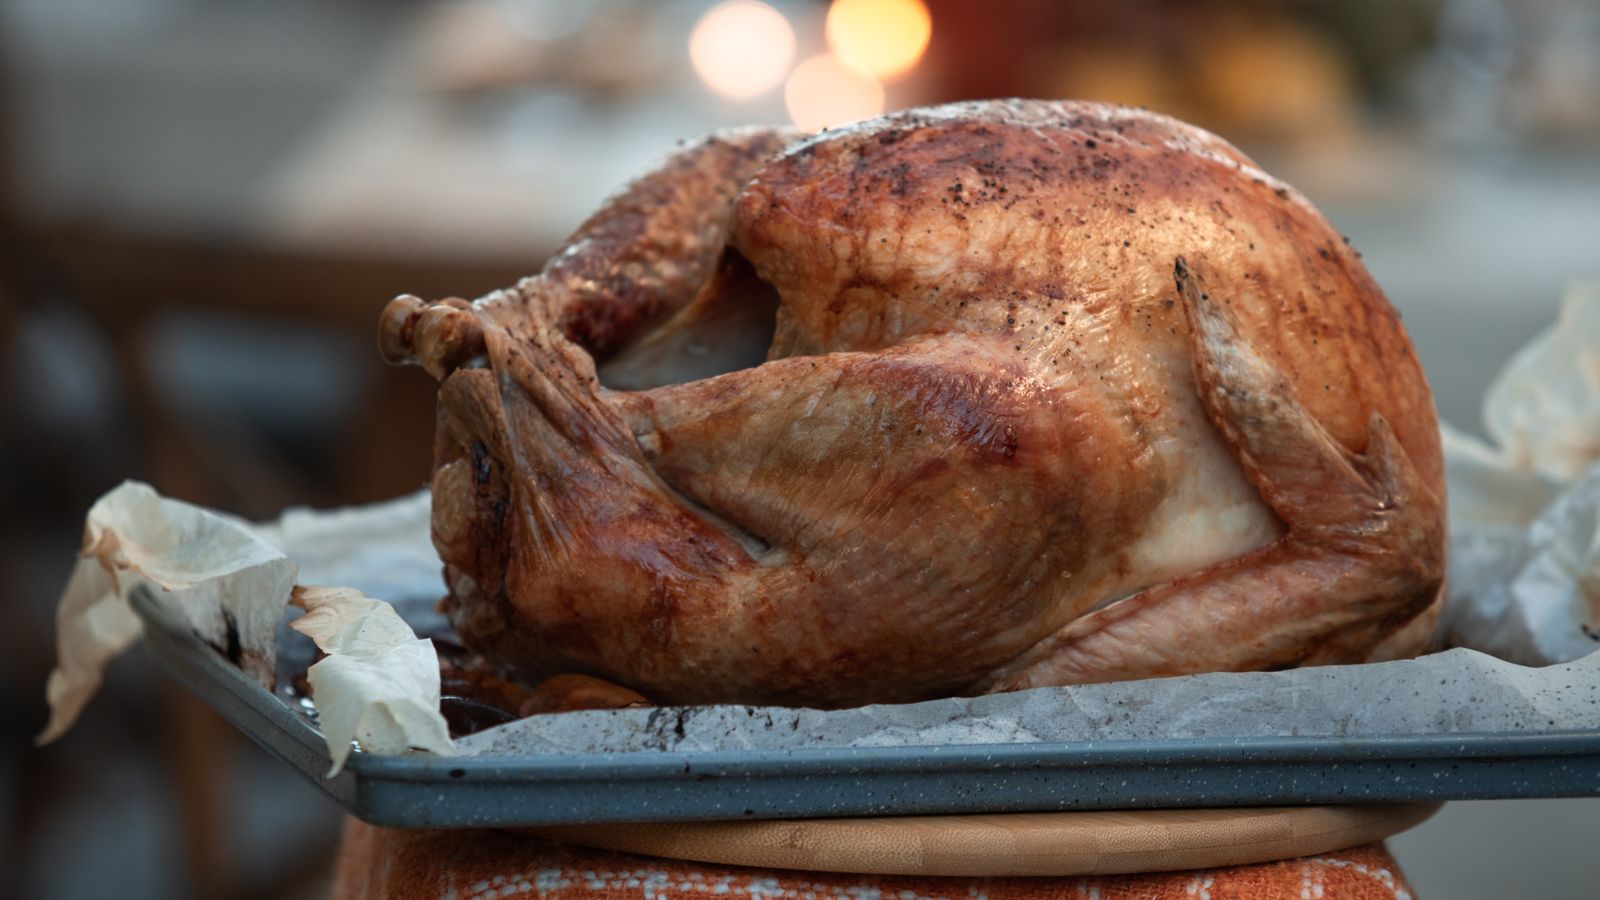
Salt and time are a one-way door. Leave meat in a wet brine too long and it goes past seasoned into mushy, spongy, and unpleasantly hammy — the proteins break down too far and the texture turns to wet cotton. A chicken breast left overnight in full-strength brine is ruined.
Dry brining is more forgiving on the clock, but even there, days-long salting of a thin cut will over-cure the surface. Respect the times in the tables. When you're unsure, brine shorter — you can always add salt at the table, you can't take it back out.
After a wet brine, rinse briefly under cold water and pat bone-dry with paper towels — you want to remove the surface brine so it doesn't oversalt or steam. Then, ideally, let it sit uncovered in the fridge for an hour or more to dry the surface completely. After a dry brine, don't rinse — just make sure the surface is dry before it hits the heat.
Here's the throughline that ties brining to great barbecue: browning needs a dry surface. The Maillard reaction — the cascade of chemistry that gives you deep-brown crust, roasted aromas, and savory flavor — barely gets going while there's surface water to boil off. Every degree of energy spent evaporating moisture is energy not spent browning.
This is why a wet-brined bird pulled straight from the bucket and thrown on the grill comes out pale and flabby-skinned, while a dry-brined one crackles. Whichever brine you choose, the last step is the same: get that surface dry before it meets the fire. On a smoked cut, that dry, salted surface is exactly what lets a proper bark form. Salt early, dry thoroughly, then cook — that's the sequence.
And none of it replaces cooking to the right internal temperature. Brining buys you a wider margin, but you still pull by the thermometer, not the clock — check the meat temperature chart for your exact cut. Brine gets you juicy; the thermometer keeps you there.