The quick version
Four sides carry the table: vinegar slaw on the sandwich and creamy slaw on the plate; doctored canned beans smoked uncovered at 275–300°F for 1 to 1.5 hours; cornbread poured into a cast-iron skillet preheated empty at 400–425°F so the batter sizzles on contact; and potato salad dressed while the Yukon golds are still hot, so they absorb the flavor instead of wearing it. Time the beans off your main smoke — the fire you’re already running is all they need.
Nobody remembers a plate for the brisket alone. They remember it because the slaw cut through the fat, the beans tasted like they'd been sitting in the smoke all day, the cornbread had a crust you could hear, and the potato salad wasn't a mayo brick straight out of the fridge. Sides are where a lot of backyard cooks phone it in — and it shows.
This is the full technique for the four sides that show up on every serious BBQ table: vinegar and creamy slaw, doctored baked beans, cast-iron cornbread, and warm-dressed potato salad. Real ratios, real temps, and the reasoning behind each one, plus how to time all of it around a long smoke without losing your mind.
This isn't a style preference, it's an engineering decision. What you're putting the slaw on determines which one you make.
Thin-sliced or shredded green cabbage tossed with apple cider vinegar, a little vegetable oil, sugar, celery seed, salt, and black pepper — no mayo at all. A working ratio: for 1 pound of shredded cabbage, use 1/3 cup cider vinegar, 2 tablespoons oil, 2 tablespoons sugar, 1 teaspoon celery seed, and salt to taste. Let it sit at room temp for 20 minutes before serving so the cabbage softens slightly and pulls in the acid.
The reason this exists isn't tradition for its own sake — it's function. Piled on a pulled pork sandwich, vinegar slaw doesn't turn the bun soggy the way a mayo-based slaw does, and the acid cuts the richness of fatty pulled pork instead of adding more fat on top of fat. It's also shelf-stable for hours on a buffet table in July without breaking down.
Mayo, a splash of apple cider vinegar or lemon juice, a spoon of Dijon or yellow mustard, sugar, celery seed, salt and pepper, tossed with shredded cabbage and carrot. Ratio: 1 pound cabbage/carrot mix to 3/4 cup mayo, 1 tablespoon vinegar, 1 teaspoon sugar.
This is a plate slaw, not a sandwich slaw — it's meant to sit next to the meat, not on it. It holds its creaminess for an hour or two but starts weeping liquid after that, so don't dress it more than 2–3 hours ahead.
Salt your cabbage 20 minutes before dressing either slaw — a light salt, toss, and drain in a colander pulls excess water out so your dressing doesn't go watery by hour two. This one step is the difference between a slaw that's crisp at 6pm and one that's a puddle.
Straight-from-the-can beans taste like straight-from-the-can beans. The fix is doctoring the base and then finishing them on the smoker, not in the oven, so they pick up actual wood smoke instead of just liquid smoke flavoring.
Mix everything in a disposable aluminum half-pan and set it on the smoker, uncovered, at 275–300°F (135–150°C) for 1 to 1.5 hours. Stir once at the halfway mark.
You're watching for two things: the liquid reducing and thickening into a glossy, almost syrupy consistency, and the top surface picking up a slightly darker, smoke-kissed color.
If they're still soupy at 90 minutes, push the smoker temp up toward 300°F and give them another 20–30 minutes uncovered — the extra surface exposure is what thickens them, not just time.
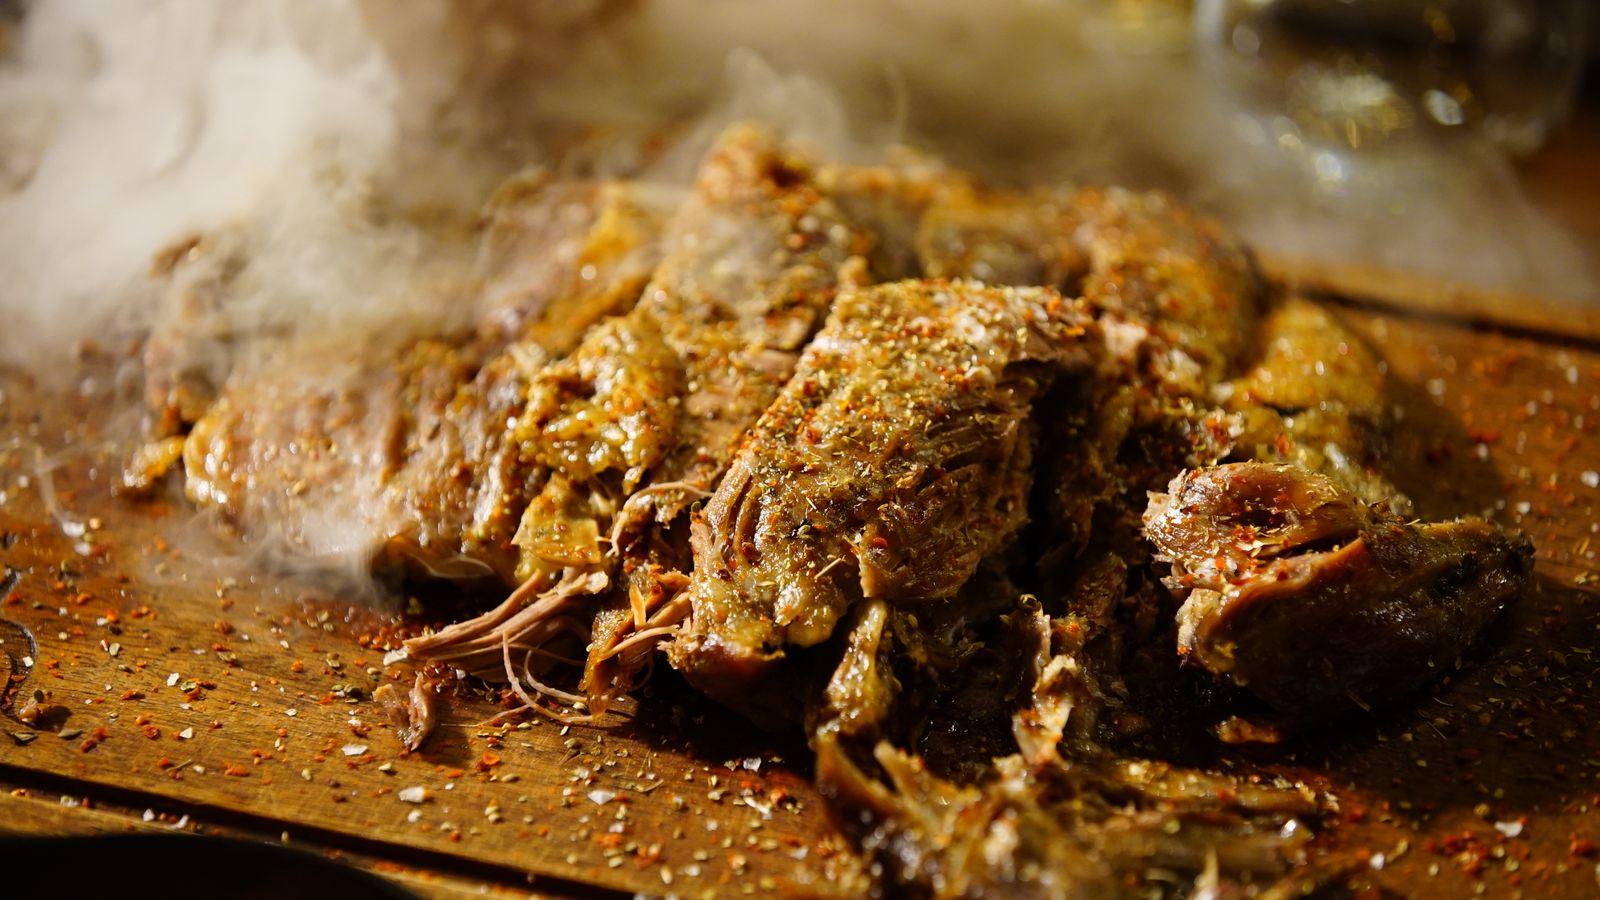
Why the smoker and not the oven: beans are basically a sponge for whatever's floating in the smoker air. An hour to ninety minutes sitting uncovered next to a low and slow cook means they absorb real hickory or oak smoke the same way the meat does — you cannot fake that with a bottle.
Grab the free doneness + wood-pairing cheat sheet →Cornbread lives or dies on two things: a screaming-hot skillet and where you land on the sweet-vs-savory line.
Preheat your oven to 400–425°F (205–220°C) with a 10-inch cast-iron skillet inside it — empty — for at least 10 minutes.
While it heats, whisk your batter: 1 cup cornmeal, 1 cup flour, 1 tablespoon baking powder, 1 teaspoon salt, 2 tablespoons sugar (or skip it — see below), 1 cup buttermilk, 2 eggs, and 1/4 cup melted butter or bacon fat.
When the oven and skillet are fully preheated, pull the skillet out, drop in 2 tablespoons of butter or bacon grease, swirl until it's foaming and just starting to brown, then pour the batter in — it should sizzle audibly the second it hits the pan. That sizzle is what builds the crust.
Bake 20–25 minutes until the top is deep golden and a toothpick comes out clean, or the internal temp reads around 205–210°F (96–99°C).
This is a real regional fault line, not a minor preference. Northern-style cornbread (think Midwest potlucks) leans cake-like — more flour, more sugar, sometimes even closer to a dessert cornbread.
Southern and BBQ-joint cornbread drops the sugar almost entirely, uses all or mostly cornmeal, and comes out denser, grittier, and savory enough to eat with pork drippings spooned over it.
If you're serving it alongside heavily sauced meat, go savory — a sweet cornbread next to a sweet KC-style sauce is too much sugar stacked on sugar. If your meat and sauce lean toward Texas-style, pepper-forward, or vinegar-based, a touch of sweetness in the cornbread actually balances the plate.
Cold potato salad dressed with cold mayo on cold potatoes is why so much potato salad tastes like nothing. The fix is dressing the potatoes while they're still warm.
When a potato is hot straight out of the pot, its starch structure is open and porous — it actively absorbs whatever liquid touches it. As it cools, that structure tightens back up and starts repelling liquid instead of soaking it in. Dress potatoes warm and the vinegar, pickle juice, and mustard actually penetrate the potato. Dress them cold and all that flavor just sits on the surface, coating rather than seasoning.
The single biggest planning mistake is treating every side like it needs to be made same-day. Here's what actually holds up and what doesn't.
| Side Dish | Make-Ahead Window | Per-Adult Portion |
|---|---|---|
| Vinegar slaw | Up to 24 hrs ahead — improves overnight | 1/2 cup |
| Creamy slaw | 2–3 hrs ahead max | 1/2 cup |
| Doctored beans | Base mixed 1 day ahead; smoke day-of | 1/2 – 2/3 cup |
| Cornbread | Bake same day, or morning-of and reheat at 300°F for 10 min | 1 slice (1/8 of a 10" skillet) |
| Potato salad | Best made morning-of; holds 2 days refrigerated | 1/2 – 2/3 cup |
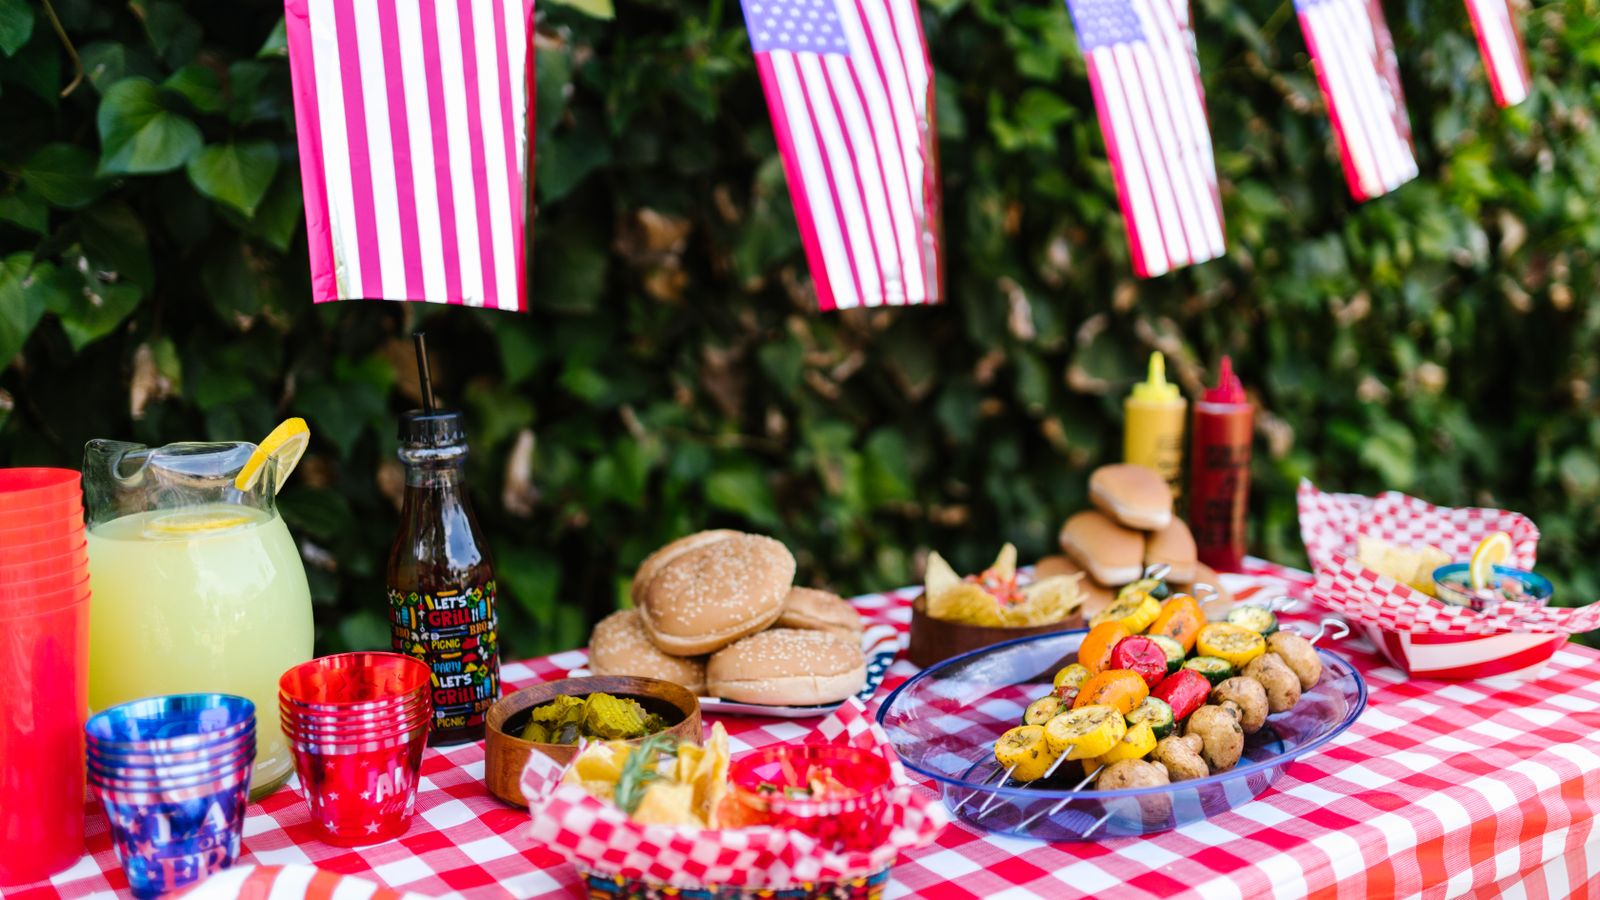
Scaling for a party: for 20 adults, that's roughly 2.5 quarts of slaw, 10–12 pounds of beans before they cook down, two 10-inch skillets of cornbread, and about 3 quarts of potato salad (plan on 6–7 pounds of raw Yukon golds). If you're building a full spread around a holiday cook, the same math carries over into a full cookout menu and timeline — sides scale the same way regardless of the occasion.
You don't need a second cooker for your sides. A brisket or pork butt running low and slow at 250–275°F already has the exact fire you need for beans, and most smokers have room on an upper rack or an open corner of the main grate for a half-pan.
Time it around the meat, not the clock.
Beans want 275–300°F for their finishing hour — that's slightly hotter than a typical brisket cook, so add them in during the back half of the cook, ideally once your meat is already wrapped, or when the pit's naturally running a bit hotter from a fresh log or refuel.
Pulling the beans off at the same time you pull the meat means one trip to the smoker, not three, and no cold beans sitting around while the brisket rests.
This is also a good moment to double-check your target pull temperature for whatever's on the main grate, since beans are forgiving on timing but a pork butt or brisket is not.
If your smoker is packed and there's genuinely no room, beans will still take on real smoke sitting on a lower rack for even 30–40 minutes near the end of the cook — you don't need the full 90 minutes to notice a difference over canned-and-heated beans.