The quick version
Fall-off-the-bone is a disqualifier on a competition table — judges want a clean bite-through that leaves teeth marks. Run St. Louis spares, membrane off, at 225–250°F over hickory with a little cherry, and tighten the classic 3-2-1 into 3-1.5-0.5: same three hours of naked smoke, half the foil braise, a 30–45 minute glaze set. Sauce only the final 20–30 minutes in two thin coats, and pull when two of three signals agree — the bend test, the toothpick test, and 195–203°F between the bones.
Fall-off-the-bone ribs sound like a compliment. On a competition table, they're a disqualifier. Judges want a clean bite-through — teeth marks that stay put, meat that lets go with a gentle tug and leaves the rest of the bone dressed. That's the difference between a rib that mushed itself apart in a foil steam bath and a rib that was cooked with intent.
The classic 3-2-1 method is a fantastic teacher. It's forgiving, it's repeatable, and it will get a nervous first-timer to tender, glossy ribs on the first try. But it also overshoots — that middle "2" of wrapped braising is where good ribs go to become baby food. Here's how to run 3-2-1 properly at home, then how to tighten it into the competition-style cook that earns the clean bite.
Cut matters more than most people admit. You've got three common options on the shelf, and they don't cook the same.
Whatever you buy, membrane removal is non-negotiable. On the bone-side of every rack is a thin, silvery membrane (the peritoneum). Leave it on and it turns to leather, blocks smoke and rub, and ruins the bite. Slide a butter knife under it at one end, grab it with a paper towel for grip, and peel it off in one sheet. If it tears, restart at a clean corner. Sixty seconds of work, every single time.
A great rib rub does two jobs — it seasons the meat and it builds the bark, that lacquered crust that carries flavor and color. The trick pitmasters use is layering.
A balanced rib rub is roughly two parts brown sugar to two parts kosher salt to one part sweet paprika, plus black pepper, garlic and onion powder, and a whisper of cayenne. If you want to build your own from scratch, my ultimate dry rub guide breaks down the ratios for every meat. The sugar is what caramelizes into that mahogany color — but it's also what burns if your fire runs hot, so keep the pit honest.
Don't salt-bomb the second coat. The base layer already put your salt down. The double-dust is about sugar, paprika, and pepper for bark and color — pile on more salt here and you'll blow past seasoned into inedible.
Ribs live in the 225–250°F (107–121°C) range. I run mine at 250°F for a slightly faster, cleaner cook; 225°F gives you a touch more smoke absorption and a wider margin for error. Either works — just hold it steady. If you're still fighting your pit's temperature, get your two-zone fire dialed in first and learn to work your vents, because a rib cook is only as good as your ability to hold a line for six hours.
For wood, I want color and bark, so I reach for hickory. It's the backbone of pork barbecue — assertive, bacon-sweet, and it darkens the bark beautifully.
My favorite competition blend is hickory with a little cherry: the cherry adds a mild fruit note and, more importantly, deepens the mahogany color that judges (and your neighbors) eat with their eyes first. Avoid mesquite on ribs — it's too aggressive for a long pork cook and turns acrid.
Grab the free doneness + wood-pairing cheat sheet →Three phases, named for the hours in each. This is the full-fat, foolproof version. Total time about six hours for St. Louis spares at 225–250°F.
Racks go on the smoker, bone-side down, unwrapped. This is where smoke penetrates and the bark starts to form. Don't touch them, don't peek every ten minutes. Spritz with apple juice or a 50/50 apple-juice-and-cider-vinegar mix once an hour after the first 90 minutes — not before, or you'll wash off rub that hasn't set. By the end of hour three the surface should be dry, dark, and the rub should be locked in.
This is the tenderizing engine. Lay out a double layer of heavy-duty foil and build a little braising bed for each rack:
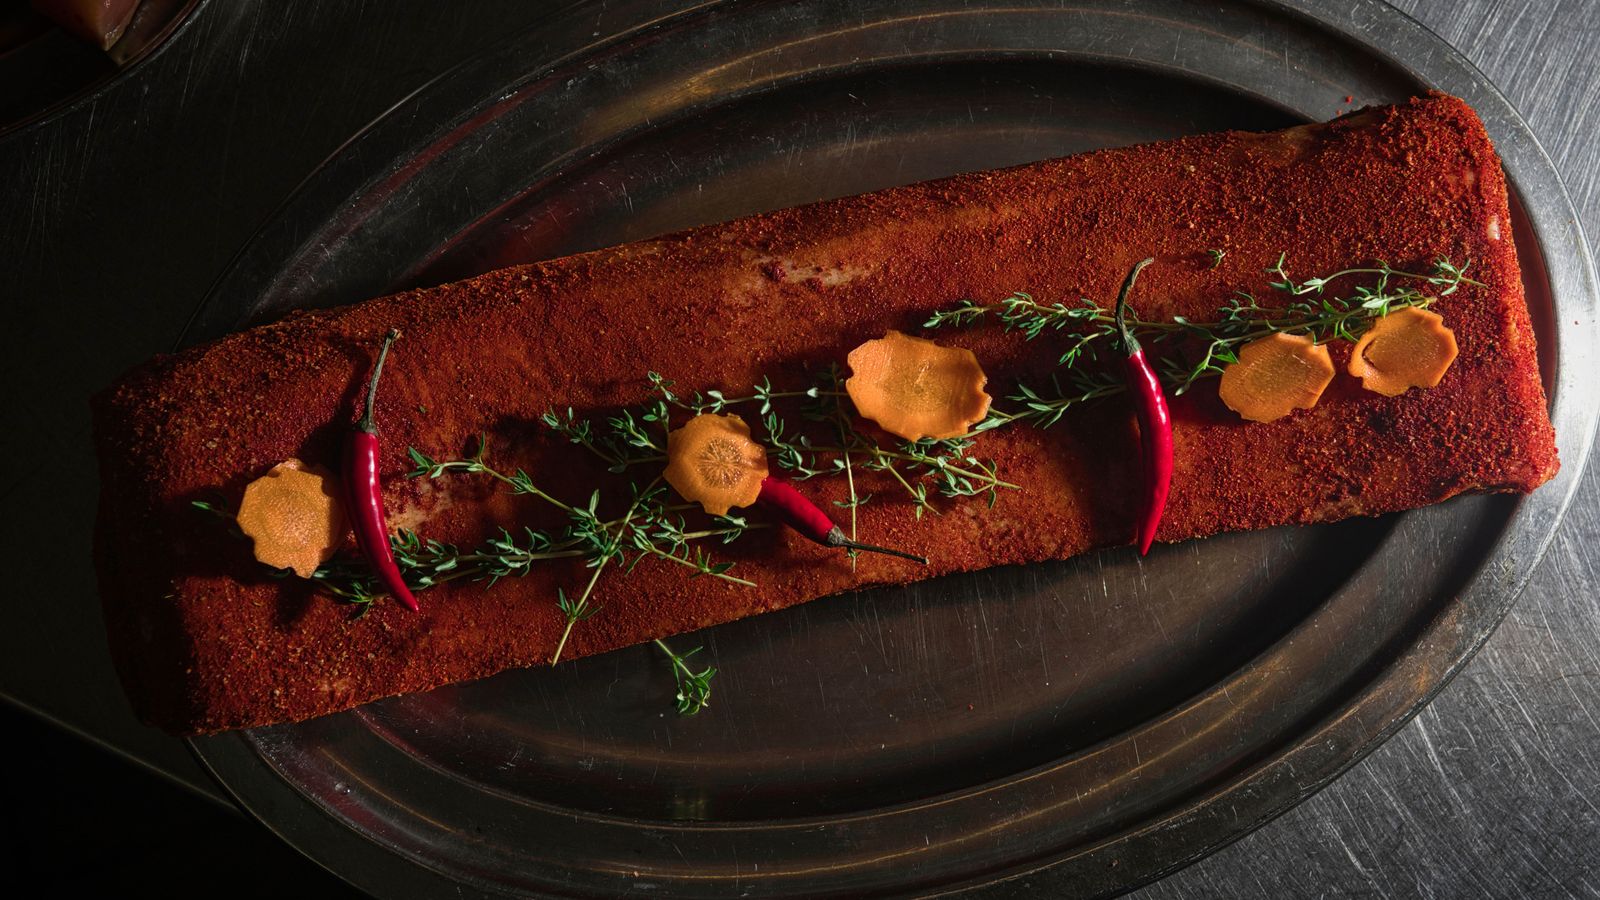
Place the rack meat-side down into that bed so the presentation side sits in the sugar and butter. Wrap it tight so steam can't escape. Back on the pit for two hours. The foil traps steam and renders collagen fast — this is what makes 3-2-1 so tender.
Unwrap carefully (hot liquid, watch your hands), pour off the braising liquid, and put the racks back on bare grates to firm up. In the final 20–30 minutes, brush on a thin coat of BBQ sauce — thinned with a little of that braising liquid if it's too thick — and let it tack up.
Do it in two light coats rather than one heavy one. The sauce should go glossy and sticky, not gloppy. For sauce that matches your region, my regional sauce guide has the recipes.
That's home 3-2-1. The ribs will be tender, sweet, and probably falling off the bone. Delicious on the deck — but too soft for the table.
Here's where we separate a good rib from a great one. Competition-style ribs aren't cooked less — they're cooked smarter, with less time in the foil steam bath. The full 3-2-1 over-braises. That "2" is the culprit. Pull time out of the wrap and put the control back in your hands.
| Phase | Home 3-2-1 | Competition 3-1.5-0.5 | What changes |
|---|---|---|---|
| Naked smoke | 3 hours | 3 hours | Same — bark and smoke need their time |
| Wrapped braise | 2 hours | 1 to 1.5 hours | Less steam = firmer bite, no mush |
| Set the glaze | 1 hour | 30–45 min | Enough to tack the sauce, not dry out |
The philosophy: you're chasing a clean bite mark, not fall-off-the-bone. When you bite a properly cooked competition rib, the meat shears cleanly where your teeth land and the rest stays on the bone. Fall-off-the-bone means the collagen fully liquefied and the meat lost all structure — over-tender, and in the judges' book, over-cooked.
Because you're pulling time out of the wrap, doneness is now judged by feel and temperature, not the clock. The 3-1.5-0.5 numbers are a starting point. Your pit, your racks, and the weather all move the target. So stop trusting the timer and start reading the meat.
Sugar is a clock you can't reset. That's why the glaze goes on only in the last 20–30 minutes — long enough to set tacky, short enough that it can't scorch. Sauce a rib for a full hour over live fire and the sugars carbonize into bitter black spots. Late and light wins.
Three signals, and you want at least two of them agreeing before you pull.
Pick the rack up at one end with tongs, about a third of the way in, and bounce it gently. Done ribs will bend and crack slightly on the surface — you'll see the meat between the bones start to split. If the rack flops limp and threatens to tear apart, you've gone past competition tender into fall-apart. If it's stiff and barely bends, give it more time.
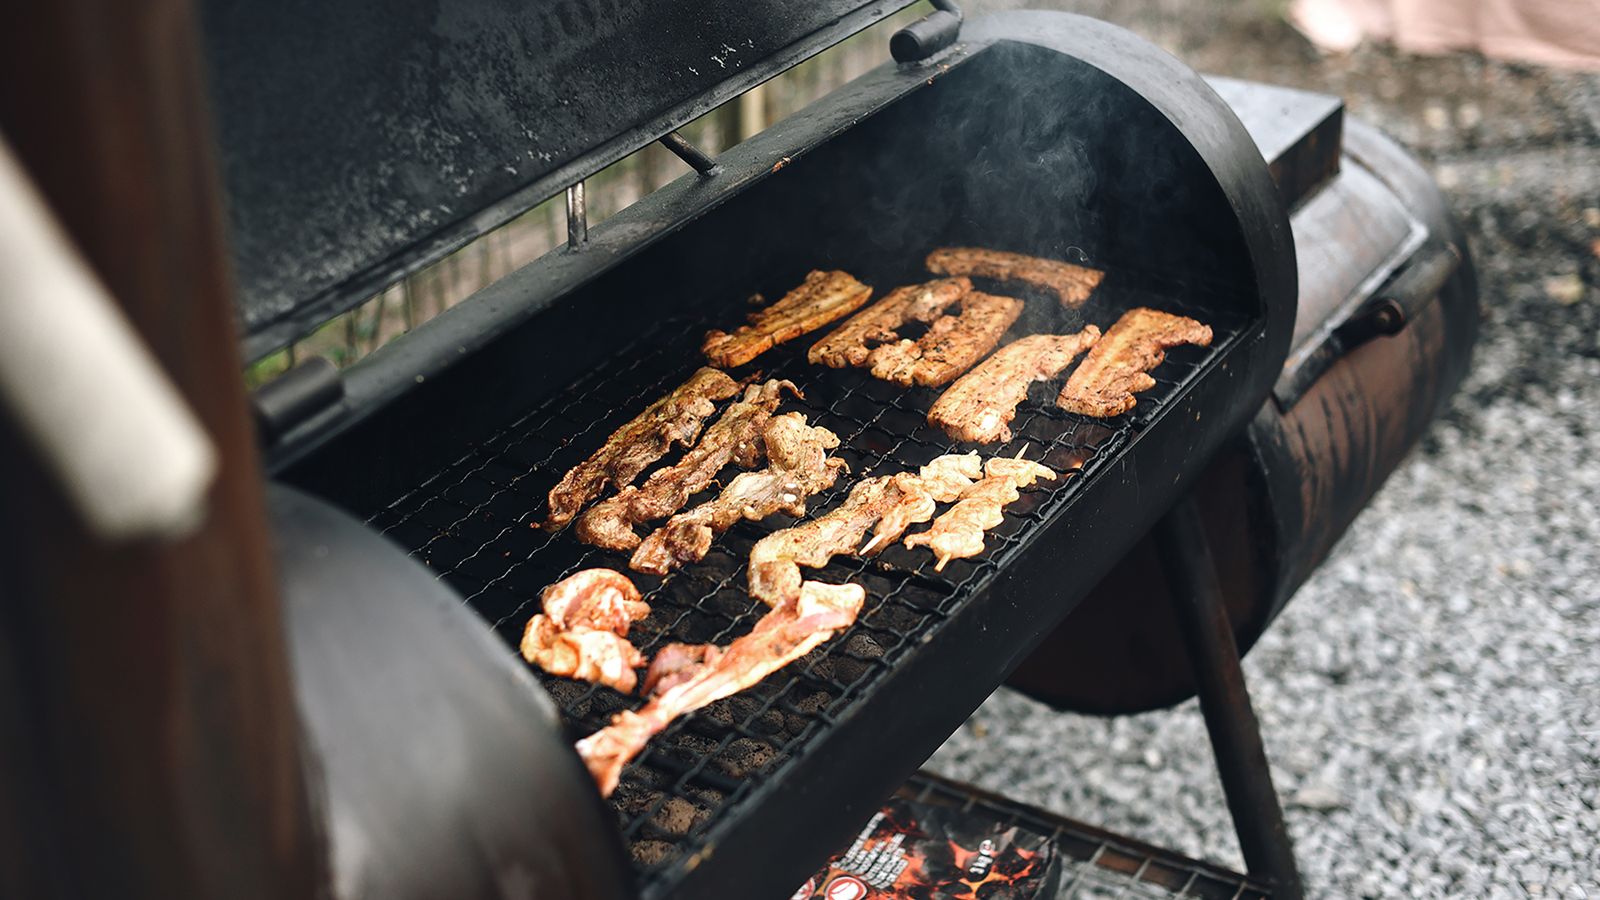
Slide a toothpick (or an instant-read probe) into the meat between two bones. It should go in and out with almost no resistance — like probing warm butter. Any tug or drag means the collagen hasn't finished. Test in a few spots; racks cook unevenly.
Ribs are thin, so temping is trickier than a brisket — probe the meat between the bones, not the bone itself. You're looking for 195–203°F (90–95°C). Below 195°F they'll be tough; push toward 203°F for maximum tenderness while staying just shy of fall-apart.
A reliable instant-read thermometer earns its keep here. When you're calibrating your own targets across every cut, keep the meat temperature chart handy — it's the reference I lean on for pull temps.
Note that 195–203°F is well above the USDA safe minimum for pork (145°F). Ribs aren't a food-safety cook, they're a collagen-breakdown cook — you're holding them in that range long enough to render tough connective tissue into silk. That's the same low-and-slow principle behind pulled pork and brisket, just on a shorter clock. If the whole low-and-slow philosophy is new to you, my low and slow primer lays out the why.
Here's the competition-style cook start to finish, the way I'd run it on a Saturday:
Serve them with something that earns its place on the plate — a sharp slaw and a pan of beans from my BBQ side dish guide round out the plate without competing with the meat.
Run the full 3-2-1 when you want crowd-pleasing, fall-off-the-bone ribs for a backyard cookout. Run 3-1.5-0.5 and read the meat by feel when you want that clean, professional bite-through. Same rack, same fire, same rub — the only real variable is how long you let the foil do the work. Take the control back, and you'll never overshoot again.