The quick version
Rubbery skin comes from too much moisture and not enough heat — nothing's wrong with the bird. Dry-brine it uncovered on a rack in the fridge overnight (4 hours minimum), work about 1 teaspoon of baking powder per pound into the rub — powder, never soda — and run the smoker at 300–350°F instead of the 225°F you'd use for brisket. Hold every drop of sauce until the last 5–10 minutes, then finish with a short direct-heat or broiler pass to crisp it through.
You pulled a beautiful bird off the smoker, the meat's juicy, the smoke ring is perfect, and then you bite into the skin and it's like chewing a rubber band. That's not bad luck. That's physics, and it's fixable. Rubbery chicken skin has one root cause and about five contributing factors, and once you understand what's actually happening to the fat and collagen in that skin, you'll never serve limp chicken skin again.
This applies whether you're doing wings, a spatchcocked bird, or a whole smoked turkey. The fix is the same in every case: get the skin dry, get it hot, and don't drown it in sauce too soon.
Chicken skin is mostly fat and collagen sitting over a layer of muscle. For skin to go from flabby to crisp, two things have to happen: the fat has to render out, and the surface has to get hot enough, and dry enough, to actually brown and dehydrate. That's the same Maillard chemistry that builds bark on a brisket, just happening on a much thinner, more delicate surface.
Here's the problem with classic low and slow smoking at 225F (107C): that temperature is plenty hot enough to render fat over a long cook, but it's nowhere near hot enough to crisp the skin. You end up with skin that has rendered out its fat and gone soft and gummy, sitting in its own grease, never getting the surface heat it needs to actually crisp. Add in the moisture coming off a smoker running at 225F, plus condensation, plus whatever baste or spritz you're hitting it with, and you've built the perfect environment for rubbery skin. Low and slow is the right call for brisket and pork shoulder, where you're breaking down collagen into gelatin over many hours. Chicken skin needs a completely different approach.
Moisture is the enemy of crisp skin, full stop. Any water sitting on the surface has to evaporate before the skin can even start to brown, and that evaporation cools the surface and buys you more rubbery texture, not less.
The fix is an uncovered dry-brine in the fridge, ideally overnight, minimum 4 hours if you're in a hurry:
The fridge is doing double duty here. The salt draws moisture out to the surface, and the fridge's dry, circulating air pulls that moisture away and evaporates it before you ever light the smoker. What you get by cook time is skin that's noticeably drier, tighter, and almost papery to the touch.
That's exactly what you want. This is the same principle behind a proper dry brine versus wet brine, but for skin specifically, dry-brining beats wet brining every time. A wet brine adds moisture to the meat, which is great for juiciness, but it's the last thing you want sitting on the skin.
This is the trick that separates people who've done their homework from people guessing. A light dusting of baking powder on the skin, mixed with your salt and rub, raises the surface pH. That higher pH speeds up browning and helps break down proteins in the skin so it dehydrates and crisps faster and more evenly.
Use baking powder, not baking soda. Baking soda is far more alkaline and has a noticeably metallic, soapy taste at the levels needed to affect pH, plus it can turn the skin an odd grey-brown color. Baking powder already has a mild acid buffered into it (usually cream of tartar), so you get the pH lift without the harsh flavor.
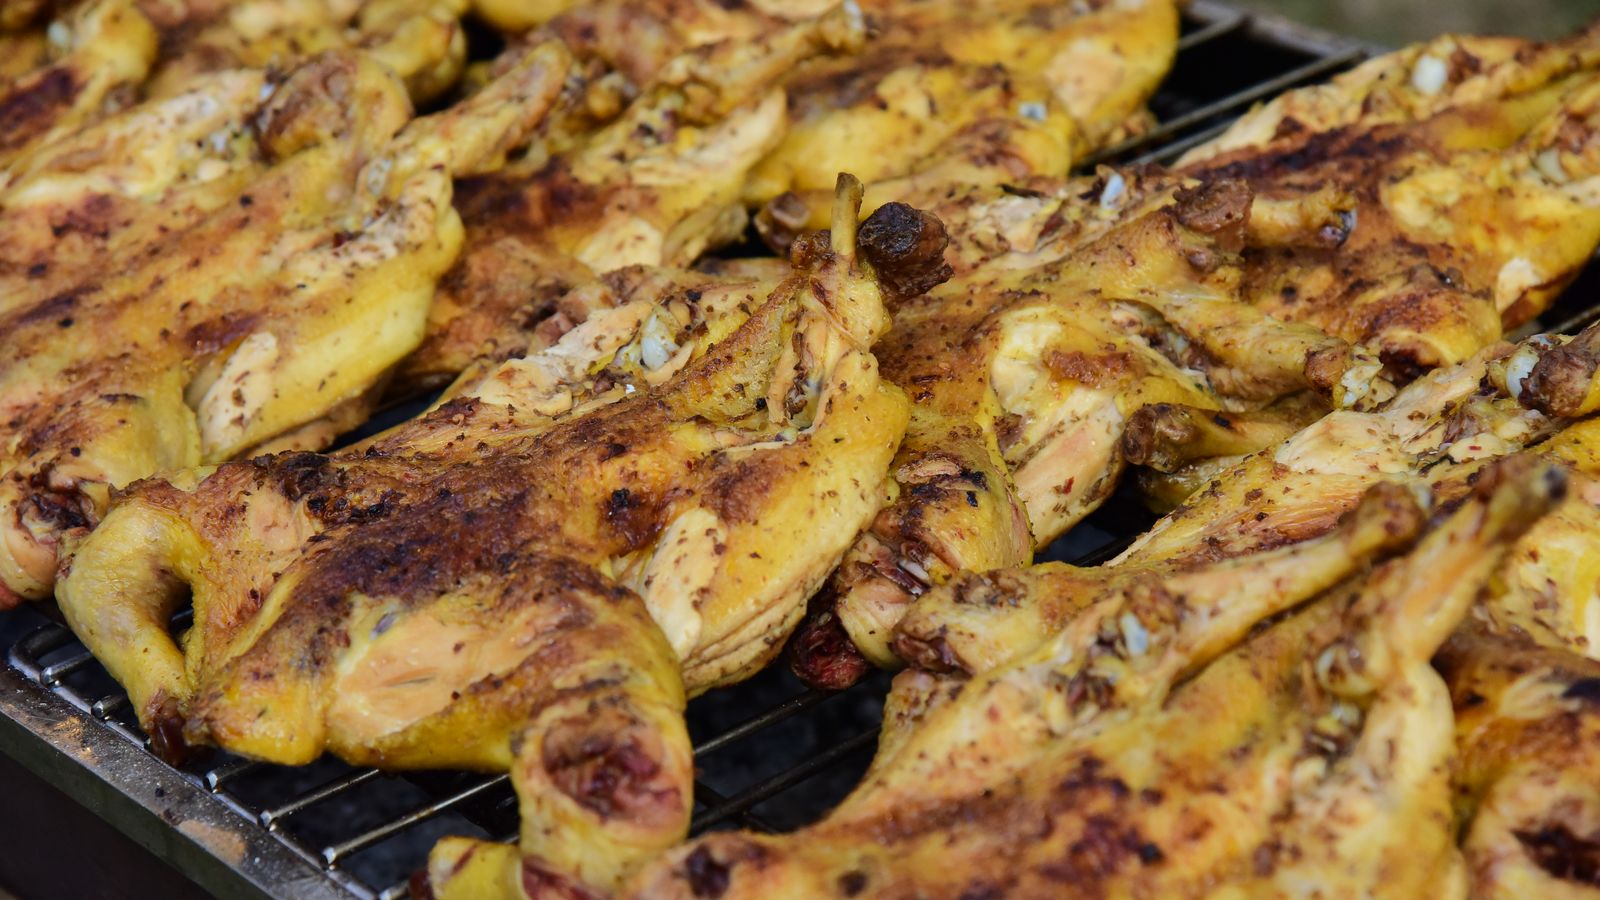
Ratio: about 1 teaspoon of baking powder per pound of chicken, mixed evenly with your salt and rub before you apply it. Rub it into the skin, don't just sprinkle it on top, and let it sit through that same overnight fridge dry-brine so it has time to work.
CEO TIP: Skip the sugar in your rub if it's going straight on the skin for a hot crisp finish. Sugar burns and turns bitter above roughly 300F, and you're about to run hotter than that. Save the sweet rubs for lower, longer cooks.
This is the single biggest mental shift most backyard cooks need to make. Chicken skin needs heat, real heat, to crisp. That means running your smoker at 300F to 350F (149C to 177C), not the 225F you'd use for a brisket or a pork butt.
At 300F-350F, the fat renders out fast enough that it doesn't have time to sit and stew the skin, and the surface temperature gets high enough to actually drive off moisture and brown the exterior.
This is exactly why our spatchcocked whole chicken method and our crispy-skin wings method both run hot instead of low and slow. Chicken is a fast-cooking protein with thin, delicate skin.
It doesn't need six hours of collagen breakdown like a shoulder does, it needs a short, hot cook that finishes with the internal temp landing right where it needs to be.
Check the meat temperature chart for exact pull temps, but the target for chicken thighs and legs is 175F-180F (79C-82C) for best texture, and breast meat is safe at 165F (74C) but benefits from carrying a bit past that if it's still attached to the bone.
If your setup can't comfortably run that hot, or you're mid-cook and the skin still isn't there, you don't have to fight your smoker. Finish over direct heat on a two-zone setup, or slide the whole thing under your oven's broiler for the last few minutes. Either one gets you the intense, close-range heat that a 225F smoker chamber simply can't deliver.
| Cook Stage | Temp Range | What It's Doing |
|---|---|---|
| Dry-brine (fridge) | 34F-40F (1C-4C) | Draws moisture out, dries the surface |
| Smoking chamber | 300F-350F (149C-177C) | Renders fat, starts browning without stewing the skin |
| Direct-heat/broiler finish | 450F+ (232C+) | Final crisp and color on the skin surface |
| Chicken pull temp (thighs/legs) | 175F-180F (79C-82C) | Best texture, well past the 165F safe minimum |
Even after an overnight dry-brine, you'll often see a bit of surface moisture reappear once the chicken comes to room temp and starts sweating, or after a spritz if you got trigger-happy with the spray bottle. Skip the spritzing on chicken skin entirely, it's a habit worth keeping for brisket bark, not for crisp skin, and give the bird one more pat-down with paper towels right before it goes on the smoker.
Sauce is the other silent skin-killer. Sauce is wet, often sugary, and it sits directly on the surface you worked so hard to dry out. If you sauce early, you're rehydrating the exact thing you just spent all night dehydrating, and you'll steam the skin back into rubber under that glaze.
Hold every drop of sauce until the last 5-10 minutes of the cook, brush it on thin, and let it just barely set and tack up. If you want a proper glaze, look at any of the regional BBQ sauce styles and thin it slightly so it doesn't puddle on the skin.
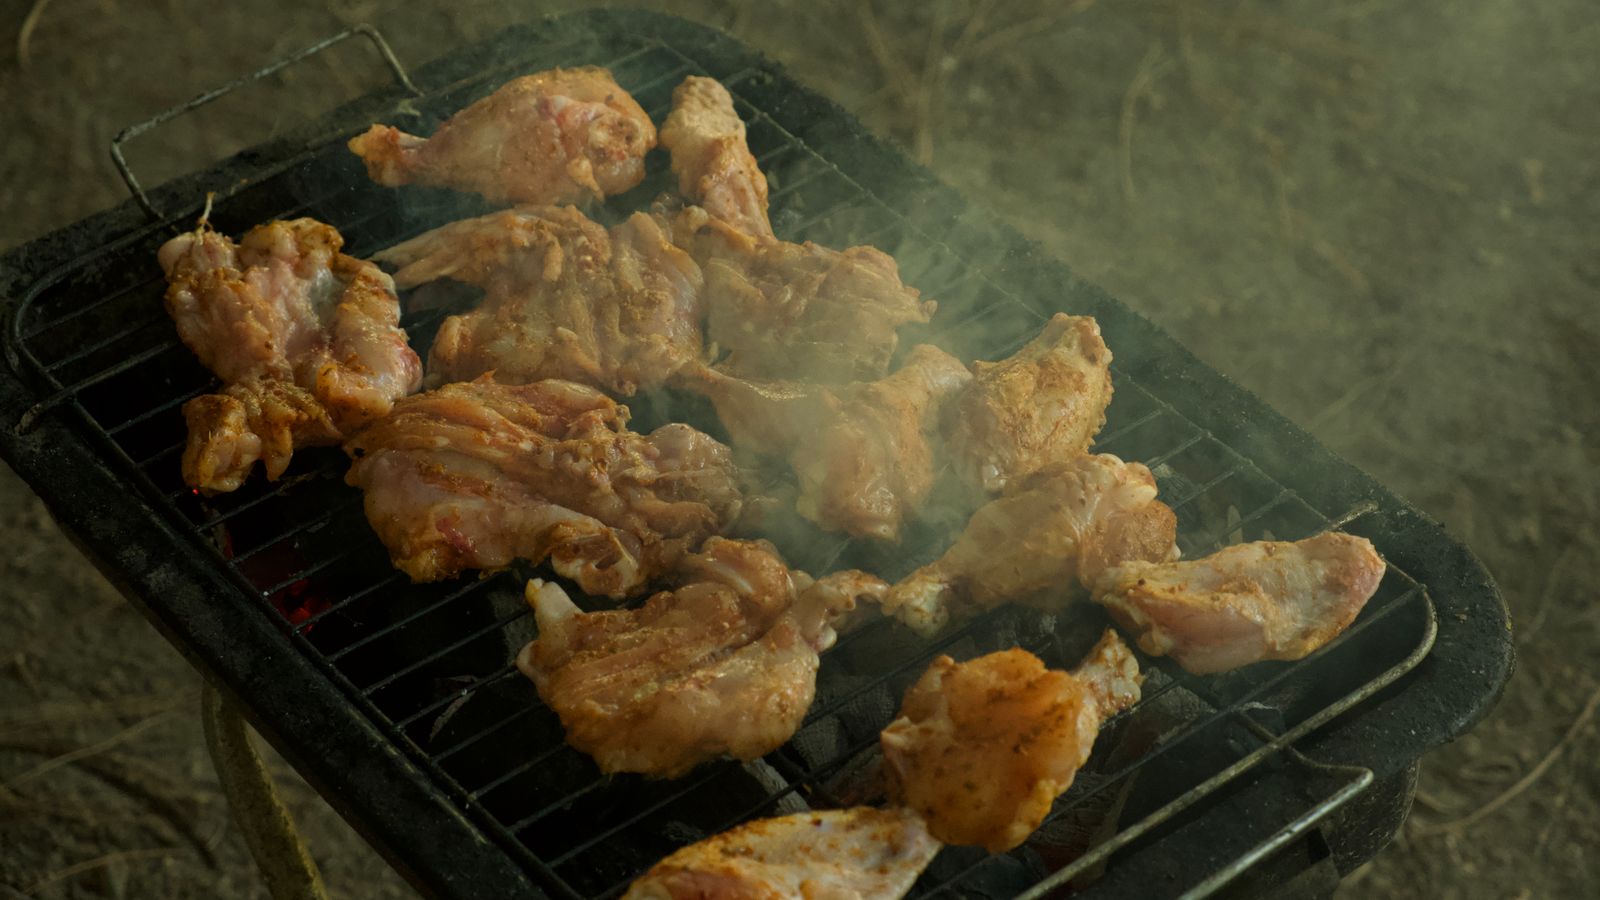
This is the closer, the move that takes skin from "pretty good" to "genuinely crackling." In the last 5-10 minutes of the cook, move the chicken over to the direct-heat side of a two-zone fire, skin side down or skin side up depending on your setup, and let that close, intense heat finish the job.
On a kettle, that means banking your coals to one side and running the chicken over direct coals for the final minutes, watching closely since this goes fast.
On a pellet grill, many models struggle to get hot enough for a true sear, so your best move is a quick stint under the oven broiler, skin side up, 3-6 inches from the element, watching it like a hawk since broilers turn from crisp to burnt in under a minute.
On a kamado like a Big Green Egg, you can open the vents wide and let the dome temp climb past 450F for a true direct blast.
Whichever method, the goal is the same: a short, hot final pass that drives off the last bit of surface moisture and sets a genuinely crisp, bite-through skin, not the leathery or rubbery texture you started with.
Grab the free doneness + wood-pairing cheat sheet →None of these five moves works in isolation. Skip the dry-brine and you're fighting moisture the whole cook. Skip the baking powder and you're relying on heat alone to do the browning. Smoke low and slow the whole way and you'll render fat but never crisp anything. Sauce early and you undo the entire dry-brine. Skip the finishing pass and you leave the job half-done.
Run them together, though, and it's a completely different bird. Dry it out overnight, dust it with a little baking powder in your rub, run your smoker hot at 300F-350F instead of low and slow, keep the sauce off until the very end, and finish with a hot direct pass. That's the whole fix, and it works on wings, a spatchcocked whole chicken, or a full smoked turkey alike.