Bark isn’t smoke — it’s four layers stacked: Maillard browning, rendered fat, polymerized rub, and smoke deposition. The Maillard reaction needs the meat’s surface north of about 300°F, and it can’t get there while the surface is wet, since evaporating water pins it near the boil. So the real bark levers are a dry surface — pat it dry, dry brine, keep the airflow moving — hours at 225°F-275°F to let the layers build, and wrapping in paper, not foil, only once the bark is truly set.
Bark is the reason a brisket flat tastes like something instead of just tasting like meat. It's dark, it's a little crunchy, it's peppery, and it's the single biggest visual and textural tell that separates a backyard cook from a plate you'd pay for. Most people credit smoke for that crust.
Smoke matters, but it's not the main event — the main event is a chemical reaction that happens whether you're burning oak splits or running charcoal, and understanding it will fix more stalled, pale, rubbery cooks than any rub recipe ever will.
This is the actual chemistry of bark: what's happening at the meat's surface, why a wet piece of meat refuses to brown, and why leaving a brisket on the pit for 12 hours at 250°F builds a better crust than blasting it at 500°F ever could. Once you see it this way, you'll stop guessing and start managing the one variable that actually controls bark — surface moisture.
What the Maillard Reaction Actually Is
The Maillard reaction is a chemical reaction between amino acids (from proteins) and reducing sugars (naturally present in meat, and added via your rub) that occurs when you apply heat. It was first described by French chemist Louis-Camille Maillard in 1912, and it's the same reaction responsible for the crust on a loaf of bread, the color of roasted coffee, and the fond stuck to a cast-iron pan after you sear a steak.
It needs three things to get going: protein, sugar, and heat — specifically, a surface temperature north of about 300°F. Below that threshold the reaction crawls so slowly it's barely happening. That's a critical number to hold onto, because it explains almost everything else in this article.
Your smoker might be set to 225°F or 250°F, but the surface of the meat itself needs to reach roughly 300°F or higher for real browning to kick off — and it gets there because the surface dries out faster than the interior, concentrating heat right at the skin instead of losing it to internal moisture.
Once the reaction starts, it produces hundreds of new flavor and aroma compounds — pyrazines, furans, thiophenes — that didn't exist in the raw meat. That's why bark doesn't taste like "burnt meat," it tastes like something closer to toasted, roasted, umami-forward, almost nutty. It's a genuinely new flavor created by chemistry, not just meat that got dark.
Maillard vs. Caramelization — Don't Confuse Them
People use "caramelized" to describe bark all the time, and it's wrong.
Caramelization is the browning of sugar alone, with no protein involved, and it typically doesn't get going until 320°F for sucrose and even higher for other sugars — it's what happens to onions in a pan or sugar in a candy thermometer test.
Bark is overwhelmingly a Maillard product because meat surfaces are protein-rich; the sugar in your rub contributes to Maillard browning, but you're not caramelizing the brisket, you're Maillard-browning it.
The distinction matters because it's why a rub with zero sugar still browns just fine (the meat's own proteins and trace sugars do the job), and why a rub loaded with straight white sugar can scorch and turn bitter — sugar alone burns instead of browning gracefully once you clear about 350°F-360°F at the surface.
Bark Is Not Just Maillard — It's Four Things Stacked
Bark is a composite. If you only think "Maillard = bark" you'll miss why some bark is thick and lacquer-dark and other bark is thin and pale even on a properly cooked piece of meat. Four things build it, layer on layer over the whole cook:
Maillard browning at the meat surface — the base color and roasted flavor.
Rendered fat migrating to the surface and frying/crisping the outer layer as it cooks off, which adds richness and helps the bark set into a shell rather than staying a soft crust.
Rub components polymerizing — sugars caramelizing, paprika and chili compounds oxidizing, salt drawing moisture that then evaporates and leaves concentrated seasoning behind. Over hours this builds up in physical layers, which is why bark has actual thickness you can see in a slice, not just a color change.
Smoke deposition — particulate and vapor-phase compounds from your wood (guaiacol, syringol, and other phenols) landing on and binding to the tacky surface, adding both color and that smoky flavor layer on top of the Maillard base.
Take away any one of those four and bark suffers. Cook a brisket in an oven with rub and you'll still get real Maillard bark — it'll just be missing the smoke layer. Wrap a brisket in foil at hour four and you kill the rendering-and-drying process before the rub layer fully sets. Bark is a system, and the good news is the system runs on inputs you fully control.
CEO TIP: If you want to taste Maillard in isolation, sear a plain unseasoned steak in a dry pan. That crust — no rub, no smoke — is pure Maillard reaction. It's proof the browning doesn't need sugar or smoke to happen; it just needs a dry, hot protein surface.
Here's the part that trips up more cooks than anything else on this list. Water boils at 212°F. The Maillard reaction doesn't get moving until roughly 300°F.
That's a huge gap, and as long as there's free water sitting on the meat's surface, the heat hitting that spot is spent evaporating water instead of raising the surface temperature. The surface effectively can't climb past the low 200s while it's wet.
You can run your smoker at 275°F for six hours, but if the meat surface is slick with moisture the whole time, you'll pull off something gray and steamed, not browned.
This is why the first move on any serious cook is getting the surface dry before it ever sees heat:
Pat the meat dry with paper towels right before it goes on the rub, and again right before it hits the smoker if you rubbed it well ahead of time and it's sweated in the fridge.
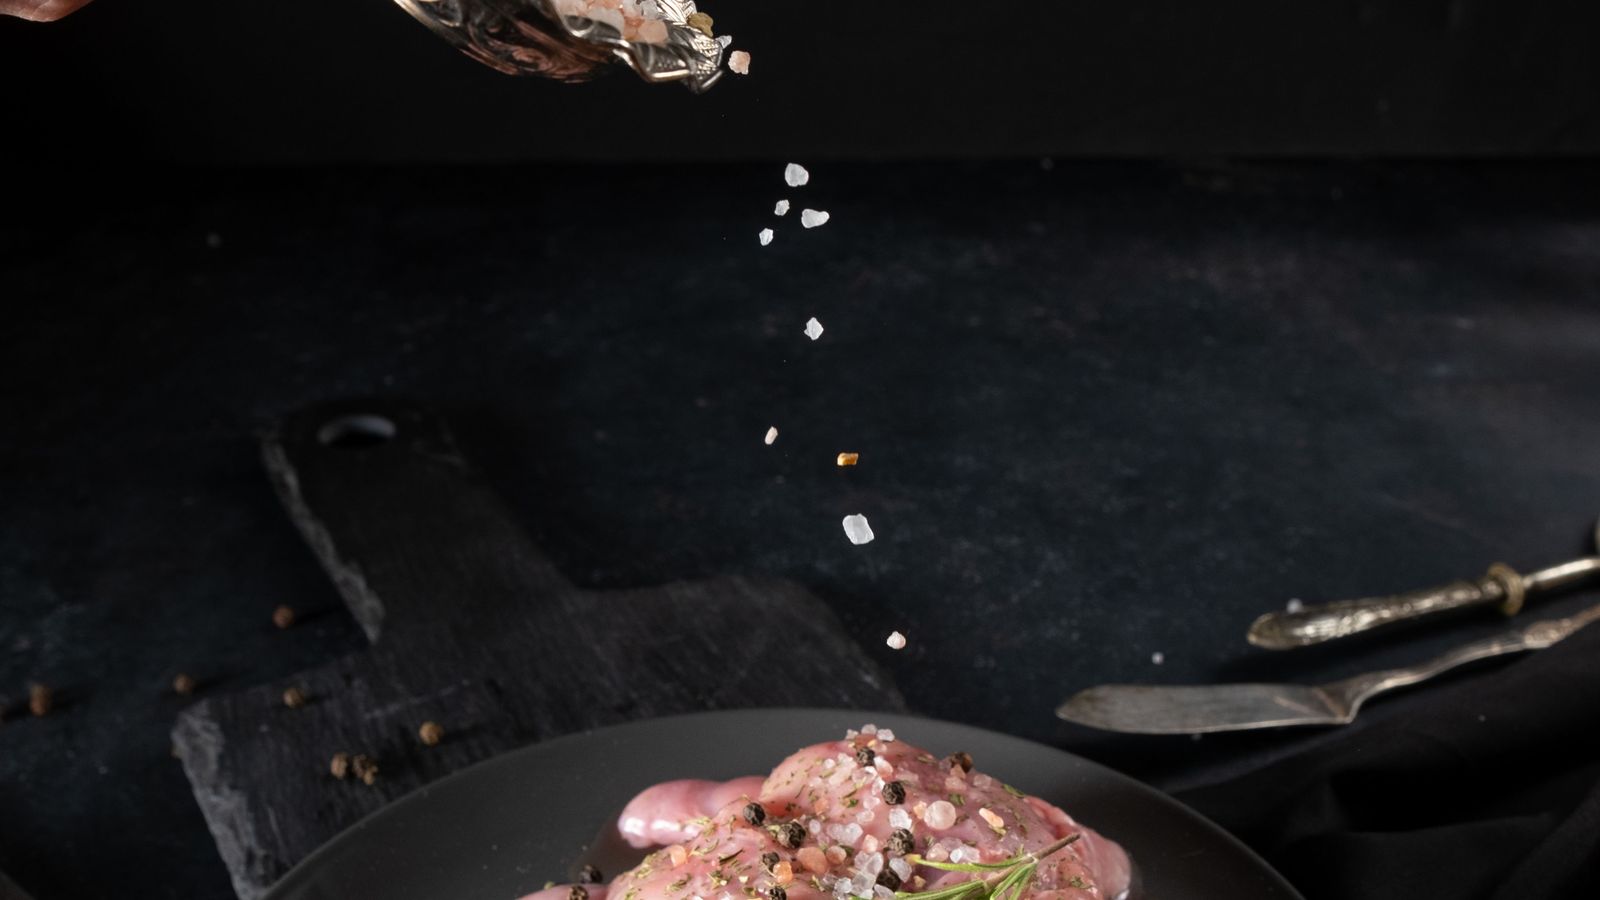
Dry brine — salting the meat 1 to 24 hours ahead and leaving it uncovered or loosely covered in the fridge — pulls moisture out via osmosis, then that moisture re-absorbs back into the meat, leaving the surface drier than when you started. This is different from a wet brine, and understanding the osmosis science behind both will change how you season everything from a pork butt to a turkey.
Uncovered fridge rest of 4-8 hours (or overnight) after salting works like a dry-age lite — the fridge's low humidity actively wicks surface moisture away, which is exactly what you want before the meat hits heat.
This is also why trimming fat cap thickness matters more than people think — a thick, wet fat cap sitting under your rub holds moisture at the surface and slows browning right where you want your best bark. A trimmed, taut cap dries and renders far more efficiently.
Why Low-and-Slow Still Builds Great Bark
This confuses beginners constantly: if Maillard needs roughly 300°F+ at the surface, why does low and slow smoking at 225°F-275°F chamber temp produce some of the best bark in barbecue? Shouldn't a hot grill sear it faster and better?
The answer is that chamber temperature and surface temperature are two different numbers, and time is the variable that reconciles them. Over many hours in a smoker, the meat surface slowly dehydrates as moisture migrates out and evaporates into the moving air.
Even at a chamber temp of 250°F, a dry, dehydrating meat surface will climb above the ambient air temperature in local hot spots and, more importantly, sits in that 300°F-plus zone effectively for hours once it's dried out enough — because a dry surface heats up faster and holds heat differently than the moist interior.
The reaction doesn't need to happen fast; it needs total exposure time at the right temperature, and a long cook gives it exactly that.
A hot grill sears the outside almost instantly but doesn't have the hours needed to build the thick, multi-layered bark that fat rendering and rub polymerization require — you get color, but not the full composite structure.
Airflow is the other half of this. Moving air over the meat's surface continuously carries away the humidity boundary layer sitting right against the meat, which is exactly what lets that surface keep drying instead of stalling in its own moist microclimate.
This is why a smoker with decent airflow — vents open, exhaust drafting properly — builds better bark than a sealed, humid box even at the same set temperature.
It's also a big part of why the stall happens in the first place: evaporative cooling from surface moisture holds internal temperature flat for hours, and that same evaporation is exactly what's simultaneously drying the surface and (eventually) letting Maillard take over up top even while the internal temp is stuck.
Factor
What it does to bark
Practical target
Surface temp
Drives the Maillard reaction itself
~300°F+ (149°C+) at the meat surface
Chamber temp
Sets pace and total cook time
225°F-275°F for low and slow
Surface moisture
Stalls browning entirely while present
Pat dry; dry brine; skip the spritz early on
Airflow
Carries humidity away from the surface
Vents open, clean draft, no dead air pockets
Cook time
Lets fat render and rub layers polymerize
Hours, not minutes, for a full bark structure
The Pellicle and the Problem With Over-Spritzing
A pellicle is a thin, tacky protein layer that forms on a meat's surface as it air-dries slightly — you'll see this talked about most with smoked salmon, but the same principle applies to a rubbed brisket or pork butt sitting in the smoker.
That tacky surface is what smoke particles actually stick to. A wet, slick surface sheds smoke; a tacky, slightly dried surface grabs it. This is one more reason getting the surface dry before smoke ever touches it pays off twice — better browning and better smoke adhesion, from the same fix.
Spritzing — spraying the meat with apple juice, vinegar, or water during the cook — is a legitimate technique, but it's frequently overused.
Every time you spray the meat, you're doing two things: resetting the surface temperature back down (you're adding room-temp or cold liquid directly onto a hot surface) and adding fresh moisture that has to evaporate all over again before Maillard can resume.
Spritz every 15 minutes for eight hours and you've spent a meaningful fraction of your cook re-cooling the one part of the meat that needs to stay hot and dry.
CEO TIP: If you spritz, do it sparingly and late — once bark has already started to set, usually a couple of hours in, and no more than once an hour after that. Early in the cook, leave it alone entirely and let the surface dry out on its own schedule.
Set the Bark Before You Wrap
Wrapping — in either butcher paper or foil — is a legitimate tool for pushing through the stall and speeding up a long cook, but timing it wrong will undo hours of bark-building work.
The rule is simple: don't wrap until the bark is actually set — meaning it's firm to the touch, dark, and doesn't smear or lift when you press a finger against it.
On a brisket that's typically once the internal temp is somewhere in the 160°F-170°F range, though go by feel and appearance over the clock.
Foil is airtight and traps 100% of the moisture and steam coming off the meat right against the bark. That steam re-hydrates the crust you just spent six hours building, softening it — sometimes people call this the "foil boil" for a reason. Butcher paper is porous.
It still speeds the cook by holding some heat and moisture close to the meat, but it breathes enough to let excess steam escape, which is why paper-wrapped brisket keeps a firmer, more intact bark than foil-wrapped brisket cooked the same way.
If bark texture matters to you — and on a competition-style cook or a full packer brisket it should — reach for paper, not foil, once you're past the stall.
Putting It Together on the Pit
Here's the sequence that actually respects the chemistry, whether you're running a Weber Smokey Mountain, a Big Green Egg, a classic offset, or a pellet grill:
Trim fat cap to a manageable, even thickness — thick fat holds surface moisture and slows browning.
Dry brine or salt ahead, then rest uncovered in the fridge so the surface actually dries.
Pat dry again right before the rub goes on if there's any surface moisture.
Apply rub — a balanced mix of salt, sugar, and spice from a solid dry rub build gives Maillard the sugar and surface texture it needs without scorching.
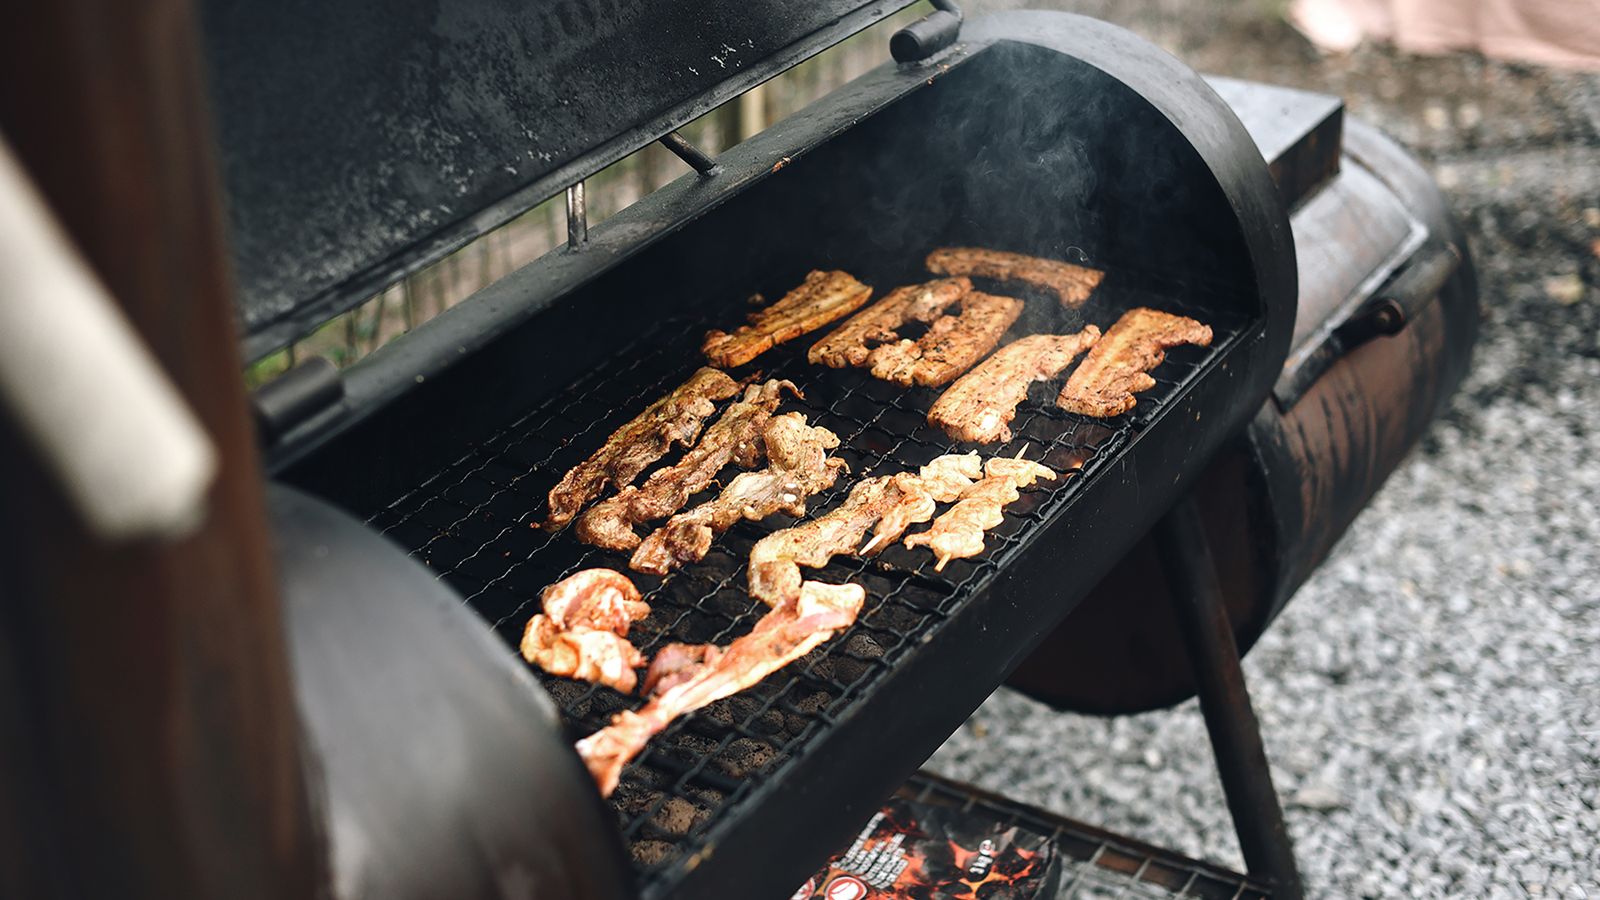
Run a stable chamber temp with good airflow — 225°F-275°F for a long low-and-slow cook — and leave the lid shut for the first several hours. No spritzing yet.
Once bark visibly darkens and firms, spritz sparingly if at all, and watch, don't poke.
Wrap in paper (not foil) only after the bark is truly set and firm to the touch, if you're wrapping at all.
Pull based on internal temperature and feel, cross-checking against the meat temperature chart for the specific cut you're running.
Bark is built by Maillard browning, rendered fat, polymerized rub, and smoke deposition working together — not by smoke alone.
Maillard needs roughly 300°F+ at the meat's surface and doesn't kick in seriously until that surface is dry — water at the surface caps browning at low temps no matter your chamber setting.
Dry brining, patting the meat dry, and running good airflow are the real bark levers — they matter more than any specific rub recipe.
Low and slow builds superior bark because hours of drying and airflow eventually push the surface past 300°F even at a moderate chamber temperature — time does the work heat alone can't.
Spritz sparingly and late, and wrap in paper rather than foil once bark is set, so you don't undo hours of work in the last stretch of the cook.
About the Author
Grillmaster John learned live fire the long way — kitchens, backyards and smoke pits around the world — and settled on one rule: taste the meat, not the heat. Every guide on this site gets cooked, temped and tasted before it gets published. Got a cook that beat you? Send it through the contact page and we'll sort it out together. — GJ