The quick version
This is the shortcut into burnt ends: cube a skinless belly into uniform 1.5-inch pieces, smoke at 250F for 2.5-3 hours until they hit roughly 190F with a dark, tacky bark, braise covered in butter, brown sugar, and honey for 1-1.5 hours until fork-tender, then sauce and set uncovered for a final 15-20 minutes. Total cook is 4 to 4.5 hours with maybe twenty minutes of actual work. Same meat candy as brisket burnt ends, in under half the time, off a $20-25 slab instead of a $70 packer.
Pork belly burnt ends are the cheat code into the burnt ends game. Same sweet, sticky, caramelized cubes of meat candy you get from a brisket point, except pork belly gets there in half the time, with half the fuss, and it's nearly impossible to mess up. If you've been circling brisket burnt ends but don't want to commit a full day and a $70 packer to your first attempt, start here.
This is a three-stage cook: smoke the cubes low and slow until they render, braise them in a foil pan swimming in butter, brown sugar, and honey until they're fall-apart tender, then sauce them and let the whole pan tack up into a glaze. Total active work is maybe twenty minutes. Total cook time is 4 to 4.5 hours, most of which is the smoker doing the work while you do something else.
Real burnt ends started as a byproduct — the fatty point end of a brisket, twice-cooked because pitmasters didn't want to waste the good stuff.
Pork belly skips the "byproduct" part entirely, because pork belly is basically already the point: it's 30-40% fat by weight, laced through with collagen, and built to render into something silky if you give it heat and time.
Where a brisket point needs 10-12 hours to break down that much connective tissue, a 1.5-inch pork belly cube gets there in a fraction of that, because there's less mass to push heat through and the fat cap runs through the whole cube instead of sitting on one side.
That's also why this is the recipe I hand to first-timers who want to understand how collagen converts to gelatin without gambling a whole weekend on it. If it goes sideways, you're out a $20-25 slab of belly, not a $70 brisket.
Ask your butcher for a skinless pork belly, roughly 3-5 lbs, cut for burnt ends — not the thin, pre-sliced belly meant for bacon. You want a slab at least 1.5 to 2 inches thick so your cubes have some structure.
If all you can find is skin-on belly, that's fine — just trim the skin off with a sharp boning knife before you cut cubes. Skin doesn't render into anything pleasant at burnt-ends cube size; it just goes rubbery and chewy under sauce.
Trim the belly into a rough rectangle, then cut it into cubes as close to 1.5 inches as you can manage. Uniformity matters more than exact size — cubes that are all roughly the same dimension render and finish at the same rate, so you're not fishing out overdone pieces while others are still tough. Leave the fat on. That fat is the entire point of this cook; don't get precious and trim it down.
CEO TIP: Freeze the belly for 20-30 minutes before you cube it. Firmer fat cuts cleaner, your knife tracks straighter, and you'll get more consistent cubes than trying to slice through room-temperature belly.
Pork belly wants a rub built around sugar, not just salt and pepper.
A base of brown sugar, kosher salt, black pepper, smoked paprika, garlic powder, onion powder, and a pinch of cayenne gets you there — roughly equal parts brown sugar and paprika, half that much salt and pepper, and garlic/onion powder to taste.
The sugar does double duty: it seasons the meat and it kickstarts the caramelization that gives burnt ends their signature dark, tacky bark.
If you want to dial in your own blend instead of following a fixed ratio, the ultimate dry rub guide walks through building ratios for any protein, sweet cuts included.
Toss the cubes in a light coat of yellow mustard or a thin layer of oil first — just enough for the rub to stick, not so much it pools in the bottom of the bowl. Coat every side generously. Because these cubes have way more exposed surface area than a whole brisket point, they can handle — and want — a heavier rub coat than you'd use on a full cut of meat.
Set your smoker to a steady 250F (121C), whether that's a pellet grill, a Weber Smokey Mountain, a Big Green Egg, or a classic offset running a clean fire.
Arrange the rubbed cubes on a wire rack directly over the grates, fat side up where possible, with a little space between each piece so smoke and heat can circulate on all sides.
This isn't a cut where you need a strict two-zone setup — indirect heat across the whole grate at 250F is exactly what you want. If you're still getting your fire management down, the two-zone fire setup guide covers dialing in steady temps on any grill.
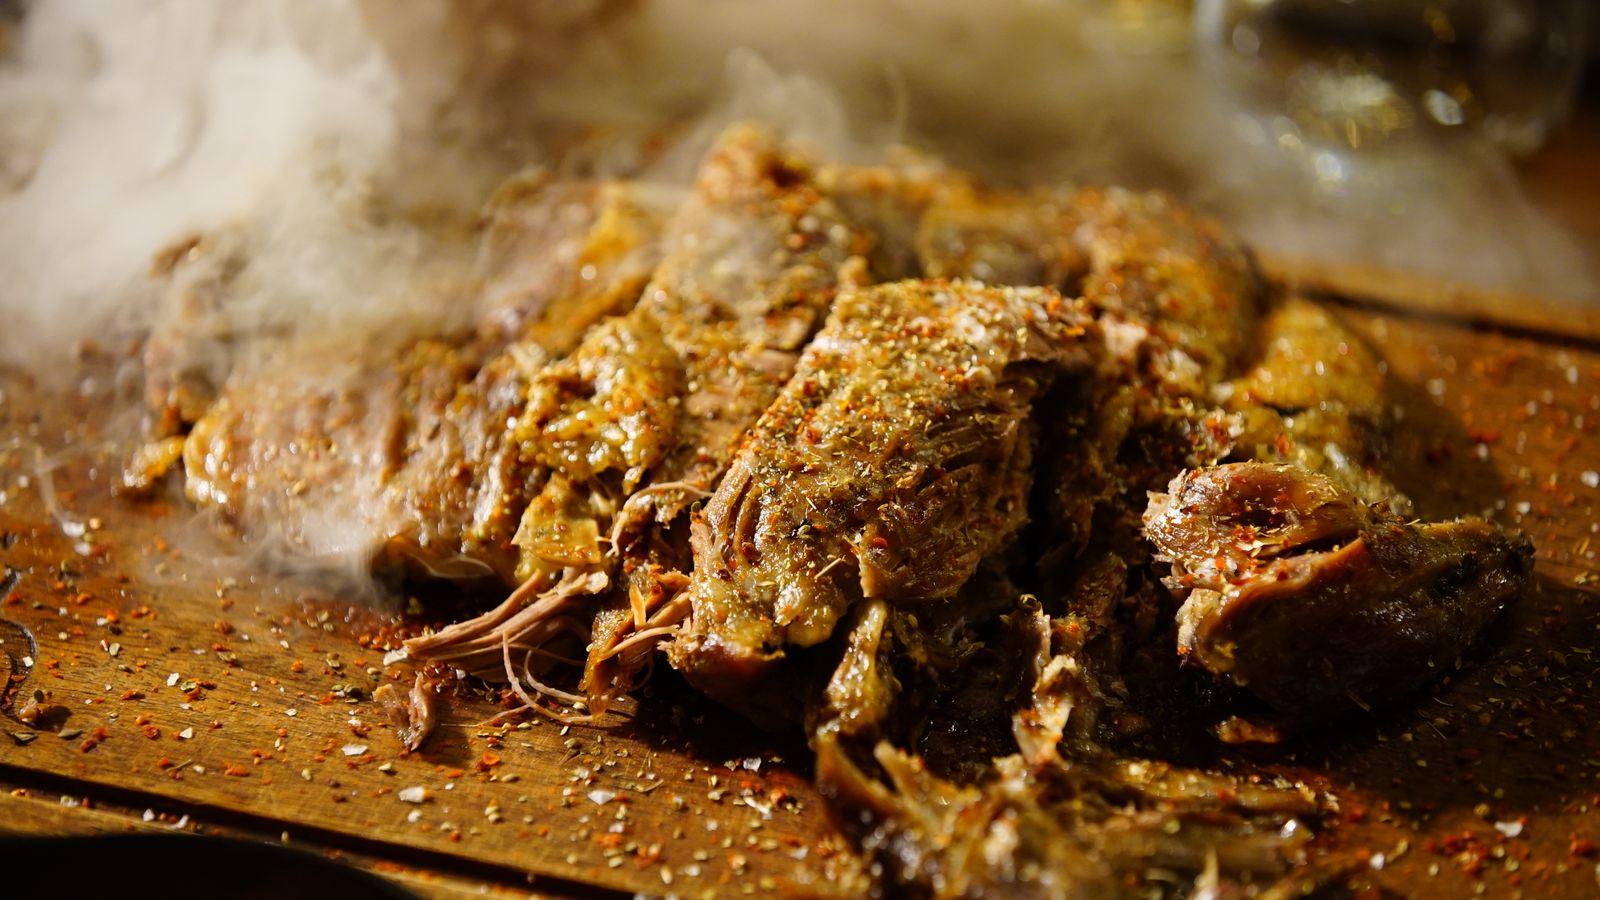
Smoke the cubes for 2.5 to 3 hours, until they hit an internal temperature around 190F (88C) and have developed a deep mahogany, tacky exterior.
Check with an instant-read thermometer in a couple of the larger cubes — pork belly at this stage isn't about food-safety minimums, it's about rendering, so you're chasing texture as much as a number.
For a full breakdown of target temps across every cut, bookmark the meat temperature chart; burnt ends are one of the few cooks where you push well past standard doneness on purpose.
Use a light, fruity wood here — apple, cherry, or peach — since pork belly's high fat content grabs smoke fast and can turn bitter if you lean on anything heavier like hickory or mesquite for three-plus hours.
Pull the cubes once they hit 190F and transfer them into a disposable foil pan. Add:
Toss the cubes gently in the pan so everything gets coated, then cover the pan tightly with foil and put it back on the smoker at the same 250F.
This traps steam and turns the butter, sugar, and honey into a bubbling braising liquid that finishes breaking down whatever connective tissue survived the first phase.
Cook covered for 1 to 1.5 hours, until the cubes are fork-tender — a probe or fork should slide in with next to no resistance, the same tenderness test you'd use pulling a pork butt for pulled pork.
CEO TIP: Don't skip the foil cover on the braise. It's the difference between the cubes simmering in that butter-sugar-honey mixture and just sitting on top of it drying out. Covered, they'll baste themselves the whole time.
Uncover the pan and drain off a little of the excess liquid if it's pooled deep — you want the cubes glossy, not swimming. Pour your favorite BBQ sauce over the top, enough to coat every piece, and stir gently to combine it with the butter-sugar-honey braising liquid still in the pan.
A sweeter Kansas City-style sauce is the classic pairing here, though a vinegar-forward Carolina sauce cuts the richness nicely if you want contrast instead of more sweetness. Either way works — see the regional sauce guide if you want to compare styles before you commit.
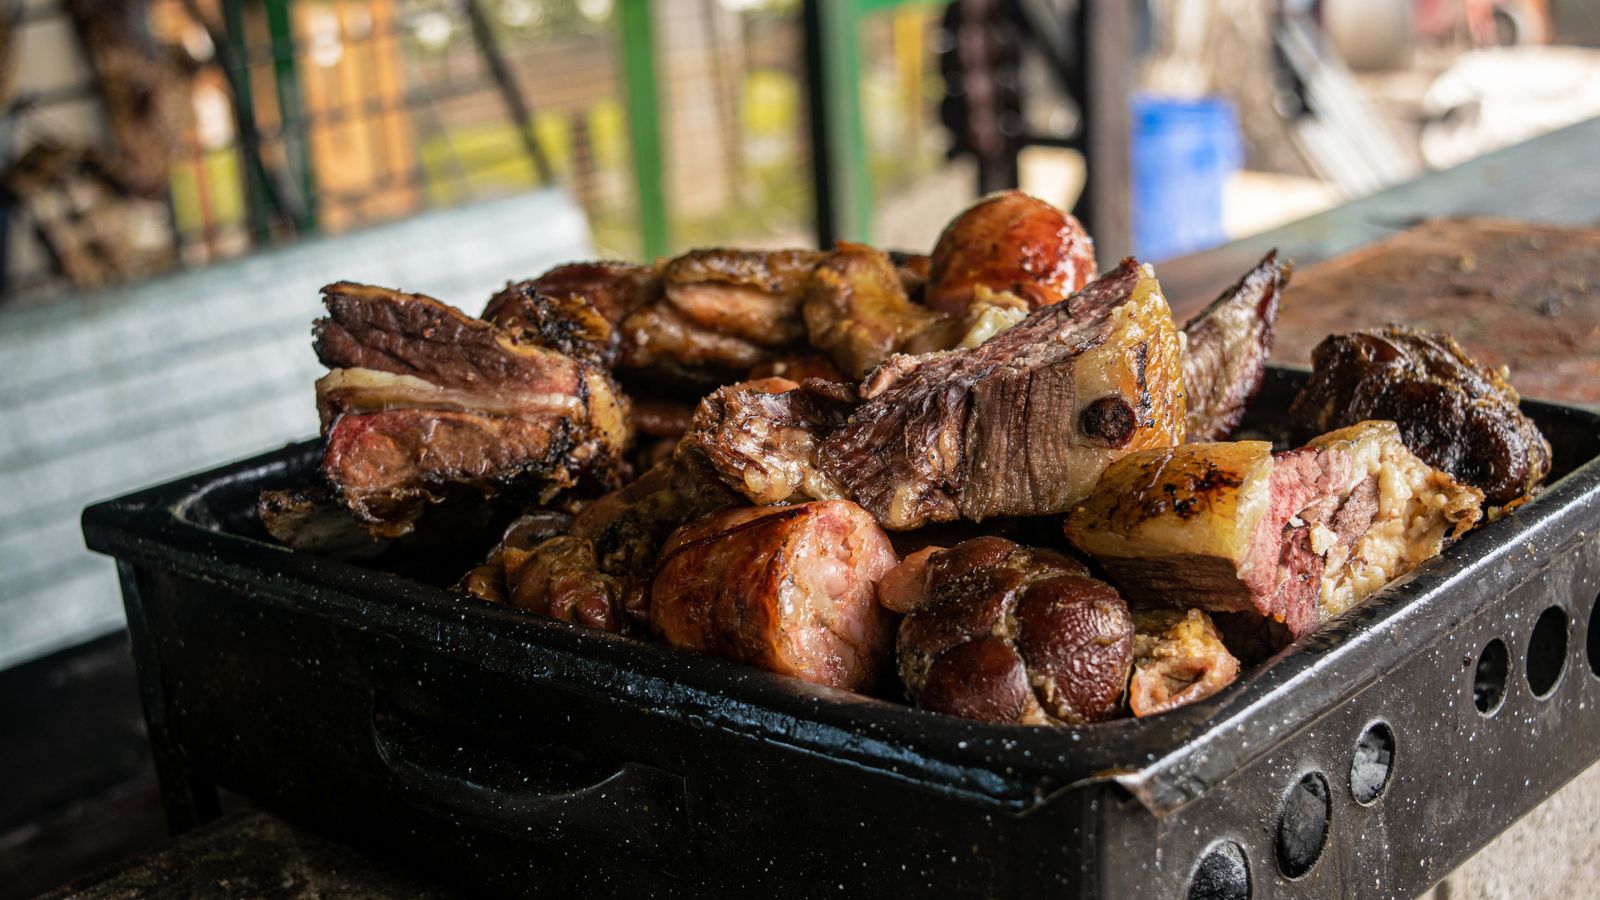
Put the pan back on the smoker uncovered for a final 15-20 minutes at 250F. This is where the sauce tightens up, the sugars caramelize further, and the whole pan takes on that sticky, tacky glaze that separates a burnt end from a plain braised cube of pork.
Pull them when the sauce looks set rather than wet, and let them rest for 5-10 minutes in the pan before serving — they'll firm up slightly and hold together better once you plate them.
| Stage | Temp | Time | Target |
|---|---|---|---|
| Smoke | 250F (121C) | 2.5-3 hrs | ~190F internal, dark bark |
| Braise (covered) | 250F (121C) | 1-1.5 hrs | Fork-tender |
| Sauce and set (uncovered) | 250F (121C) | 15-20 min | Sauce tacky, not wet |
Brisket burnt ends demand you already know how to navigate the stall, manage a 12+ hour cook, and slice a point correctly before you even get to the candying stage. Pork belly burnt ends strip all of that out.
There's no stall to speak of, no long overnight tend, and the cut forgives small timing mistakes because it's already so fat-rich that a little extra time in the smoke or braise rarely ruins it.
You get the same reward — sticky, glazed, fall-apart cubes of meat candy — in under half the total time investment, which makes it the cook I point beginners to before they attempt a full packer.
Pork belly burnt ends hold up on their own in a bowl with toothpicks as a party appetizer — they disappear fast, so plan on a full belly if you're feeding more than four or five people as a snack.
They're outstanding piled onto slider buns with a quick-pickled onion or a scoop of slaw for crunch, and they work as a rich addition to a full spread alongside classic BBQ sides like beans or cornbread that can stand up to how rich this cut is.
Because they're so much fattier than a brisket cube, a little goes further than you'd expect — plan portions accordingly.
Grab the free doneness + wood-pairing cheat sheet →