The quick version
Burnt ends are a second cook stacked on the first: smoke the packer until the point hits 200-203F and probes like warm butter, rest it 1-2 hours, then separate the point along the fat seam and cube it to roughly 1 inch. Toss the cubes in fresh rub, BBQ sauce, brown sugar, and honey, then run them uncovered in a single layer at 250-275F for 1 to 1.5 hours. Pull at 200-205F when the cubes jiggle on a gentle pan shake — that wobble is the line between meat candy and chewy.
You already did the hard part. Twelve, thirteen, maybe fourteen hours of tending fire, wrapping through the stall, and resting a full packer brisket until it sliced clean.
Now you're going to take the fattiest, richest quarter of that brisket and turn it into something even better than the slices — cubes of bark-crusted, sauce-glazed, meltingly tender beef that disappear off the cutting board faster than anything else you'll serve all year.
This is burnt ends, and if you've never made them, you're about to understand why pitmasters in Kansas City guard the technique like a family recipe.
Burnt ends aren't a shortcut or a garnish. They're a second cook stacked on top of the first, and done right they turn the point — the part of the brisket most beginners struggle to slice neatly anyway — into the best bite on the table.
Burnt ends are a Kansas City invention, born at joints like Arthur Bryant's back when brisket was cheap and pitmasters were smoking whole packers overnight in brick pits.
The point end of the brisket runs thick with intramuscular fat and connective tissue, so it cooks unevenly next to the leaner flat. Cooks would trim off the driest, most heavily bark-crusted corner pieces — the actual "burnt" ends — and toss them in a pan while the rest of the brisket rested.
Customers who knew to ask got a free plate of them while they waited in line. Word got around that these scraps, running with rendered fat and bark, were better than the sliced meat itself. Eventually pitmasters stopped treating them as a byproduct and started making them on purpose.
That's the dish you're making today, and it's still sometimes called "meat candy" for good reason — once you've cubed, glazed, and re-smoked the point, you get something with the pull of candy and the smoke of real barbecue.
If you want the fuller regional picture — how KC's sweet-and-sticky style compares to Texas, Carolina, Memphis, and Alabama — the regional BBQ sauce guide lays it out cut by cut.
You can't make good burnt ends from a mediocre brisket. If you haven't smoked a full packer before, work through the complete packer guide first — trim, rub, injection, the stall, all of it. For burnt ends specifically, here's what matters:
CEO TIP: Don't try to separate the point and flat straight off the smoker. A hot brisket is loose and tears; a rested brisket holds its shape and the fat seam is easy to follow with a knife.
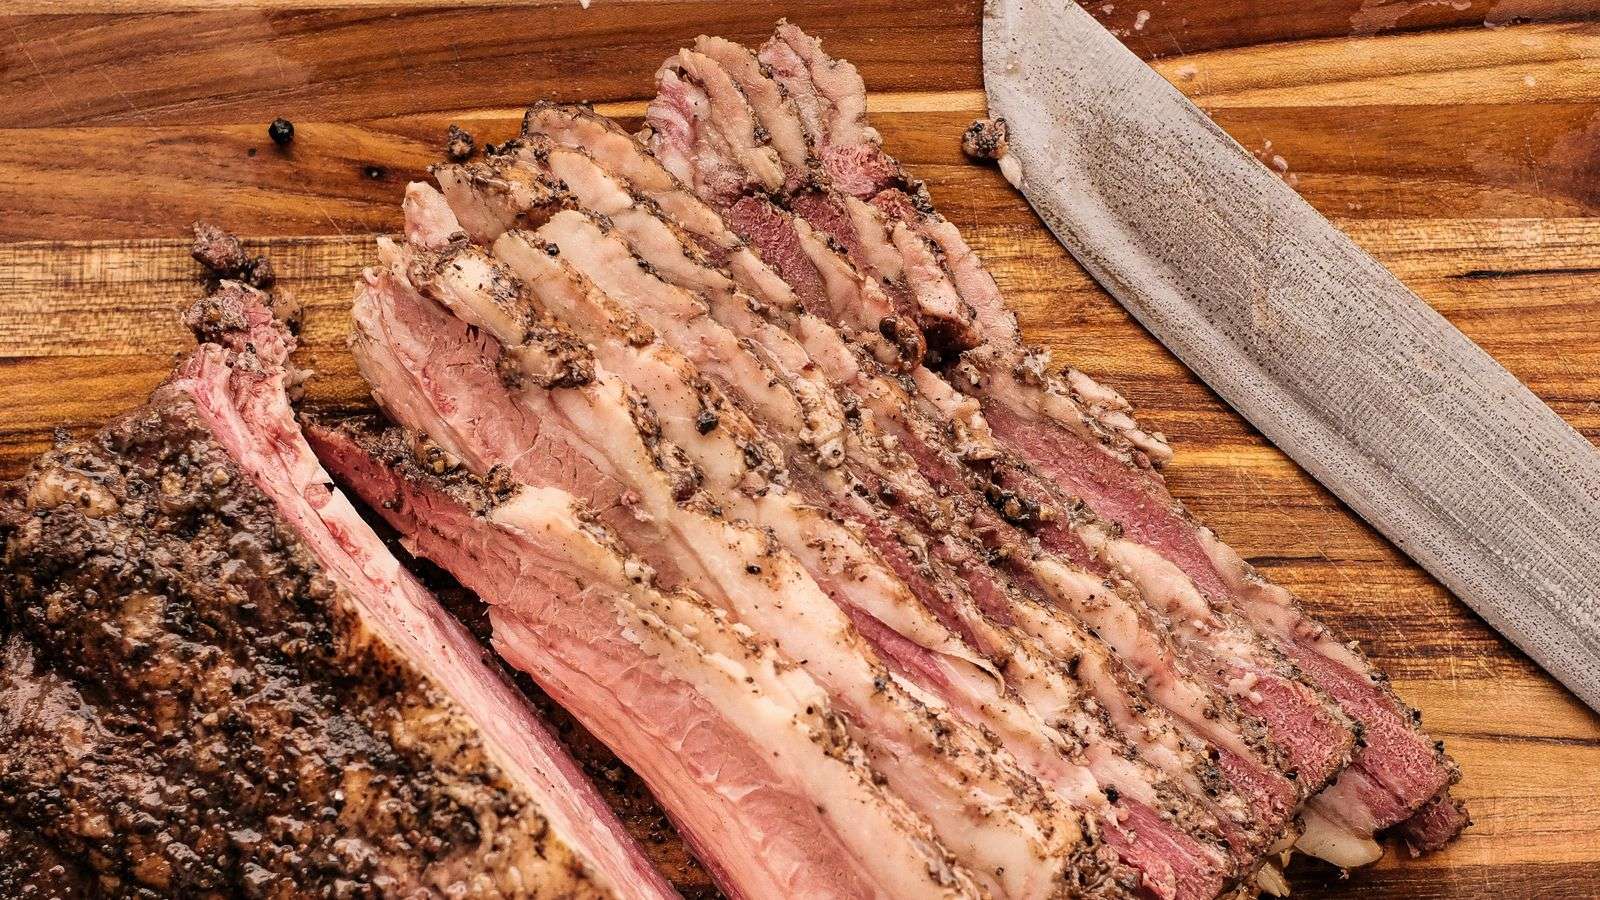
Cut the separated point into roughly 1-inch cubes. Don't obsess over precision here — bark-heavy edge pieces and fattier center pieces will render differently, and that's fine, it's part of the character of the dish. What matters is consistency within a reasonable range: too small and they'll dry out in the second cook, too large and the glaze won't penetrate before the outside starts to burn.
As you cube, you'll notice pockets of soft, still-unrendered fat. Leave most of it — that fat is exactly what melts down and self-bastes the cubes during the second smoke. Only trim off any hard, waxy fat that clearly hasn't broken down at all; that will never render in an hour and a half no matter how hot you run it.
This is the step that separates real burnt ends from just reheated brisket cubes. Toss the cubed point in a large bowl or straight in your foil pan with:
Toss gently with your hands or a spatula until every cube is coated. You want a sticky, wet mixture clinging to the meat, not a soupy pan of loose sauce.
Spread the glazed cubes in a single layer in a disposable foil pan or a rimmed metal pan you don't mind getting sticky. Single layer matters — stacked cubes steam instead of caramelizing, and you'll end up with mushy meat instead of a set glaze.
Run your smoker at 250-275F (120-135C) — a touch hotter than the original low-and-slow cook, since you're not worried about drying out a large piece of meat anymore, you're chasing caramelization. Leave the pan uncovered the entire time. The point of this second cook is to let the sauce, sugar, and honey reduce down into a tacky, dark glaze while the fat continues rendering — covering the pan traps steam and stops that from happening.
Give it 1 to 1.5 hours, stirring or gently tossing the cubes once around the halfway mark so every side gets glazed and no piece sits in a puddle of syrup the whole time. Add a couple chunks of your smoking wood if you want another light layer of smoke on top — cherry or apple pairs especially well with the sweetness here.
Use an instant-read thermometer to check a few cubes around the pan; don't rely on the clock alone, since pan position, ambient temperature, and smoker hot spots all shift your actual cook time. You're targeting 200-205F (93-96C) internal, the same range you'd want the whole point to hit on its own. If you want the full breakdown of doneness targets by cut, bookmark the meat temperature chart — it's worth having open next to the smoker.
Here's the tell that separates great burnt ends from good ones: give the pan a gentle shake. The cubes should jiggle slightly, almost like they're barely holding together, with a glaze that's thick and tacky rather than runny.
That jiggle means the collagen has fully broken down into gelatin — the same transformation covered in how tough cuts turn tender — without the muscle fibers seizing up and going chewy. If they feel firm and don't wobble at all, they're not done, even if the glaze already looks dark and set.
Pull too early and you get chewy candy-coated brisket; pull at the right point and it nearly falls apart on the fork.
CEO TIP: If the glaze is setting up nicely but the internal temp is still under 195F, tent loosely with foil for the last 15-20 minutes rather than pulling the pan. That lets the meat finish without scorching the sugar.
| Stage | Temp | Time | What you're watching for |
|---|---|---|---|
| First cook (whole packer) | 225-250F smoker | ~1-1.25 hrs/lb | Point hits 200-203F, probes tender |
| Rest | Cooler, wrapped | 1-2 hrs min | Firms up enough to slice/separate cleanly |
| Second cook (cubed, glazed) | 250-275F smoker | 1-1.5 hrs | Glaze tacky and dark, cubes jiggly at 200-205F |
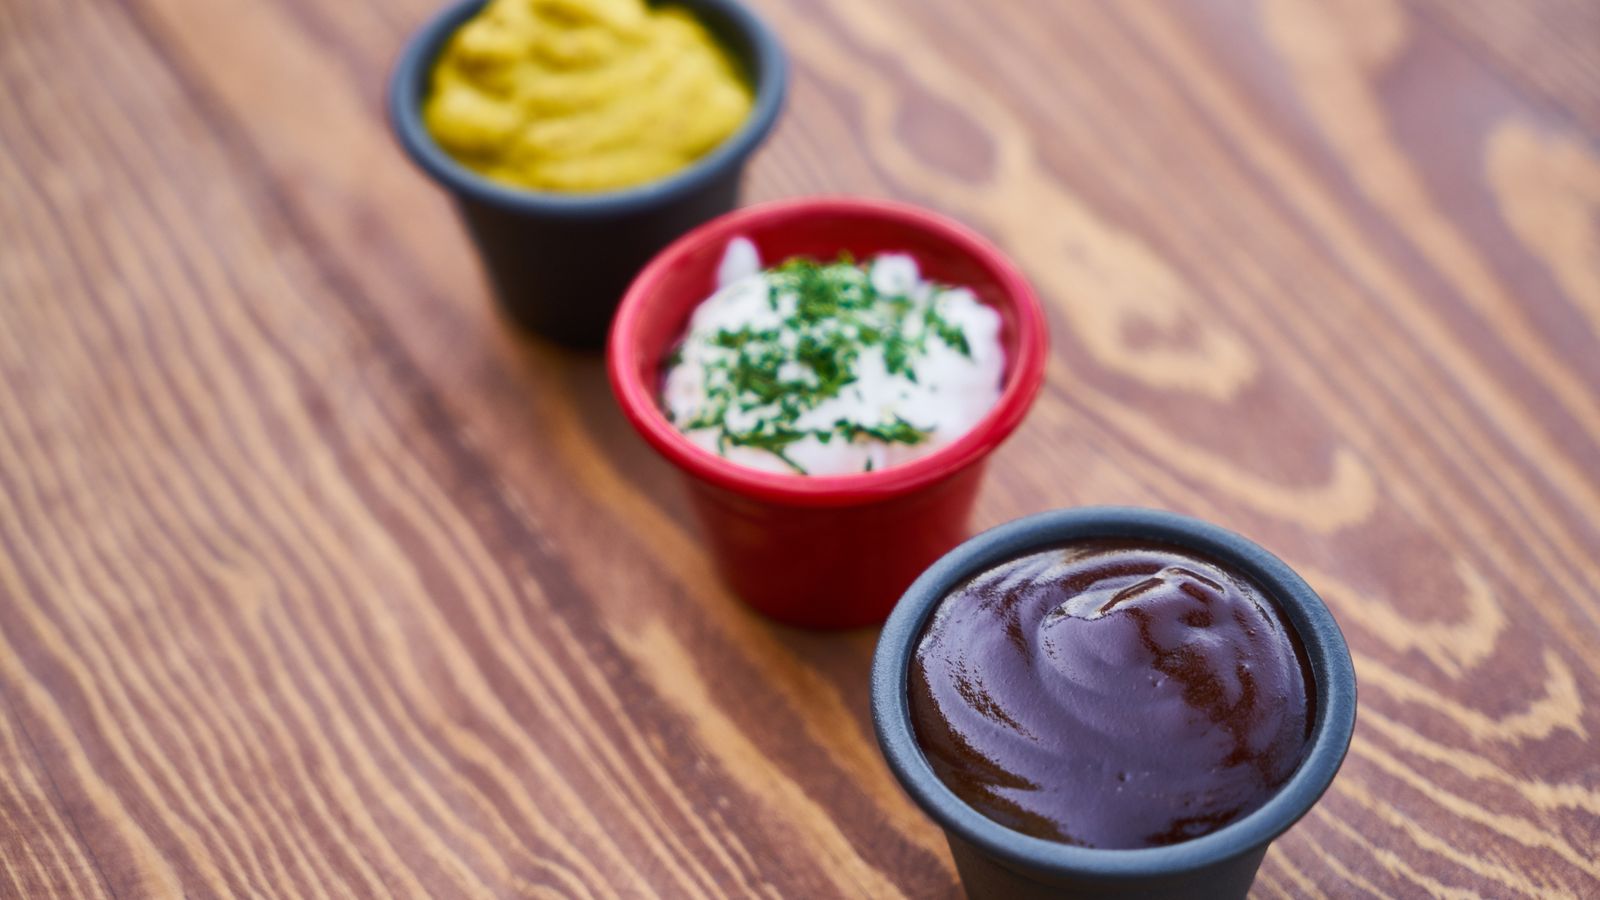
Burnt ends are flexible enough to anchor a whole spread. Three ways that never fail:
Set the pan out with toothpicks and let people go at it straight from the tray. This is how most KC joints serve a burnt ends plate, and honestly it's the best way to taste the glaze and smoke without anything getting in the way.
Pile a few cubes onto a small slider bun with a slice of pickle and a light drizzle of extra sauce. The bun soaks up the glaze and keeps things from getting messy — great for a crowd where you want individual portions instead of a shared tray.
Spoon a generous portion of burnt ends over a bowl of good, creamy mac and cheese. The rich, glazed beef against the mac is one of the best combinations in all of barbecue, and it's an easy way to stretch one point's worth of burnt ends into a full meal for a bigger group. Pair it with something from the BBQ side dish guide and you've got a complete plate.
Whichever way you serve them, do it hot, right out of the pan or reheated gently — the glaze firms up as it cools and loses some of that sticky pull that makes burnt ends worth the extra hour and a half in the first place.
Grab the free doneness + wood-pairing cheat sheet →