The quick version
Tough ribs are almost always undercooked ribs, not overcooked — pork is safe at 145°F but doesn't get tender until collagen melts to gelatin in the 195–203°F range. Peel the membrane before the cook, hold a steady 225–250°F, and add humidity with a water pan, a spritz, or a wrap once the bark sets. Confirm doneness with the bend test and a toothpick that slides in like butter, not a clock — spares run 5–7 hours and baby backs 4–6, but feel is the finish line.
Tough ribs feel like a betrayal. You babysat the smoker all afternoon, the bark looks perfect, the color's right — and then you bite in and it's like chewing a pencil eraser. Here's the thing almost nobody tells beginners: tough ribs are nearly always undercooked ribs, not overcooked ones. The instinct is to panic and pull them off sooner next time. That's backwards, and it's why the same cook keeps happening to the same people.
Ribs get tender through a chemical process, not a clock. Collagen has to melt into gelatin, and that only happens with enough heat, for enough time, in a moist enough environment. Miss any one of those three variables and you get rubbery, tug-hard, tough meat — even if the ribs have technically been on the smoker for hours. Let's go through the six real causes, in the order I see them most often, and fix each one.
This is the number one cause, full stop. Pork ribs are safe to eat at 145°F, but "safe" and "tender" are two completely different numbers. Safe just means the pathogens are dead. Tender means the collagen and connective tissue running through the meat have had time to break down into gelatin, which is what makes ribs feel like they're falling apart instead of fighting you.
That breakdown doesn't really get moving until the internal temperature climbs well past 165°F, and it isn't finished until somewhere in the 195–203°F range. Pull ribs at 175°F because "the recipe said 5 hours" and you've got a perfectly safe, perfectly tough rack. For the full range across every cut, bookmark the meat temperature chart — it's the difference between food-safe and actually done.
Time is a rough guide, not a finish line. Spare ribs generally take 5 to 7 hours at 225–250°F; baby backs run a little faster, usually 4 to 6 hours in that same range.
But wind, ambient temperature, how much the lid got opened, and the actual thickness of your rack all shift that number by an hour or more in either direction. A good instant-read thermometer is not optional gear for ribs — it's the tool that tells you the truth when the clock is lying to you.
CEO TIP: Probe ribs in the thickest part of the meat, between the bones, not touching bone. If the probe slides in with almost no resistance — like pushing into softened butter — you're there. If it grabs or resists, they need more time regardless of what the thermometer reads.
Flip a rack over and you'll see a thin, shiny, almost translucent skin running across the back of the bones. That's the peritoneum, commonly called the membrane, and it does not render, does not break down, and does not get tender no matter how long you cook it.
It just sits there like a layer of plastic wrap, blocking smoke and rub from penetrating the meat from that side and giving you a chewy, leathery bite along the bone every single time.
Pull it before it ever sees heat. Slide a butter knife or the tip of a spoon under the membrane at one corner, get a grip with a paper towel, and peel it off in one motion — it usually comes away in a single sheet if you start it right. Some racks have a membrane that tears easily; work in sections with the paper towel if it does. This takes 60 seconds and it is not optional if you want tender ribs.
This one trips up people who are scared of high heat and swing too far the other way. Ribs need 225–250°F pit temperature sustained for the full cook. Drop below 220°F and the whole process slows down — the connective tissue takes longer to break down, the cook stretches out, and impatient cooks pull the ribs at the "normal" time even though the meat is nowhere near ready internally. Low and slow doesn't mean low and rushed.
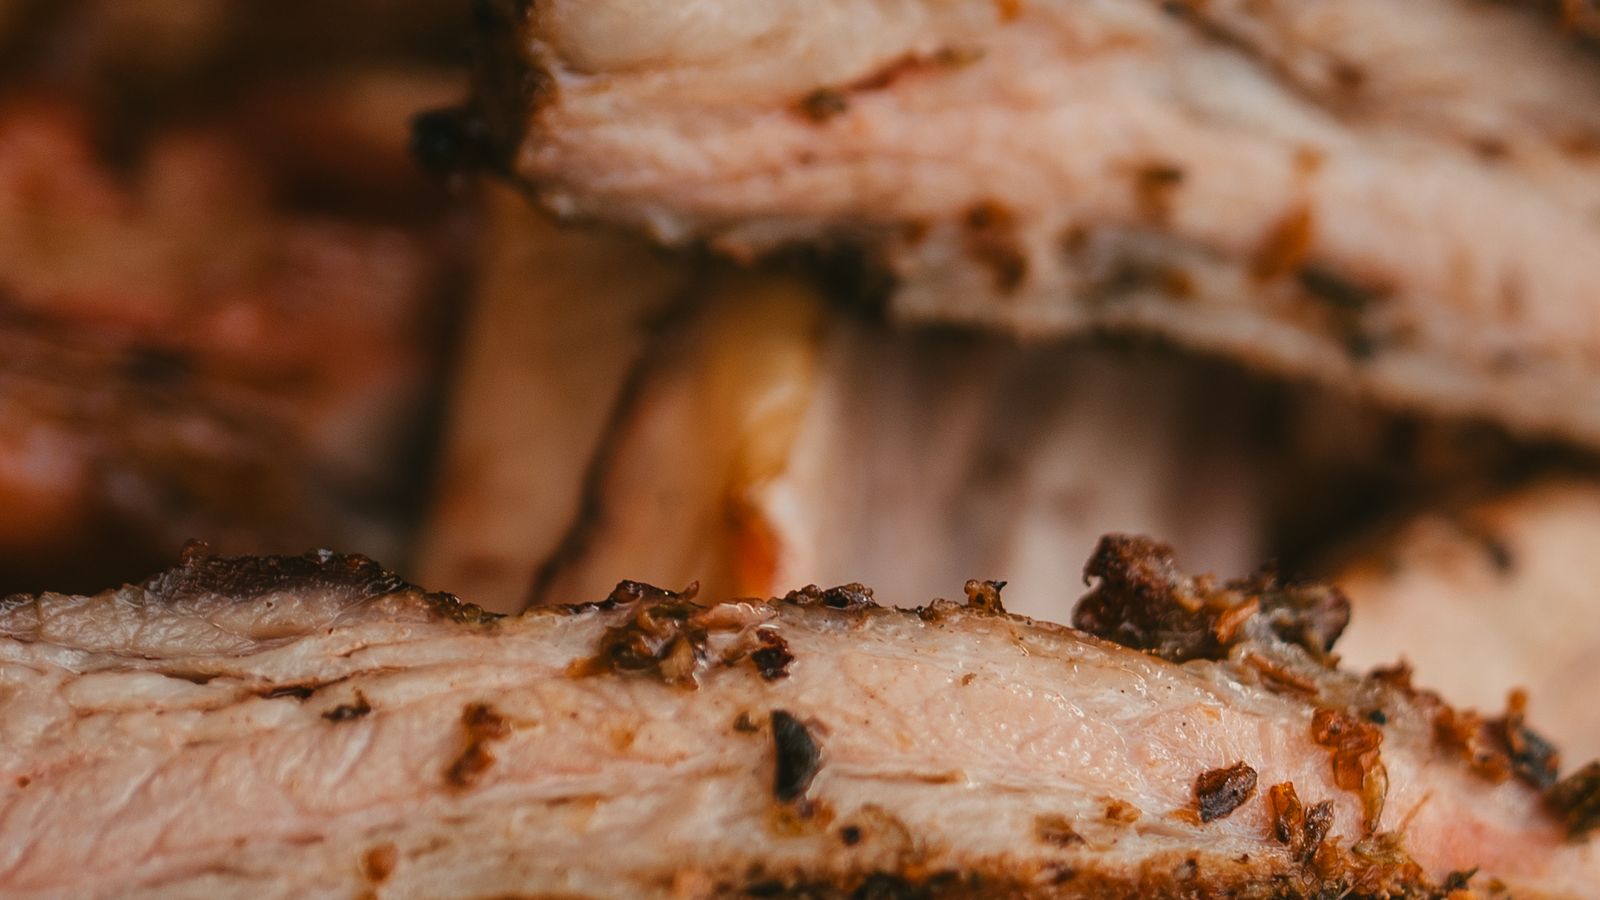
The flip side is just as common: people bump the pit up to 275–300°F thinking they'll speed things along, then panic when the outside looks done at hour three and pull it, leaving the interior collagen still solid. Consistency matters more than the exact number in that 225–250°F window.
Set up a proper two-zone fire, get your pit dialed in, and hold it there. For the full science on why patience actually pays off here, the low and slow guide covers it in depth.
| Pit Temp | What Happens | Verdict |
|---|---|---|
| Under 220°F | Collagen breakdown crawls; cook stretches past patience | Too slow — easy to pull early |
| 225–250°F | Steady render, bark sets, collagen converts on schedule | Sweet spot |
| 275°F+ | Outside finishes visually before inside catches up | Risks a tough, misleading cook |
A bone-dry smoker chamber does two bad things to ribs: it dries out the meat's surface faster than the interior can catch up, and it can actually slow the collagen-to-gelatin conversion because that reaction needs moisture to work efficiently. Ribs cooked totally naked, in a smoker running dry with no water pan and no spritzing, are more likely to hit a wall where the outside looks and feels done but the inside stays stubbornly tough.
Two fixes, and you can use either or both. First, a water pan in the smoker chamber adds ambient humidity for the whole cook — cheap insurance. Second, a spritz every 45 minutes to an hour after the first hour or two, using apple juice, apple cider vinegar and water, or plain water, keeps the surface from drying out and helps carry smoke flavor deeper into the bark as it forms.
The other humidity fix is the foil or butcher-paper wrap, sometimes called the Texas crutch when it's applied to brisket, but it works exactly the same way on ribs.
Once the bark has set — usually around the 3-hour mark for spares, when the surface is dry to the touch and a deep mahogany color — wrap the rack tightly in foil with a splash of liquid (apple juice, butter, honey, whatever your style calls for) and put it back on the pit.
That trapped steam does two things: it pushes the ribs through the stall faster, and it floods the meat with the moisture it needs to finish tenderizing without drying out. Unwrap for the last 30–45 minutes to firm the bark back up before pulling.
CEO TIP: If you want max bark and don't mind a slightly longer cook, skip the wrap and just spritz more often instead. You'll trade a little speed for a drier, crunchier crust — a fair trade if that's your style.
This is the subtler cousin of cause #1. The collagen-to-gelatin conversion isn't a switch that flips instantly at one exact degree — it's a window, roughly from 165°F up through 203°F, where the tissue is actively softening. Pull ribs in the middle of that window, say at 185°F, and you'll get meat that's better than raw-tough but still noticeably firmer and chewier than it should be. It hasn't fully crossed over yet.
The fix is patience through the whole window, not just getting into it. Ribs need to reach the far end of that range and then get confirmed with a physical check, not just a number on a screen.
This is exactly the same principle competition cooks lean on — if you want to see how far the technique can be pushed, the competition-style ribs guide walks through cooks that go well past a basic timed method specifically to nail this window every time.
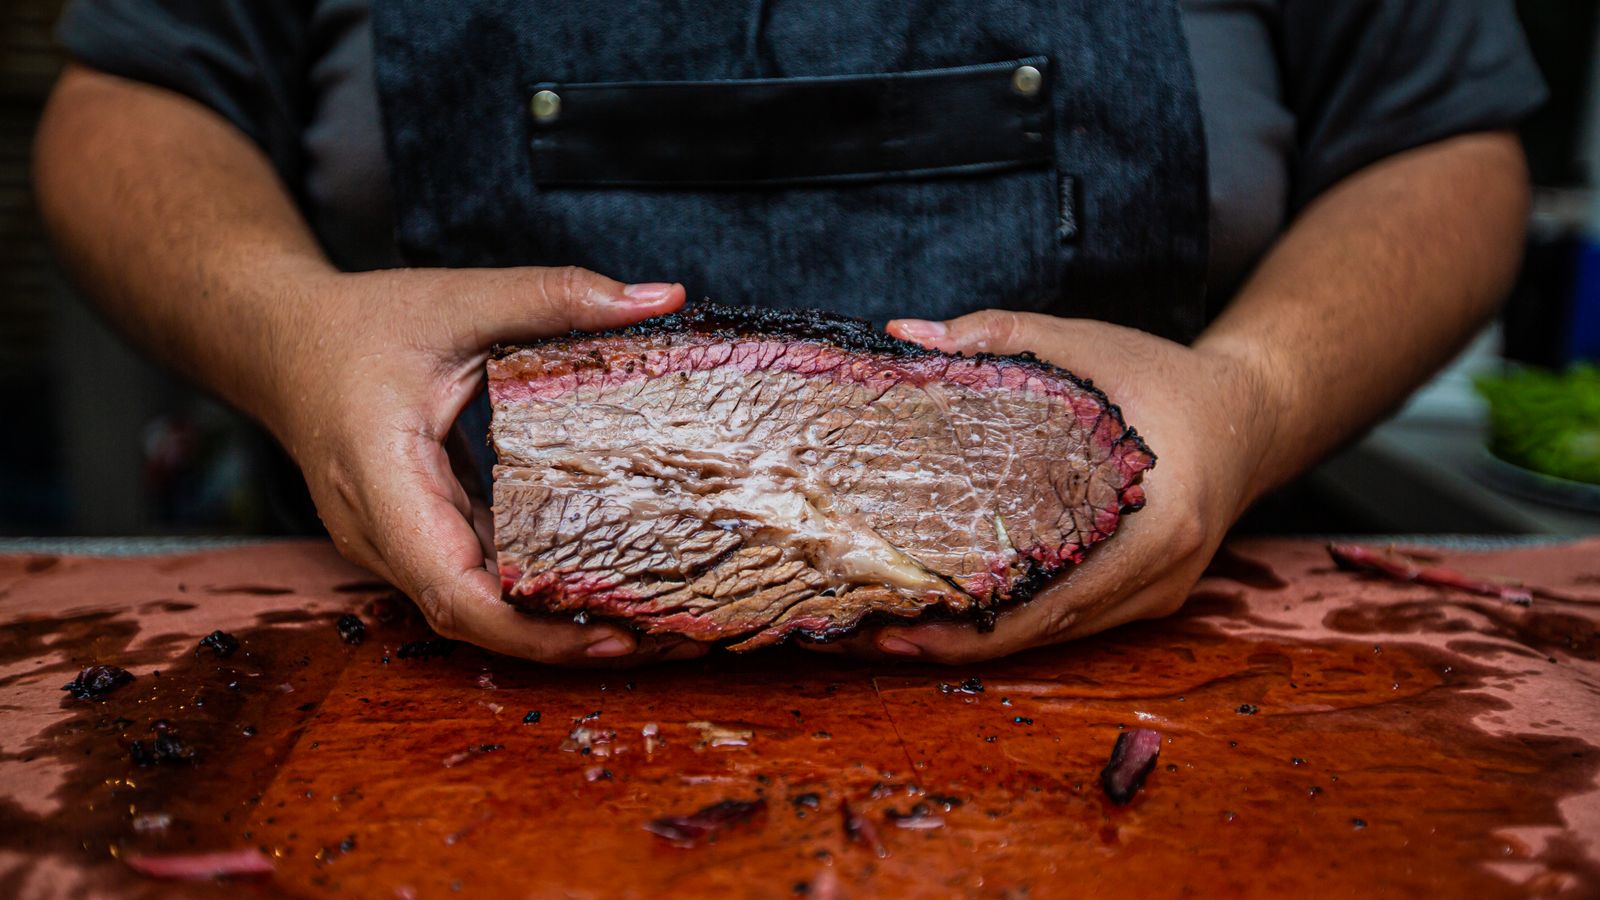
Every cause above points at the same fix: stop trusting time and start trusting feel. There are two classic checks, and you should use both together rather than relying on either alone.
Pick the rack up with tongs from one end and let it hang. A rack that's ready will bend and crack — the surface of the bark will actually split slightly, and the rack will droop into a deep U-shape. If it stays rigid and straight, it needs more time. This is the single best visual check for spare ribs and baby backs alike.
Slide a toothpick, or the probe on your thermometer, into the meat between two bones. Done ribs offer almost no resistance — it should feel like probing room-temperature butter. Any real resistance, any grabbing sensation, means the collagen hasn't finished converting yet, no matter what the digital readout says.
This is where a lot of cooks overcorrect. Tough means undercooked.
Mushy — where the meat falls completely apart into shreds, loses its structure, and separates from the bone with almost no resistance at all — means overcooked, and it happens when ribs sit well past 203°F for too long or get held too hot for too long after wrapping.
The target isn't "as tender as possible forever." It's that narrow, correct zone where the bend test cracks, the toothpick slides in clean, and the meat still holds its shape as a rib instead of collapsing into pulled pork.
That zone is usually 195–203°F, confirmed by feel, not by staring at a number.
Grab the free doneness + wood-pairing cheat sheet →