The quick version
Lay briquettes two-wide, two-high in a C-shape around the kettle's edge, light just 8–10 coals on one end, and the fire creeps along like a fuse — holding 225–275°F for 8 to 18 hours depending on how far around you build. A three-quarter ring of 90–110 briquettes covers 8–10 hours; a nearly full circle runs 12–18, enough for an overnight pork butt. Space wood chunks every 6–8 inches along the unlit row, set a water pan in the middle, and steer with small bottom-vent moves, waiting 15–20 minutes between adjustments.
You don't need a dedicated smoker to hold 225°F for twelve hours. You need a kettle grill, a bag of briquettes, and a way to make the fire burn in one direction instead of all at once. That's the snake method — sometimes called the fuse method — and once you've built one correctly, you'll wonder why you ever thought you needed a bigger rig for ribs and pork shoulder.
This isn't a shortcut or a compromise. Competition cooks run snake setups on Weber Kettles for the same reason backyard guys do: it's dead simple, it uses almost no charcoal, and it holds temperature more steadily than most people expect from a kettle. Here's exactly how to build one, light it, and keep it running through the night.
Instead of lighting a full chimney of charcoal and letting it all burn at once — which is what you do for a two-zone fire or a hot direct cook — the snake method arranges unlit briquettes in a long curved row around the inside edge of the kettle. You light just one end. The fire then creeps along the row like a lit fuse, briquette by briquette, instead of igniting the whole pile.
Because only a small section of charcoal is ever burning at one time, the kettle produces a low, steady heat instead of a blast. A full snake ring on a 22-inch kettle can burn for 10 to 18 hours depending on how much of the circle you build and how tightly you pack it. That's genuinely in offset-smoker territory, out of a grill that costs a fraction of one.
Work with the charcoal grate in the kettle and the cooking grate off to the side while you build. You want a curved row of briquettes that's two briquettes wide and two briquettes high, laid around the perimeter of the charcoal grate like the letter C — not a full closed circle.
Leaving that gap matters for two reasons: it gives you room to work the bottom vent without disturbing unlit coals, and it stops the fire from potentially meeting itself and burning both directions if the wind gets into the kettle.
For an 18–22 inch kettle, a snake that runs about three-quarters of the way around the perimeter uses roughly 90–110 briquettes and will comfortably carry you 8–10 hours.
Go a full three-quarter-plus loop with tighter packing and you can stretch past 12 hours — plenty for a pork shoulder that goes on at bedtime and comes off for lunch.
Don't skimp on the "two-wide, two-high" part: a single-wide, single-high row runs out of fuel and heat mass too fast and is far more prone to going out overnight.
Set a metal or disposable foil pan inside the ring formed by the snake — in the open middle of the C, not on top of the coals. Fill it with hot tap water.
The water pan does three jobs: it adds thermal mass that buffers temperature swings when the vent gets bumped or the wind picks up, it adds humidity that helps bark form without drying out, and it catches drippings so you're not scraping burnt grease off the charcoal grate afterward.
Position your meat on the cooking grate directly above that pan, not directly over the snake itself — this is an indirect cook, same logic as any low and slow setup.
Light 8 to 10 briquettes in a chimney starter — not the whole chimney, just that partial load — until they're grey and glowing. Dump them directly on one end of your snake, spread across the full two-wide, two-high cross-section so the entire end face catches. That's it.
Don't add more lit coals than that; the whole point is a small, contained ignition that spreads slowly rather than a firestorm that torches through your fuel in three hours.
Put the lid on with the top vent roughly above the far end of the snake (not directly over the lit end) — this pulls smoke and heat across the cooking grate before it exits, which gives you better circulation over the meat.
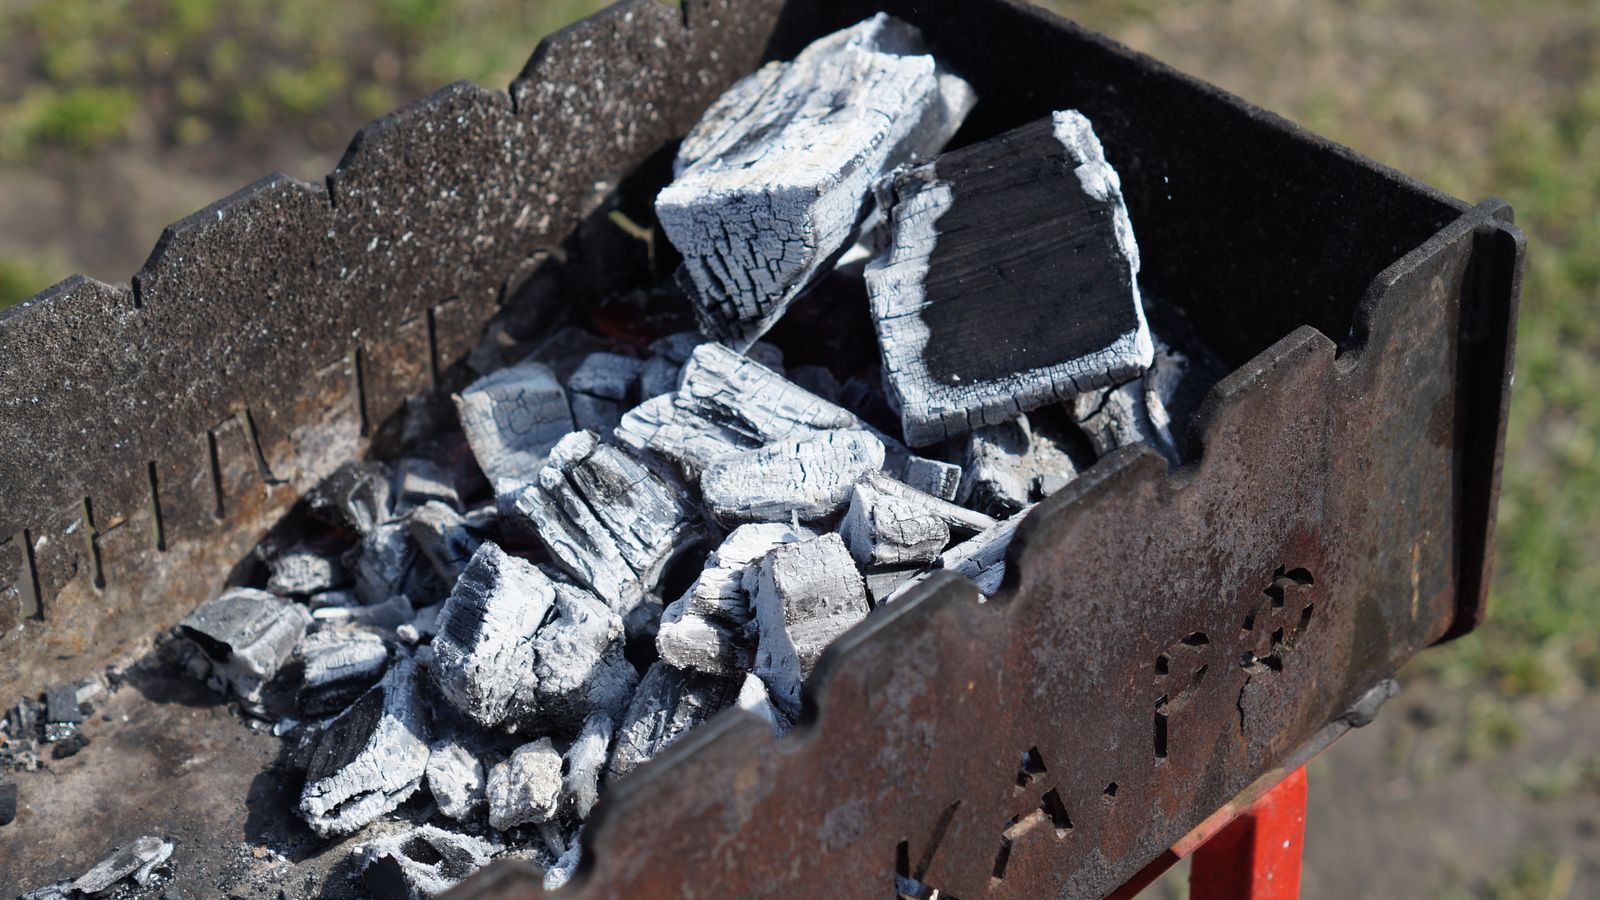
Lay your smoke wood chunks directly on top of the unlit portion of the snake, spaced every 6–8 inches along its length. As the fire creeps forward and eventually reaches each chunk, it catches and smolders, then the fire moves on to the next one. This is what gives the snake method its signature: a slow trickle of fresh smoke over many hours instead of one huge cloud at the start that's gone by hour two.
For an overnight pork butt, 5–6 fist-sized chunks along the whole run is plenty — you're not trying to blanket the meat in smoke the whole time, just keep a thin, steady stream going.
Oak, hickory, or pecan work well for anything running this long; save the more delicate fruit woods for shorter cooks where their milder smoke doesn't get buried.
Too much wood stacked in one spot creates a thick, dirty smoke that turns bark bitter — you want the wispy blue smoke, not a churning white cloud.
CEO TIP: Build the snake, place the wood, and set the water pan the night before if it helps you sleep easier — just don't light it until you're ready to cook. Pre-staged coals sitting in a kettle overnight can pick up moisture and light unevenly.
Leave the top vent close to fully open the entire cook — that vent controls airflow direction and smoke exit, not really temperature. Your real dial is the bottom vent. Start it about a quarter to a third open and let the kettle settle for 20–30 minutes before you judge anything; charcoal setups respond slowly, and chasing the temperature with constant vent changes is the single most common way people wreck a snake cook.
Once you've got a baseline, make small adjustments — an eighth of a turn at a time — and wait another 15–20 minutes to see the effect before touching it again. This is the same discipline covered in mastering charcoal vents, and it applies just as much to a snake as it does to a full charcoal bed.
If you're consistently running hot, close the bottom vent slightly rather than adjusting the top. If you're running cold and the snake seems to be struggling, check that your briquettes are packed tightly enough — gaps in the row let heat escape without adding fuel efficiency.
Use a grate-level thermometer, not just the dome gauge on the kettle lid — dome thermometers read the air well above the meat and are frequently 15–25°F higher than what's actually happening at grate level. A cheap oven thermometer set on the cooking grate, or a wireless probe, tells you the truth.
| Snake Length | Approx. Briquette Count | Expected Burn Time | Good For |
|---|---|---|---|
| Half circle | 60–70 | 5–7 hours | Spare ribs, baby backs |
| Three-quarter circle | 90–110 | 8–10 hours | Whole chickens, smaller shoulders |
| Nearly full circle | 120–140 | 12–18 hours | Pork butt, brisket flats |
This method was basically made for the two cuts that reward a long, steady burn without demanding constant babysitting: spare ribs and pork shoulder. A rack of spare ribs runs 5–6 hours at 225–250°F, which a half-to-three-quarter snake handles without breaking a sweat — if you want to go beyond a basic hands-off cook, the layered approach in our competition-style ribs guide builds on the same fire.
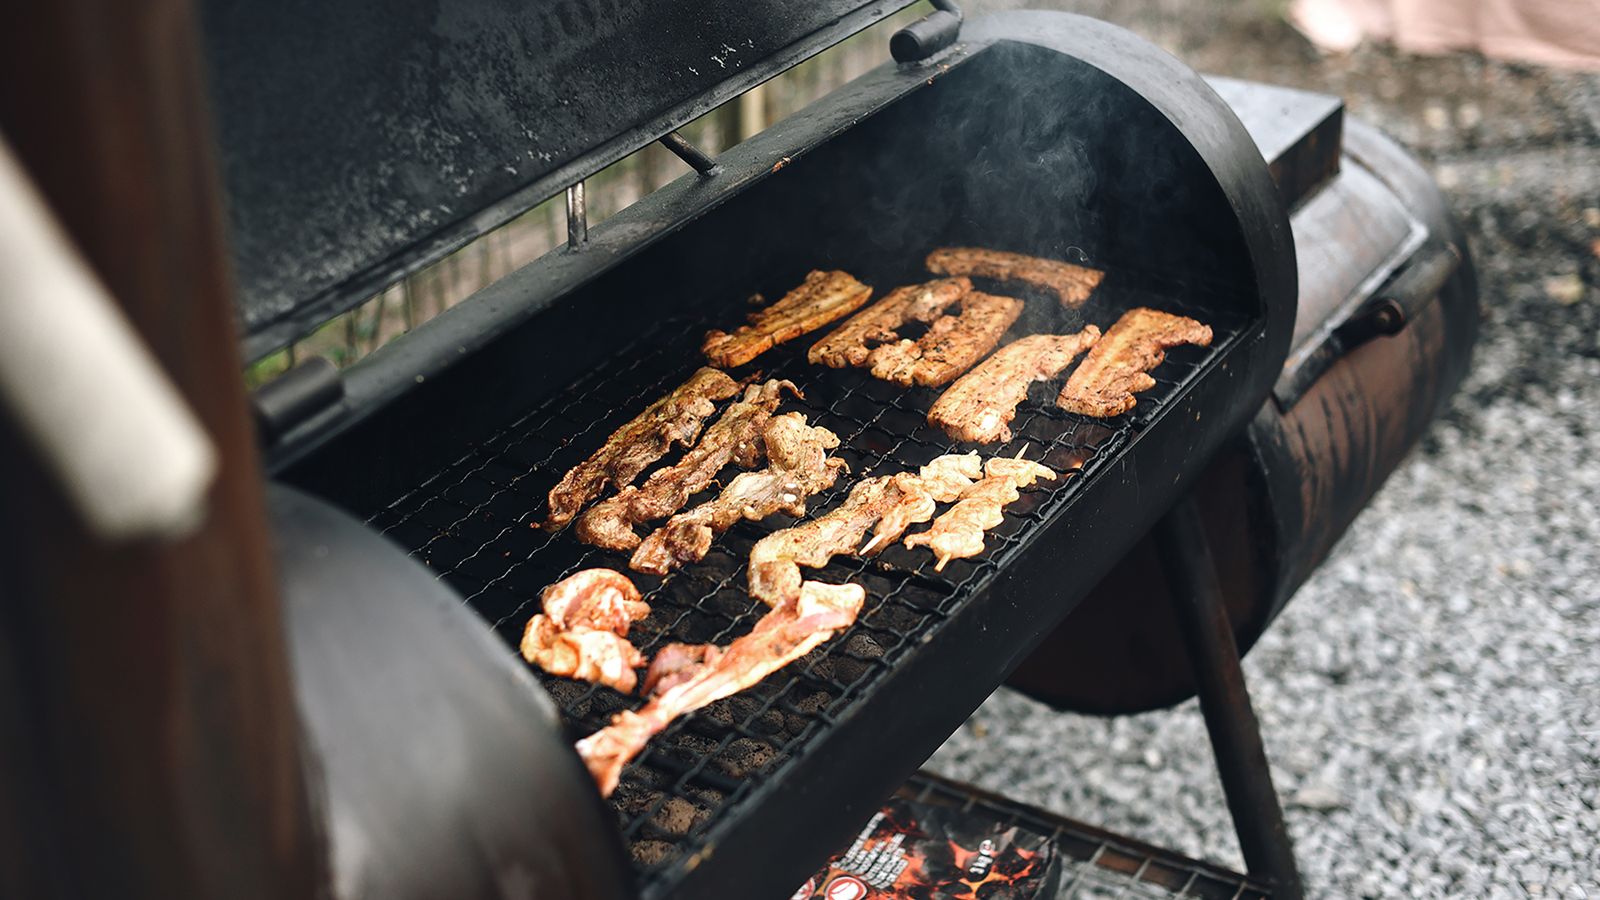
Pork butt is where the snake really earns its keep. An 8–10 pound bone-in shoulder at 225–250°F typically takes 12–16 hours to push through the stall and reach 195–205°F internal, where collagen has broken down enough to pull apart with a fork.
That's a full overnight cook, and it's exactly the window a well-built snake is designed to cover — see our full pulled pork walkthrough for rub, wrap, and rest timing.
Whatever you're cooking, pull by internal temperature and never by the clock — check the meat temperature chart for exact target numbers by cut.
It's a fair setup for a whole chicken too, though at that shorter cook time a simple two-zone fire is honestly less fuss. The snake shines specifically when the cook stretches past what one load of briquettes lit all at once could ever sustain.
Most snake failures trace back to one of three things. First, building the row too thin — one briquette wide or one high burns hot and fast, then dies, because there isn't enough unlit fuel ahead of the flame front to sustain a slow creep.
Second, closing the gap into a full circle — the fire can travel both directions and meet itself, which spikes your temperature and burns through your entire fuel supply in a fraction of the time you planned for.
Third, overcorrecting on the vents — every adjustment needs 15–20 minutes to show its real effect, and cranking the bottom vent back and forth chasing a thermometer reading just makes the swings worse.
If your kettle is a known temperature-control challenge even outside a snake build, it might be worth comparing it against dedicated options like the Weber Smokey Mountain or a kamado — both hold steady heat with even less vent-tending than a kettle snake, though plenty of pitmasters stick with the kettle simply because they already own one and it works.
Grab the free doneness + wood-pairing cheat sheet →